Oh, pineapple bread. Just saying the words brings back a flood of memories! This isn’t just any quick bread; this is the kind of loaf that fills your kitchen with the most amazing, sweet, tropical aroma. It’s that perfect balance of moist, tender crumb with bursts of tangy pineapple that just makes your taste buds sing. Honestly, it’s my go-to when I need something comforting and a little bit special, without spending hours in the kitchen. It’s so much more exciting than a plain old Banana Bread, and way less fussy than a layered cake, but it delivers on that ‘wow’ factor every single time. If you’ve ever craved sunshine in baked-good form, you’ve come to the right place.
What is Pineapple Bread?
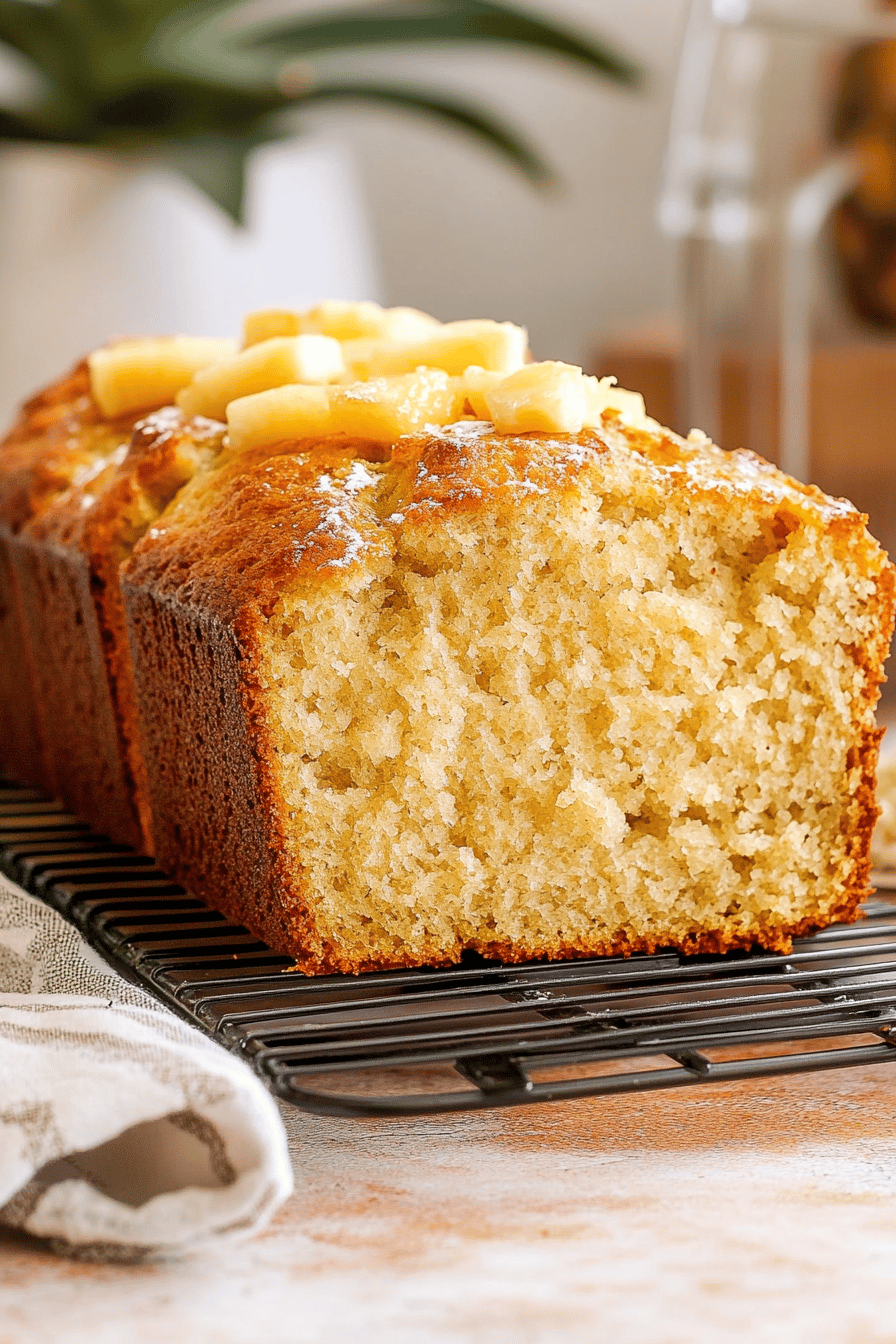
So, what exactly *is* this magical pineapple bread I keep raving about? Think of it as a Super Moist, incredibly flavorful quick bread that uses fresh or canned pineapple as its star ingredient. It’s not usually leavened with yeast, so it bakes up quickly and doesn’t require any proving time. The pineapple not only adds that signature sweet and tangy flavor but also contributes a ton of moisture, making the bread incredibly tender. Sometimes it has a simple glaze, other times it’s just perfect on its own. It’s like a little slice of a tropical vacation you can enjoy any time of day. It’s the kind of bake that feels indulgent but is surprisingly simple to pull off, which is a win-win in my book!
Why you’ll love this recipe?
There are so many reasons why this pineapple Bread Recipe has earned a permanent spot in my recipe collection, and why I just know you’re going to adore it too. First off, the flavor! It’s a total game-changer. The pineapple brings this vibrant, sunny sweetness that’s perfectly complemented by a hint of spice, and if you add nuts, you get this wonderful texture contrast. It’s not overly sweet, so you can enjoy it guilt-free, and that moisture? It’s out of this world. You won’t find any dry, crumbly loaves here, I promise!
Then there’s the simplicity. Seriously, this is one of those recipes that’s almost foolproof. You can whip up the batter in about 15 minutes, and the rest is just hands-off baking time. It’s perfect for those busy weeknights when you need a treat but don’t have a lot of time, or for when unexpected guests pop by. And let’s talk about cost-effectiveness! Most of the ingredients are pantry staples, and a can of pineapple is super affordable, making this a really budget-friendly way to create something impressive. What I really love, though, is its versatility. It’s fantastic on its own, but it’s also amazing toasted with a smear of butter, or even served warm with a dollop of whipped cream or a scoop of vanilla Ice Cream for an impromptu dessert. It truly is that one-stop shop for deliciousness!
How do you make Pineapple Bread?
Quick Overview
Making this delightful pineapple bread is a breeze! You’ll simply whisk together your dry ingredients, then your wet ingredients, fold them together gently, and bake until golden brown and wonderfully fragrant. The pineapple is the magic maker, keeping everything incredibly moist and adding that irresistible tropical flavor. It’s designed for busy home cooks who want maximum flavor with minimum fuss. You’ll be amazed at how such simple steps lead to such a stunning result.
Ingredients
For the Main Batter:
You’ll need all-purpose flour, baking soda (this is key for lift and reacts beautifully with the pineapple), a pinch of salt to balance the sweetness, and your favorite warming spices like cinnamon and a whisper of nutmeg. I usually go for about 2 cups of flour, but always measure it by spooning it into your measuring cup and leveling it off – don’t scoop directly from the bag, or you might end up with a dense loaf!
For the Filling:
The star, of course, is pineapple! I prefer using crushed pineapple packed in its own juice, and I drain it *mostly*, but leave a little juice for extra moisture and flavor. About 1.5 cups is usually perfect. If you like a bit of crunch, a cup of chopped pecans or walnuts adds a lovely texture and nutty depth. I’ve also experimented with adding shredded coconut, and it’s divine!
For the Glaze:
This is optional but highly recommended! A simple glaze made from powdered sugar and a little bit of milk or pineapple juice is perfect. You can also add a touch of vanilla extract for extra flavor. Aim for a consistency that’s thick enough to coat but still drizzleable.
Step-by-Step Instructions
Step 1: Preheat & Prep Pan
Start by preheating your oven to 350°F (175°C). This ensures the oven is at the right temperature from the get-go, promoting even baking. Grab a standard 9×5 inch loaf pan. Grease it really well with butter or cooking spray, and then lightly flour it, tapping out any excess. This step is crucial for preventing your beautiful bread from sticking. Some people like to line their pans with parchment paper too, which gives you extra insurance and makes lifting the loaf out a dream.
Step 2: Mix Dry Ingredients
In a large mixing bowl, whisk together your all-purpose flour, baking soda, salt, cinnamon, and nutmeg. Give it a good whisk to make sure everything is evenly distributed. This ensures that your leavening agents are spread throughout, so you don’t get any odd dense spots or sinkholes in your loaf. You want a nice, uniform blend.
Step 3: Mix Wet Ingredients
In a separate medium bowl, whisk together your granulated sugar and eggs until they’re well combined and slightly lighter in color. Then, stir in your melted butter or oil, vanilla extract, and the drained crushed pineapple. Make sure to drain the pineapple well, but don’t worry about getting every single drop of juice out – a little extra moisture is a good thing!
Step 4: Combine
Now, pour the wet ingredients into the bowl with the dry ingredients. Using a spatula or a wooden spoon, gently fold everything together until *just* combined. It’s super important not to overmix here! A few streaks of flour remaining are perfectly fine. Overmixing develops the gluten too much, which can lead to a tough bread. We want tender, moist goodness!
Step 5: Prepare Filling
If you’re adding nuts or coconut, gently fold them into the batter now. Just a quick fold until they’re evenly distributed. Don’t stir vigorously; you don’t want to break up the pineapple too much, and we’re still aiming to keep that batter light.
Step 6: Layer & Swirl
Pour about half of the batter into your prepared loaf pan and spread it out evenly. If you want an extra swirl of pineapple goodness, you can add a few spoonfuls of extra crushed pineapple right on top here. Then, pour the remaining batter over the top and smooth the surface. You can even add a few extra nuts on top for decoration before baking.
Step 7: Bake
Place the loaf pan in the preheated oven. Bake for 50-65 minutes, or until a wooden skewer or toothpick inserted into the center comes out clean, with maybe a few moist crumbs attached (but no wet batter). If the top starts to brown too quickly, you can loosely tent it with aluminum foil for the last 15-20 minutes of baking.
Step 8: Cool & Glaze
Once baked, let the bread cool in the pan for about 10-15 minutes before inverting it onto a wire rack to cool completely. This is crucial! Trying to glaze a warm loaf will just melt the glaze right off. Once it’s completely cool, whisk together your powdered sugar and a tablespoon or two of liquid (milk or pineapple juice) until you have a smooth, drizzly glaze. Drizzle it over the top of the cooled bread.
Step 9: Slice & Serve
Once the glaze has set a bit, slice your delicious pineapple bread. I usually get about 10-12 slices from one loaf. It’s fantastic served at room temperature, but I’m partial to it slightly warm. The aroma alone is enough to make you want to dig in immediately!
What to Serve It With
This pineapple bread is so wonderfully versatile, it fits into almost any meal or occasion. For breakfast, it’s absolute heaven toasted and served with a cup of good, strong coffee. The warmth of the toast and the burst of fruity sweetness is the perfect way to start the day. It also pairs beautifully with a side of fresh Fruit Salad – the bright flavors complement each other so well.
For a more elaborate brunch spread, think about serving it sliced on a pretty platter. It’s a delightful addition alongside other brunch favorites like scrambled eggs, bacon, or quiche. A mimosa or a fresh glass of orange juice would be the perfect beverage companion. For dessert, this bread can absolutely hold its own. Serve a generous slice warm, perhaps with a dollop of whipped cream, a scoop of vanilla bean ice cream, or even a drizzle of caramel sauce. It’s surprisingly elegant and always a crowd-pleaser.
And for those cozy snack times, there’s nothing quite like a thick slice of this pineapple bread with a tall glass of milk. It’s the ultimate comfort food, perfect for an afternoon pick-me-up or a late-night craving. My kids also love it simply as is, straight from the loaf pan when it’s still slightly warm – that’s always a sign of a winner in my house!
Top Tips for Perfecting Your Pineapple Bread
After making this pineapple bread countless times, I’ve picked up a few tricks that I think really make a difference. Firstly, when it comes to the pineapple, make sure you’re draining it well. I usually press out as much liquid as I can with a spoon after it’s in the colander. Too much liquid can make the bread gummy. I’ve learned this the hard way after a couple of less-than-perfect loaves!
When you’re mixing the batter, remember that rule about not overmixing. It’s so important for that tender crumb. Just fold until you don’t see huge streaks of dry flour anymore. It’s better to have a few tiny ones than to end up with a tough loaf. Also, make sure your baking soda is fresh! It’s what gives the bread its lift, and old baking soda won’t do the job.
If you’re adding nuts, toasting them lightly before chopping and adding them can really boost their flavor and texture. For the swirl effect, if you’re feeling fancy, you can reserve a tablespoon or two of the batter, mix it with a little extra cinnamon and a drop of food coloring for a fun marbled look, and swirl that through the top. It’s a small detail, but it makes the bread look extra special.
For ingredient swaps, I’ve successfully made this with half whole wheat flour for a slightly heartier loaf, but I wouldn’t go over 50% whole wheat, or it can get too dense. If you don’t have pineapple juice for the glaze, regular milk or even a little bit of orange juice works wonderfully. And if you’re out of butter, a neutral oil like vegetable or canola oil works perfectly in the batter – I’ve tried both, and the texture is virtually the same.
Baking wise, every oven is a little different, so start checking for doneness around the 50-minute mark. A wooden skewer inserted into the thickest part of the loaf should come out clean or with a few moist crumbs. If your oven tends to run hot, don’t be afraid to loosely tent it with foil after about 30-40 minutes to prevent the top from burning before the inside is cooked.
The glaze is totally optional, but it adds a lovely touch. If you want a thicker glaze, use less liquid. For a thinner glaze, add more. You can also add a pinch of cardamom to the glaze for a more complex flavor, or even a little bit of lemon zest for brightness. Don’t be afraid to play around with it!
Storing and Reheating Tips
This pineapple bread is wonderfully forgiving when it comes to storage, which is another reason I love it so much! If you’ve got leftovers (which is rare in my house!), you can store it at room temperature for about 2-3 days. Just make sure it’s completely cooled, and then wrap it tightly in plastic wrap or place it in an airtight container. This helps keep it from drying out.
If you think you’ll need more than a few days, the refrigerator is your friend. Wrapped well, it can last for up to a week in the fridge. The texture might become a little firmer, but that’s easily fixed. For longer storage, freezing is the absolute best option. Let the bread cool completely, then wrap it tightly in plastic wrap, followed by a layer of aluminum foil or a freezer-safe bag. It can stay frozen for up to 3 months. Make sure to label it with the date!
When you’re ready to reheat, if it’s been refrigerated or frozen, I highly recommend popping a slice in the toaster or a toaster oven. It brings back that lovely fresh-baked texture and warmth. You can also gently reheat it in a low oven (around 300°F or 150°C) for about 5-10 minutes. If you’ve frozen it whole, let it thaw overnight at room temperature before slicing and reheating.
Regarding the glaze, I find it’s best to add the glaze *after* the bread has cooled completely and right before serving, especially if you plan to store it for more than a day. If you glaze it and then refrigerate or freeze, the glaze can sometimes become a little sticky or develop a slightly grainy texture. For best results, glaze just before you plan to serve it. If you do need to glaze ahead, storing it at room temperature is probably best to maintain glaze quality.
Frequently Asked Questions
Final Thoughts
I really hope you give this pineapple bread recipe a try. It’s more than just a baked good; it’s a little ray of sunshine that brings smiles to everyone who tastes it. The way the pineapple infuses every bite with that tropical sweetness and keeps the crumb incredibly moist is truly special. It’s the perfect example of how simple ingredients can create something truly extraordinary. It’s the kind of recipe that makes you feel like a baking rockstar, even if you’re just starting out.
If you love this pineapple bread, you might also enjoy my recipe for moist banana bread or my super easy lemon poppy seed loaf. They share that same spirit of simple, delicious baking. I can’t wait to hear what you think of this pineapple bread! Please leave a comment below with your thoughts, or share your own tips and variations. And if you snap a photo, be sure to tag me! Happy baking, my friends!

Pineapple Bread
Ingredients
Main Ingredients
- 2.5 cups all-purpose flour
- 1.5 teaspoon baking soda
- 0.5 teaspoon salt
- 0.5 teaspoon ground cinnamon
- 0.25 teaspoon ground nutmeg
- 1 cup granulated sugar
- 0.5 cup unsalted butter, softened
- 2 large eggs
- 0.33 cup milk
- 1 teaspoon vanilla extract
- 1 cup crushed pineapple, drained
Instructions
Preparation Steps
- Preheat oven to 350°F (175°C). Grease and flour a 9x5 inch loaf pan.
- In a large bowl, whisk together the flour, baking soda, salt, cinnamon, and nutmeg.
- In a separate bowl, cream together the softened butter and granulated sugar until light and fluffy.
- Beat in the eggs one at a time, then stir in the vanilla extract.
- Alternately add the dry ingredients and the milk to the wet ingredients, beginning and ending with the dry ingredients. Mix until just combined.
- Gently fold in the drained crushed pineapple.
- Pour the batter into the prepared loaf pan and spread evenly.
- Bake for 50-60 minutes, or until a wooden skewer inserted into the center comes out clean.
- Let the bread cool in the pan for 10 minutes before inverting it onto a wire rack to cool completely.