
There are some recipes that just… stick with you. They become part of your family’s story, a delicious thread woven into the fabric of everyday life. For me, that’s definitely this baked oatmeal. Honestly, when I was deep in the newborn phase, juggling sleepless nights and a demanding little human, the thought of making breakfast felt like climbing Mount Everest. That’s where this gem came in. It’s not just about being incredibly tasty (though it really is!), it’s about the sheer ease and the fact that it fuels you without a fuss. I remember one particularly rough morning, feeling utterly drained, and stumbling upon this recipe. It was like a little ray of sunshine in a bowl. It’s surprisingly simple, uses ingredients I usually have on hand, and the best part? It’s a total lifesaver for busy parents, especially nursing moms who need that extra bit of energy and nourishment. If you’re looking for something hearty, satisfying, and genuinely good for you, these baked oatmeal cups are an absolute winner. They’re like a warm hug for your insides.
What are baked oatmeal cups?
So, what exactly are these magical little things? Think of them as a more structured, portion-controlled, and dare I say, more exciting version of traditional oatmeal. Instead of that pot on the stove that you have to stir and watch, these are baked in a muffin tin, creating individual, perfectly cooked servings. It’s essentially a delightful blend of rolled oats, your favorite milk, a touch of sweetener, a binder like egg or a flax egg, and any yummy add-ins you fancy. They hold their shape beautifully, making them super convenient to grab-and-go. The baking process transforms the oats into a tender, slightly chewy, and wonderfully cohesive bite that’s miles away from mushy porridge. It’s comfort food that’s also practical, and that’s a combination I can always get behind. The name itself, “baked oatmeal cups,” just screams simplicity and deliciousness, doesn’t it? It’s oatmeal, but elevated.
Why you’ll love this recipe?
Oh, where do I even begin? There are so many reasons why this recipe has earned a permanent spot in my recipe binder. First off, the flavor is just incredible. We’re talking warm, comforting, and customizable to your heart’s content. Whether you’re a fan of cinnamon and apple, or go wild with berries and chocolate chips, these cups handle it all beautifully. And simplicity? This is where it truly shines. I’ve made this countless times on autopilot, and it never fails. You basically whisk everything together and bake. That’s it! For anyone, especially new parents or those with little ones underfoot, saving time and energy in the kitchen is paramount. Beyond the taste and ease, these are surprisingly cost-effective. Oats are a budget-friendly staple, and you can use whatever milk you have in the fridge. They’re also incredibly versatile. I’ve enjoyed them warm for breakfast, cold as a mid-afternoon snack, and even as a lighter dessert. They’re much more satisfying than a quick granola bar, offering sustained energy that’s so crucial, particularly for nursing moms who are burning so much fuel. What I love most about this is how it feels like a real treat, but it’s packed with wholesome goodness. It’s the kind of food that makes you feel good from the inside out. It’s like having a mini muffin, but healthier and more filling.
How do I make baked oatmeal cups?
Quick Overview
The beauty of these baked oatmeal cups lies in their straightforward assembly. You’ll simply combine your dry ingredients, whisk your wet ingredients separately, then bring them all together in one bowl. From there, it’s just a matter of portioning them into a greased muffin tin and letting the oven do all the work. This method ensures everything bakes up evenly, giving you perfectly formed, tender cups every single time. It’s the ultimate low-fuss breakfast or snack solution that requires minimal active cooking time, making it ideal for those hectic mornings.
Ingredients
For the Main Batter:
* Rolled Oats (Old-Fashioned): 2 cups. I always reach for old-fashioned rolled oats because they give the best texture – not too mushy, not too chewy. Instant oats tend to break down too much, and steel-cut oats won’t cook through properly in this method. Make sure they’re certified gluten-free if that’s a concern for you.
* Baking Powder: 2 teaspoons. This is crucial for that lovely lift and tender crumb. Don’t skip it!
* Ground Cinnamon: 1 teaspoon. It’s my go-to for warmth and that classic oatmeal flavor. Feel free to add a pinch of nutmeg or cardamom if you’re feeling adventurous.
* Salt: ½ teaspoon. It might seem small, but it really balances the sweetness and brings out all the other flavors.
* Milk (Dairy or Non-Dairy): 1 ½ cups. I’ve used whole milk, almond milk, and oat milk, and they all work wonderfully. Almond milk tends to make them a little creamier, in my opinion.
* Eggs: 2 large. These act as our binder and help create that nice, cake-like texture. If you need an egg-free version, a flax egg (2 tablespoons flaxseed meal mixed with 6 tablespoons water, let sit for 5-10 minutes) works perfectly.
* Maple Syrup (or Honey): ½ cup. This is for sweetness. You can adjust this based on your preference. For nursing moms, it’s a nice gentle sweetness without being overly sugary.
* Melted Butter (or Coconut Oil): ¼ cup. For richness and to help prevent sticking. Make sure it’s cooled slightly so it doesn’t cook the eggs.
* Vanilla Extract: 1 teaspoon. Just a splash of pure vanilla extract really enhances the overall flavor.
For the Mix-Ins (Optional but Highly Recommended!):
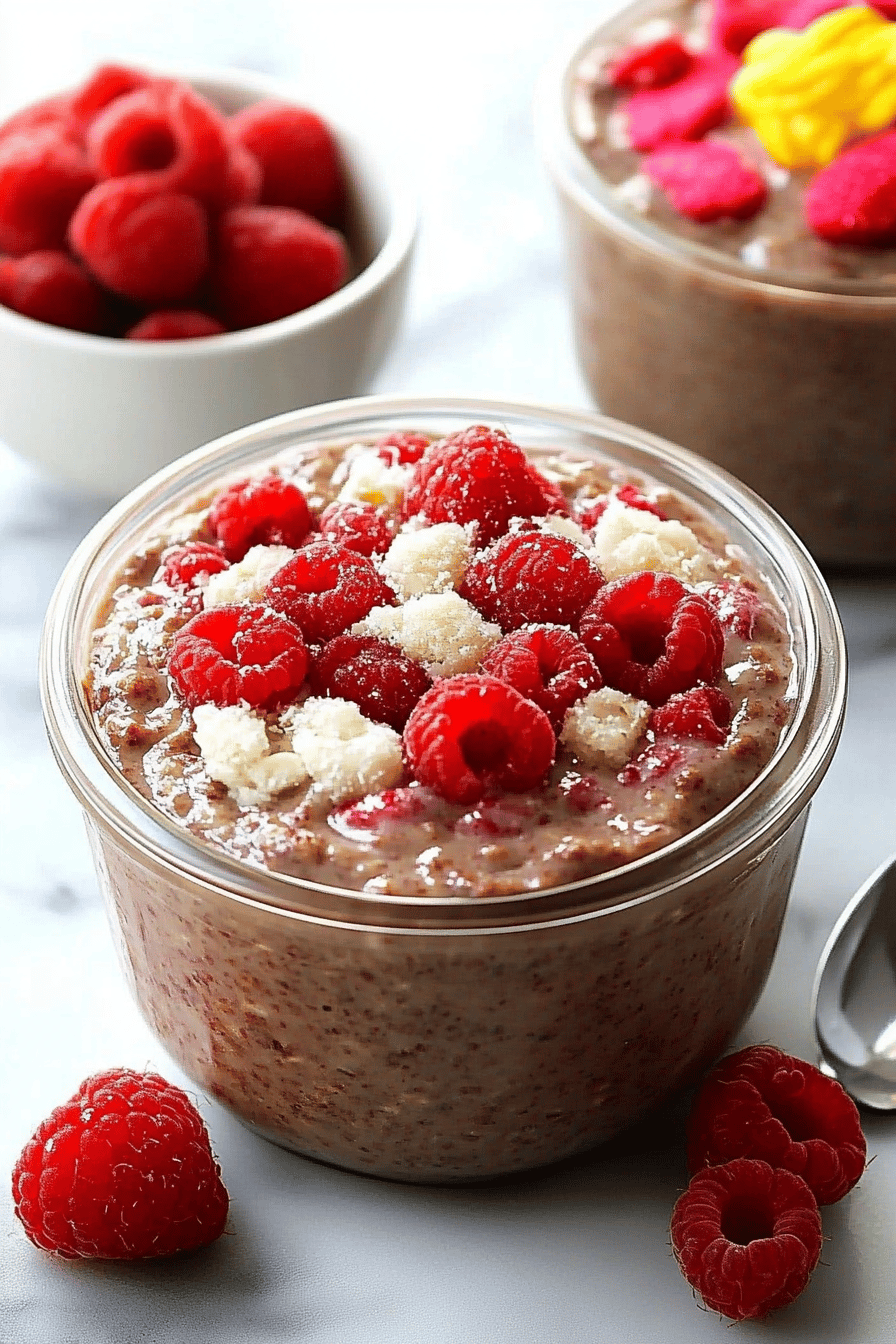
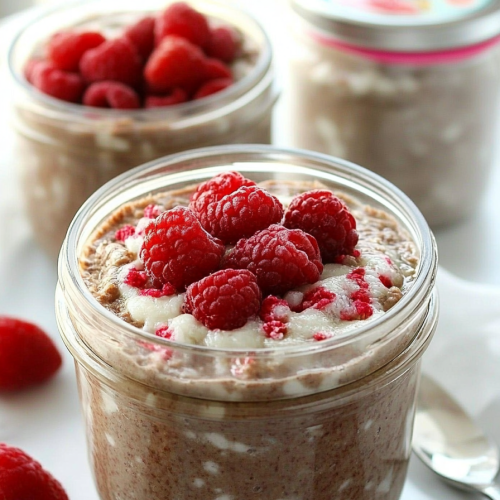
* Fresh or Frozen Berries: 1 cup. Blueberries, raspberries, strawberries – they all add a burst of flavor and a pop of color. If using frozen, don’t thaw them first; just toss them in.
* Chopped Apples: 1 cup. Fuji or Honeycrisp work best as they hold their shape well. A sprinkle of cinnamon on them before mixing is lovely.
* Chocolate Chips: ½ cup. Dark chocolate chips are my personal favorite, but milk or White Chocolate work too.
* Chopped Nuts or Seeds: ½ cup. Walnuts, pecans, almonds, or even pumpkin seeds add a nice crunch and healthy fats.
* Shredded Zucchini: 1 cup. Yes, zucchini! It’s incredibly mild and adds moisture without affecting the flavor. Just make sure to wring out any excess water first. This is a fantastic way to sneak in some extra veggies.
Step-by-Step Instructions
Step 1: Preheat & Prep Pan
First things first, let’s get our oven fired up to 375°F (190°C). Then, grab your trusty muffin tin. You’ll want to generously grease each cup with butter, cooking spray, or line them with paper liners. I personally find that a good greasing with butter or coconut oil prevents any sticking much better than paper liners alone, especially for a recipe like this. Make sure to get into all the nooks and crannies!
Step 2: Mix Dry Ingredients
In a large bowl, combine the rolled oats, baking powder, cinnamon, and salt. Give it a good whisk to make sure everything is evenly distributed. This step ensures that the leavening agent and spices are spread throughout the batter, so you don’t get pockets of flavor or uneven rising. It’s a simple step, but it matters!
Step 3: Mix Wet Ingredients
In a separate, medium-sized bowl, whisk together your milk, eggs (or flax eggs), maple syrup, melted butter, and vanilla extract until everything is well combined and smooth. If you’re using an egg substitute like a flax egg, give it a moment to thicken up before adding it to the mix. Make sure the melted butter isn’t too hot, or it might scramble the eggs!
Step 4: Combine
Now, pour the wet ingredients into the bowl with the dry ingredients. Stir gently with a spatula or wooden spoon until just combined. Be careful not to overmix! Overmixing can develop the gluten in the oats too much, leading to a tougher texture. You want to see just a few streaks of dry ingredients remaining – that’s perfectly fine. If you’re adding any mix-ins like berries, chocolate chips, or nuts, this is the time to gently fold them in.
Step 5: Prepare Filling (If Adding Any Extra Flavor Boosts)
This step is more about adding your optional mix-ins to the main batter. For example, if you’re using shredded zucchini, make sure you squeeze out as much moisture as possible by wrapping it in a clean kitchen towel or cheesecloth. Then, gently fold it into the batter along with any other desired additions like berries, chocolate chips, or chopped apples. The goal is to distribute them evenly without overworking the batter.
Step 6: Layer & Swirl
Spoon the batter evenly into your prepared muffin cups, filling each one about two-thirds to three-quarters full. If you’re feeling fancy, you can reserve a few berries or chocolate chips to dot the top of each cup before baking for a pretty presentation. I sometimes like to swirl in a bit of nut butter or extra maple syrup on top for an extra layer of flavor, though it’s totally optional!
Step 7: Bake
Pop the muffin tin into your preheated oven. Bake for 20-25 minutes, or until the tops are golden brown and a toothpick inserted into the center comes out clean. The baking time can vary slightly depending on your oven, so start checking around the 20-minute mark. You want them set but still wonderfully moist inside.
Step 8: Cool & Glaze
Once baked, let the oatmeal cups cool in the muffin tin for about 5-10 minutes. This helps them firm up a bit more before you remove them. Then, carefully transfer them to a wire rack to cool completely. If you want to add a simple glaze (which is optional but delicious!), whisk together a little powdered sugar with a tiny bit of milk or lemon juice until you reach your desired drizzling consistency. Drizzle over the cooled cups. Alternatively, a dusting of powdered sugar or a dollop of yogurt works just as well!
Step 9: Slice & Serve
These baked oatmeal cups are fantastic served warm or at room temperature. They’re sturdy enough to hold in your hand, making them perfect for on-the-go eating. If you served them with a glaze, make sure it’s set before cutting, though honestly, they’re delicious as is!
What to Serve It With
These baked oatmeal cups are so versatile, they fit into almost any mealtime scenario. For a quick and nourishing breakfast, I love pairing them with a steaming mug of coffee or a glass of cold milk. Sometimes, I’ll just grab one (or two!) on my way out the door. For a more leisurely brunch spread, they look lovely nestled alongside fresh fruit salad, a creamy yogurt parfait, or even some crispy bacon. If you’re feeling indulgent and want to serve these as a dessert, a scoop of vanilla bean Ice Cream or a drizzle of warm caramel sauce is heavenly. And for those cozy afternoon snacks when you just need a little pick-me-up, they’re perfect on their own with a cup of herbal tea. My kids actually love them as a pre-dinner snack to tide them over. Honestly, the possibilities are endless, and that’s part of what makes them so great for busy families.
Top Tips for Perfecting Your Baked Oatmeal Cups
After making these more times than I can count, I’ve picked up a few tricks that I think make all the difference. First, when it comes to the oats, using old-fashioned rolled oats is really key. If you use quick oats, they can get a bit too mushy, and steel-cut oats won’t cook through. For mixing, remember that a gentle hand is best. Overmixing can lead to a tougher texture, so stop as soon as you don’t see huge streaks of dry flour. My kids actually love helping with the mix-ins, and we’ve found that adding them last, just before spooning into the muffin tin, helps them distribute more evenly. If you’re using fresh berries, giving them a gentle toss in a little bit of the flour mixture before adding them to the batter can help prevent them from sinking to the bottom. I learned that lesson after a few batches of sad, sunken blueberries! For a beautiful swirl effect, if you’re adding something like nut butter or jam, dollop small spoonfuls onto the batter in the muffin cups and then use a toothpick to gently swirl them in. Don’t over-swirl, or you’ll lose the definition. When it comes to baking, every oven is a little different. If yours runs hot, you might want to reduce the temperature slightly or keep a closer eye on them to prevent the edges from getting too dark. A good way to test for doneness is to gently press the center of the top – it should spring back slightly. And for the glaze, the trick is a tiny bit of liquid at a time. It’s much easier to thin out a glaze than to thicken it up! If you accidentally add too much liquid, just whisk in a bit more powdered sugar.
Storing and Reheating Tips
These baked oatmeal cups are fantastic for meal prep because they store so well! At room temperature, they’ll be perfectly fine for a day or two, especially if you keep them covered in an airtight container. This is great for those mornings when you just need to grab and go. For longer storage, I highly recommend the refrigerator. Once they’ve cooled completely, pop them into an airtight container or wrap them well in plastic wrap. They’ll keep their freshness for up to 4-5 days. They make an excellent grab-and-go breakfast or snack straight from the fridge. If you want to make a big batch and freeze them for even longer-term storage, that’s absolutely doable. Wrap each cooled cup individually and tightly in plastic wrap, then place them in a freezer-safe bag or container. They can stay frozen for up to 2-3 months. To reheat, you can pop them in the toaster oven or a conventional oven at around 300°F (150°C) for about 5-10 minutes until warmed through. Microwaving is also an option, but they can sometimes get a little chewier that way. If you’ve added a glaze, I find it’s best to add it *after* reheating, especially if you’re freezing them, as the glaze can sometimes become sticky or melt unevenly in the freezer. Enjoying them warm with a little extra drizzle of maple syrup is always a treat!
Frequently Asked Questions
Final Thoughts
Honestly, these baked oatmeal cups have been such a game-changer for me, especially during those busy early days of motherhood. They’re a reminder that even when you’re completely exhausted, you can still whip up something that’s both incredibly comforting and nourishing. The flexibility of the recipe means you can always find a combination that works for you, whether you’re craving something fruity, chocolaty, or just plain comforting. They’re proof that healthy eating doesn’t have to be complicated or time-consuming. If you’re a nursing mom needing easy, energizing meals, or just anyone looking for a delicious, make-ahead breakfast option, I truly hope you give these a try. They’re a little slice of homemade happiness that I’m so thrilled to share. Don’t forget to leave a comment below and let me know how yours turn out, or if you discover any new amazing mix-in combinations – I’m always looking for inspiration!
Nursing Moms Recipes
Ingredients
Main Ingredients
- 2 cups rolled oats
- 1 cup almond milk unsweetened
- 0.5 cup chia seeds
- 0.25 cup maple syrup or honey
- 1 teaspoon vanilla extract
- 0.5 cup fresh berries for topping
Instructions
Preparation Steps
- In a bowl, combine the rolled oats, almond milk, chia seeds, maple syrup, and vanilla extract.
- Stir well to ensure everything is evenly mixed. Cover and refrigerate for at least 4 hours, or preferably overnight.
- Before serving, give the mixture another stir. Divide into bowls and top with fresh berries.