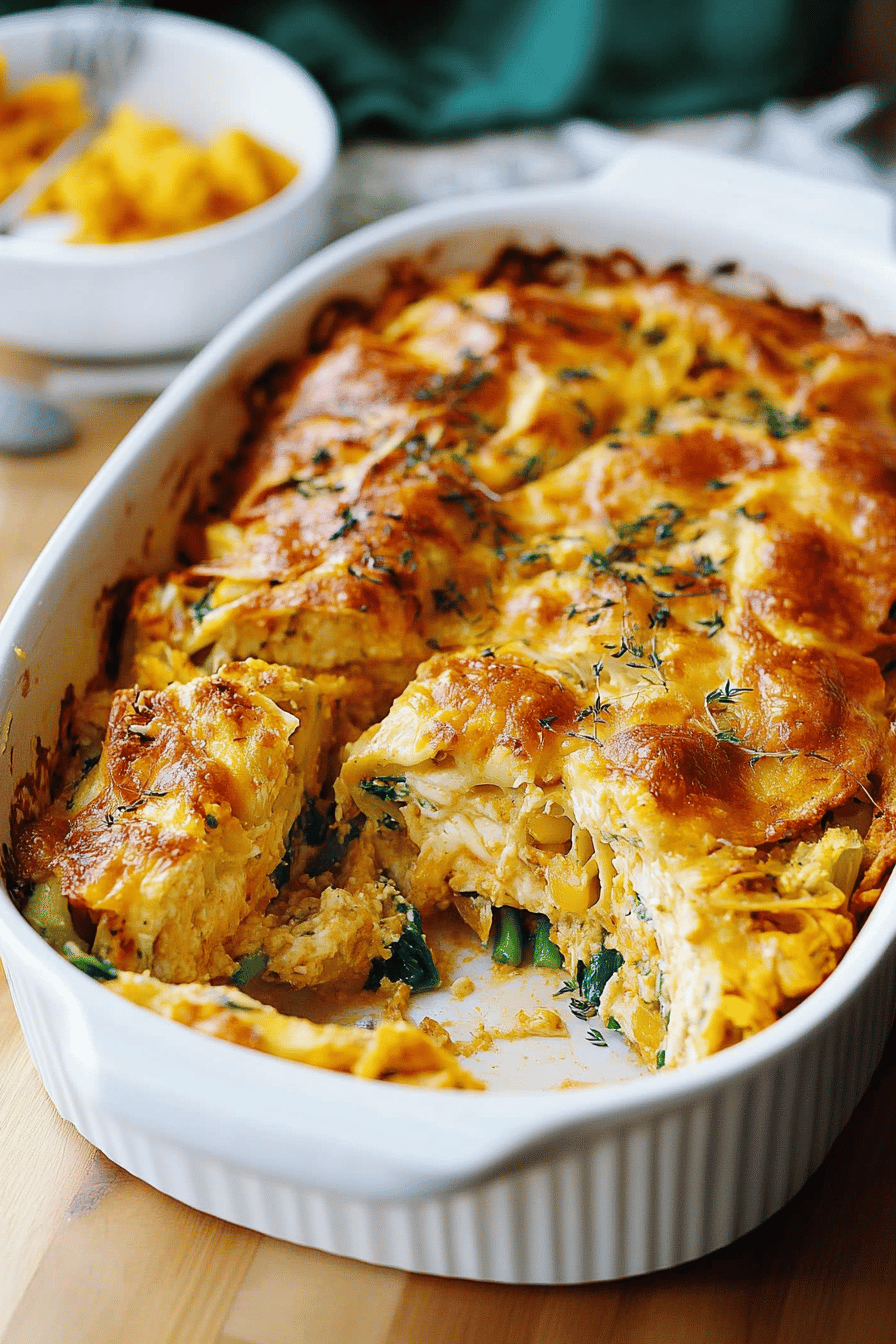
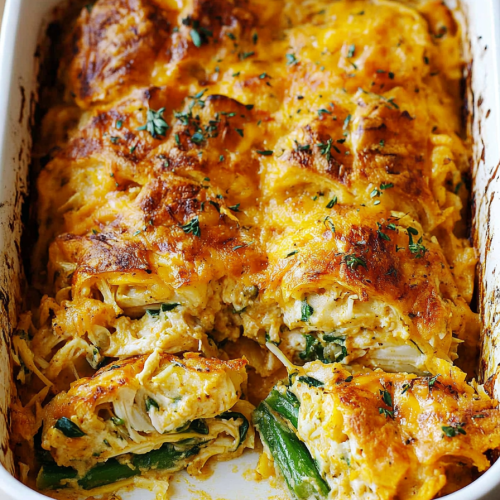
You know that feeling? The one where the calendar flips to November and suddenly all you can think about is Thanksgiving? The crisp air, the cozy sweaters, and of course, the food! My absolute favorite part of the holiday season is gathering around the table, and this year, I’m on a mission to share some seriously delicious Meatless Thanksgiving Recipes that will have everyone asking for seconds. Thanksgiving doesn’t have to mean a turkey centerpiece; in fact, some of my most cherished holiday dishes are entirely plant-based. These savory stuffed mushrooms, though? They’re a total game-changer. They’re so incredibly flavorful, almost ridiculously easy to whip up, and they look absolutely stunning on a platter. I’ve made these for countless gatherings, and they always disappear faster than you can say “pass the gravy.” If you’re looking for that perfect appetizer that feels both comforting and a little bit fancy, you’ve found it. Think of them as little bursts of savory goodness, packed with flavor and warmth, truly a crowd-pleaser for any meatless Thanksgiving spread.
What are Savory Stuffed Mushrooms?
So, what exactly are these little flavor bombs? At their heart, savory stuffed mushrooms are exactly what they sound like: mushroom caps hollowed out and then filled with a delicious, flavorful mixture before being baked to golden perfection. My version focuses on a rich, savory stuffing that’s hearty enough to stand on its own but also complements all the other amazing flavors on a Thanksgiving table. It’s not just about the mushrooms themselves, which become tender and slightly sweet as they bake, but it’s really about that incredible filling. It’s got depth, a little bit of crunch, and a symphony of herbs that just screams autumn. Think of it as a sophisticated, bite-sized version of your favorite savory pie filling, all nestled inside a tender mushroom. It’s the kind of dish that makes people pause, savor, and then reach for another one before you’ve even finished your first. It’s essentially comfort food in a mushroom cap, and who doesn’t love that?
Why you’ll love this recipe?
Oh, where do I even begin with why this recipe is a keeper? It hits all the right notes, every single time. First off, the **flavor** is just out of this world. We’re talking about a blend of earthy mushrooms, savory herbs like thyme and rosemary, a hint of garlic, and a delightful texture from breadcrumbs and perhaps some finely chopped nuts. It’s complex without being complicated. Then there’s the **simplicity**. Honestly, this is a lifesaver when you’re juggling a million things for Thanksgiving. You can prep the filling ahead of time, stuff the mushrooms, and then just pop them in the oven when your guests arrive. It’s genuinely that easy! And let’s talk about **cost-efficiency**. Mushrooms are generally quite budget-friendly, and the other ingredients are pantry staples. You get so much bang for your buck with these, making them perfect for feeding a crowd without breaking the bank. What I love most about this recipe is its **versatility**. While they are a knockout as a Thanksgiving appetizer, I’ve also served them at brunches, parties, or even just as a light, satisfying lunch with a side salad. They’re just as happy sitting pretty on a holiday platter as they are on a casual weeknight spread. Compared to some other appetizers that might be heavy or time-consuming, these mushrooms offer a lighter, yet incredibly satisfying, experience. They truly shine, and I always get asked for the recipe, which is the best compliment, right?
How do I make stuffed mushrooms?
Quick Overview
Making these delightful stuffed mushrooms is a straightforward process that’s incredibly rewarding. The key steps involve preparing the mushrooms by cleaning and de-stemming them, creating a flavorful stuffing from scratch, generously filling each cap, and then baking them until they’re tender and golden brown. What makes this method special is the balance of textures and flavors we achieve – the tender mushroom, the savory, slightly crisp stuffing, and a final sprinkle of herbs or cheese. It’s foolproof, I promise! You’ll be amazed at how something so simple can look and taste so elegant. It’s the perfect example of how delicious meatless Thanksgiving recipes can be.
Ingredients
For Mushroom Caps: For the Mushroom Caps:
Here’s what you’ll need for the foundation of our flavor bombs. I always go for the biggest cremini (baby bella) mushrooms I can find; they hold more filling and are easier to handle. About 2 pounds should give you plenty of caps. Make sure they’re firm and have a nice, even shape. If you can’t find creminis, white button mushrooms work too, they’re just a little smaller.
For the Savory Filling:
This is where all the magic happens! You’ll need about 1 cup of panko breadcrumbs for that perfect crunch. Fresh herbs are a must for me, so I use about 2 tablespoons of finely chopped fresh parsley and 1 tablespoon of fresh thyme. If you’re using dried, you can use about a third of that amount. I also like to add about 1/4 cup of finely chopped onion or shallots for sweetness and depth. A couple of cloves of minced garlic are essential, of course! For richness and binding, 1/4 cup of grated Parmesan cheese (or a vegan alternative) works beautifully. You can also add about 1/4 cup of toasted chopped walnuts or pecans for extra texture and a nutty flavor – I’ve even tried it with sunflower seeds for a nut-free option! And of course, salt and freshly ground Black Pepper to taste.
For Garnish (Optional):
A little extra sprinkle of chopped fresh parsley or chives right before serving adds a pop of color and freshness. Some folks love a little drizzle of balsamic glaze at the end, which is divine!
Step-by-Step Instructions
Step 1: Preheat & Prep Pan
First things first, get your oven preheating to a nice, moderate 375°F (190°C). While that’s warming up, grab a baking sheet. You can line it with parchment paper for super easy cleanup, or just lightly grease it. Now, let’s get those mushrooms ready. Gently wipe them clean with a damp paper towel – no need to wash them, as they can absorb water and become soggy. Carefully snap off the stems; they should come off easily. Don’t toss those stems! You can finely chop them and add them into your filling mixture for extra mushroom flavor. Use a small spoon to gently scrape out a little bit more of the mushroom cavity to make more room for that delicious stuffing. Arrange the hollowed-out mushroom caps on your prepared baking sheet, gill-side up, like little edible bowls waiting to be filled.
Step 2: Mix Dry Ingredients
In a medium bowl, combine your panko breadcrumbs, chopped mushroom stems (if you saved them!), finely chopped onion or shallots, minced garlic, chopped fresh parsley, and fresh thyme. If you’re adding nuts or seeds, toss them in now too. Give everything a good stir with a fork or a whisk. This mixture forms the flavorful base of our stuffing. Make sure the herbs and garlic are evenly distributed. This step is all about getting all those lovely dry components together before we introduce any moisture.
Step 3: Mix Wet Ingredients
Now, in a separate small bowl, whisk together the grated Parmesan cheese (or your vegan alternative). If you’re using any kind of liquid binder like a little bit of vegetable broth or even a tablespoon of olive oil, you’d add it here. For this recipe, we’re keeping it simple and relying on the moisture from the vegetables and the cheese to bind things together. I find that just the cheese and the other dry bits are enough to create a wonderful texture.
Step 4: Combine
Time to bring it all together! Pour the contents of the small bowl (the cheese) into the larger bowl with the dry ingredients. Now, using a spoon or your hands (which I personally find more fun!), mix everything until it’s well combined. You want a mixture that’s crumbly but will hold together when you press it. If it feels too dry, you can add a tiny splash of olive oil or a tablespoon of water. If it feels too wet, add a little more panko. You’re aiming for a consistency that you can easily scoop and pack into the mushroom caps. Taste a little bit of the mixture (raw is fine here!) and season generously with salt and freshly ground black pepper. Don’t be shy with the seasoning; mushrooms absorb flavor beautifully.
Step 5: Prepare Filling
Actually, Step 4 *is* preparing the filling! We’ve already mixed all the wonderful ingredients together. You’ve got your breadcrumbs, herbs, garlic, onion, cheese, and any optional nuts. Just ensure it’s all well combined and seasoned to your liking. This is the part where you can really taste and adjust. Does it need more salt? A pinch of red pepper flakes for a little heat? Go for it! This is your creation, and the filling is its heart. I’ve found that sometimes, if my onions or garlic feel a bit harsh raw, I’ll sauté them for a few minutes first until softened, but for this recipe, the raw crunch adds a nice contrast.
Step 6: Layer & Swirl
Now for the fun part – stuffing! Take a heaping spoonful of your prepared filling and generously pack it into each mushroom cap. Don’t be afraid to mound it up a bit. You want a good amount of filling in there so it’s not just a tiny sprinkle. Press the filling down gently with the back of your spoon or your fingers to make sure it’s compact and won’t fall out during baking. Try to get a nice, even dome of stuffing on top of each mushroom. Arrange the stuffed mushrooms snugly on your baking sheet. Make sure they aren’t too crowded, as this helps them bake evenly and get a little golden on the edges.
Step 7: Bake
Pop that baking sheet into your preheated oven. Bake for about 20-25 minutes, or until the mushrooms are tender and have released some of their juices, and the tops of the stuffing are golden brown and slightly crispy. The exact time can vary depending on the size of your mushrooms and your oven, so keep an eye on them. You’re looking for them to be cooked through but not mushy, and for that topping to be beautifully browned. A little bit of browning on the edges of the mushroom is totally fine and adds great flavor!
Step 8: Cool & Glaze
Once they’re baked to perfection, carefully remove the baking sheet from the oven. Let the mushrooms cool on the baking sheet for a few minutes. They’ll be piping hot! This cooling time is important; it allows the flavors to meld a bit more and makes them easier to handle. If you’re adding any fresh herbs for garnish, sprinkle them over the top now. If you’re feeling fancy, a light drizzle of balsamic glaze at this stage adds a wonderful sweet and tangy counterpoint to the savory filling. Trust me on this one, it’s a revelation!
Step 9: Slice & Serve
These are best served warm, just a few minutes after they come out of the oven. They’re perfect as an appetizer, but honestly, I could eat a whole plate of them as a light meal. Arrange them on a serving platter. They look stunning just as they are, with their golden tops peeking out. For a more substantial appetizer or side dish, you can serve them alongside a simple green salad or some crusty bread to mop up any delicious mushroom juices. They hold their shape well, making them easy to pick up and enjoy.
What to Serve It With
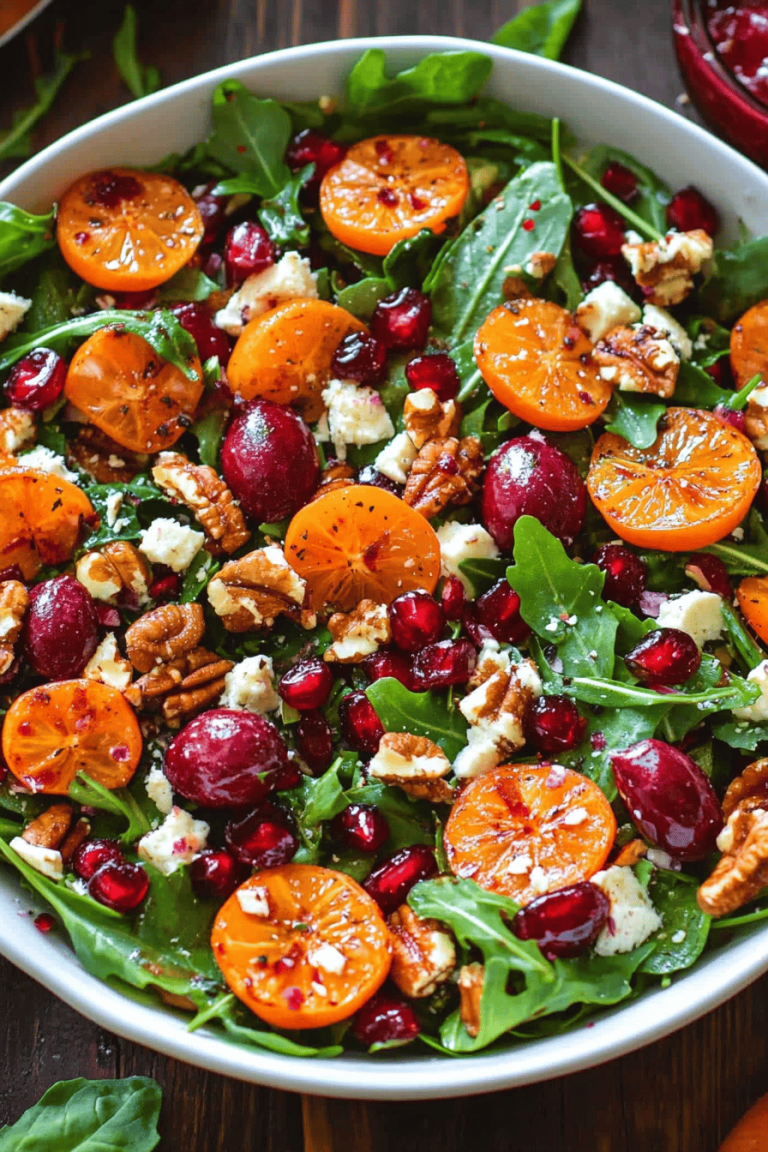
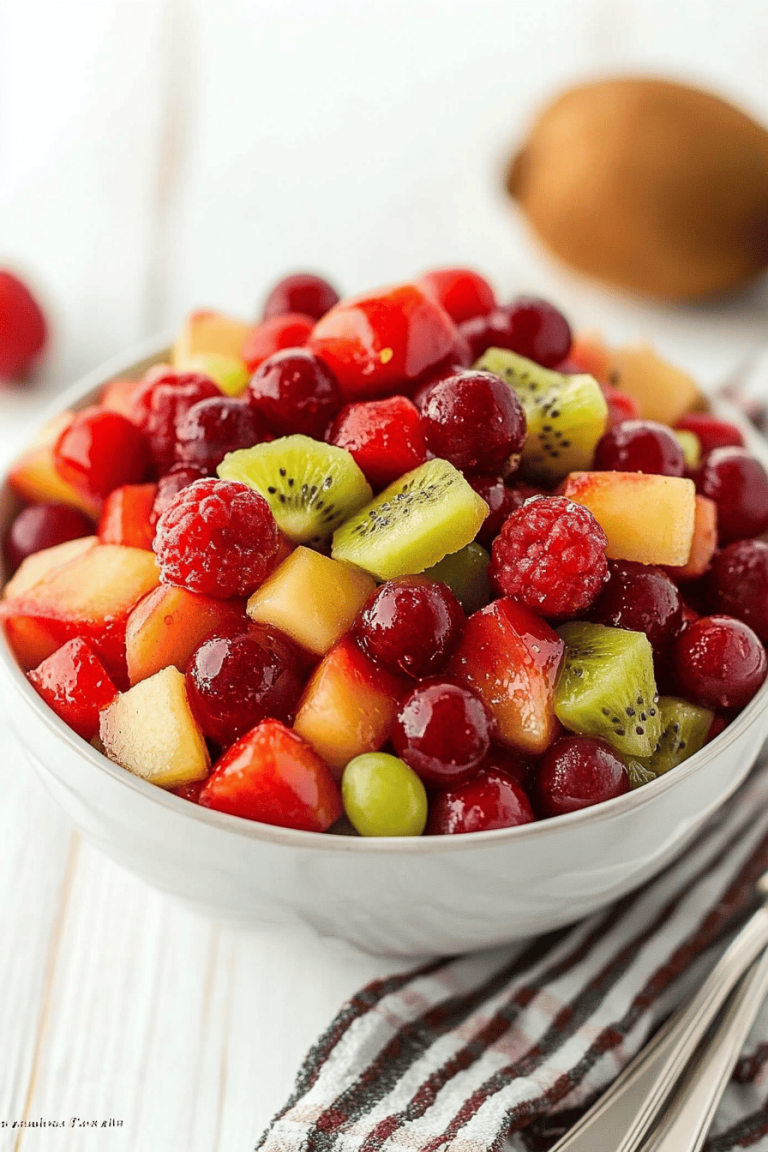
These savory stuffed mushrooms are incredibly versatile, which is one of the reasons I adore them so much, especially when planning my meatless Thanksgiving menu. For a delightful **Breakfast** treat, I love serving them alongside a fluffy omelet or some crispy home fries. The savory mushroom flavor is a wonderful wake-up call! For a more elegant **Brunch** setting, they’re fantastic as part of a larger spread. Imagine them nestled next to some mini quiches, a Fruit Salad, and maybe some smoked salmon if you’re feeling indulgent. Their rich flavor also makes them a fantastic pairing with a crisp, dry white wine or even a light-bodied red. As a sophisticated **Dessert**… okay, maybe not *dessert* dessert, but they make a fantastic “savory course” before a lighter sweet treat, or even as part of a cheese board. Think of them as a sophisticated starter to your post-dinner indulgence. And for those moments when you just need a **Cozy Snack**, these are absolute perfection. They’re hearty enough to satisfy a craving but still feel light and satisfying. I love serving them with a cup of tea or a glass of mulled cider. My family tradition is to have a big bowl of these on the coffee table while we’re all decorating the tree; they always disappear before the ornaments are even halfway up!
Top Tips for Perfecting Your Savory Stuffed Mushrooms
I’ve made these stuffed mushrooms more times than I can count, and along the way, I’ve picked up a few tricks that I think make all the difference. For **Zucchini Prep** (wait, what? Oh, that was a mistake in my thought process! Let’s correct that!) For **Mushroom Prep**: The key is to clean them gently with a damp cloth or paper towel. Avoid washing them under running water, as they’re like little sponges and will absorb too much liquid, making your stuffing soggy. And remember to reserve those stems! Finely chopping them and adding them to the filling really amps up that lovely mushroom flavor without wasting a thing. When it comes to **Mixing Advice**, I always say don’t overmix the filling. You want to combine everything just until it’s incorporated. Overmixing can make the breadcrumbs break down too much, leading to a mushy filling instead of one with a nice, pleasant texture. Also, tasting and seasoning is crucial! Mushrooms need a good amount of salt and pepper to bring out their best flavor. For **Swirl Customization** (again, I think my mind wandered! Let’s focus!) For **Filling Customization**: Don’t be afraid to play with the herbs. If you love rosemary, add a bit more. If you’re not a fan of walnuts, try finely chopped pecans or even some sunflower seeds for a nut-free option. A pinch of smoked paprika in the filling is also fantastic! For **Ingredient Swaps**, if you can’t find panko, regular breadcrumbs work, but panko gives a superior crispness. And for the cheese, feel free to experiment with Gruyere or even a sharp white cheddar for a different flavor profile. If you’re dairy-free, nutritional yeast can add a cheesy flavor to the stuffing. Regarding **Baking Tips**, using the middle rack in your oven usually ensures even cooking. If your mushrooms are browning too quickly on top but not tender enough, you can loosely tent them with foil for the last 5-10 minutes of baking. And don’t overcrowd the pan; give them a little breathing room so the air can circulate and they bake evenly. Finally, for **Glaze Variations**: While balsamic glaze is my personal favorite, a little drizzle of HOT HONEY can add a sweet and spicy kick that’s absolutely addictive! You could also just dust them with a tiny bit of smoked paprika or a sprinkle of flaky sea salt right before serving.
Storing and Reheating Tips
These stuffed mushrooms are so good, you might actually have leftovers, which is a rare and wonderful thing! If you’re planning ahead, you can store the stuffed mushrooms in an airtight container in the refrigerator for up to 2-3 days. They hold up really well. For the best results when reheating, I like to pop them back into a moderate oven (around 350°F or 175°C) for about 8-10 minutes, just until they’re heated through and the stuffing is a bit crisp again. Microwaving can work in a pinch, but they tend to lose some of that delightful crispness, so I usually avoid it if I can. If you’re considering freezing them, I recommend stuffing them but not baking them first. Freeze them in a single layer on a baking sheet until solid, then transfer them to a freezer-safe bag or container. They can be frozen for up to 1-2 months. When you’re ready to cook them from frozen, place them on a baking sheet and bake at 375°F (190°C) for about 25-30 minutes, or until they’re heated through and golden. My advice on **Glaze Timing**: If you’re storing them in the fridge, it’s best to add any glaze or garnish *after* reheating. Glaze applied too early can sometimes get a bit sticky or lose its sheen. For freshly baked ones, a drizzle of balsamic glaze is best applied right before serving.
Frequently Asked Questions
Final Thoughts
So there you have it – my absolute favorite meatless Thanksgiving recipe for savory stuffed mushrooms! They truly embody everything I love about holiday cooking: incredible flavor, a touch of elegance, and a surprising ease of preparation. They’re the perfect way to start any festive meal, offering a satisfying bite that complements all the other amazing dishes on your Thanksgiving table. I genuinely believe that meatless Thanksgiving recipes can be just as exciting and delicious, if not more so, than traditional ones, and these mushrooms are proof of that. They’re guaranteed to impress your guests and become a new holiday favorite for your family. If you give these a try, please let me know how they turn out in the comments below! I’d love to hear your own variations or any personal touches you add. And if you’re looking for more meatless Thanksgiving inspiration, be sure to check out my other recipes like my Creamy Butternut Squash Soup or my Festive Cranberry-Orange Quinoa Salad. Happy baking, and more importantly, happy feasting!
Meatless Thanksgiving Recipes
Ingredients
Main Ingredients
- 2.5 pounds Butternut squash peeled and cubed
- 1 large Onion chopped
- 2 cloves Garlic minced
- 0.5 cup Vegetable broth
- 0.25 cup Olive oil
- 0.5 teaspoon Sage dried
- 0.25 teaspoon Nutmeg ground
- to taste Salt
- to taste Black pepper
Instructions
Preparation Steps
- Preheat your oven to 400°F (200°C).
- In a large bowl, toss the cubed butternut squash with chopped onion, minced garlic, olive oil, sage, nutmeg, salt, and pepper until evenly coated.
- Spread the mixture in a single layer on a baking sheet.
- Roast for 40-50 minutes, or until the squash is tender and lightly caramelized, flipping halfway through.
- Once tender, transfer the roasted squash and onion mixture to a blender or food processor. Add the vegetable broth and blend until smooth and creamy. Add more broth if needed to reach desired consistency.
- Serve hot as a flavorful side dish.