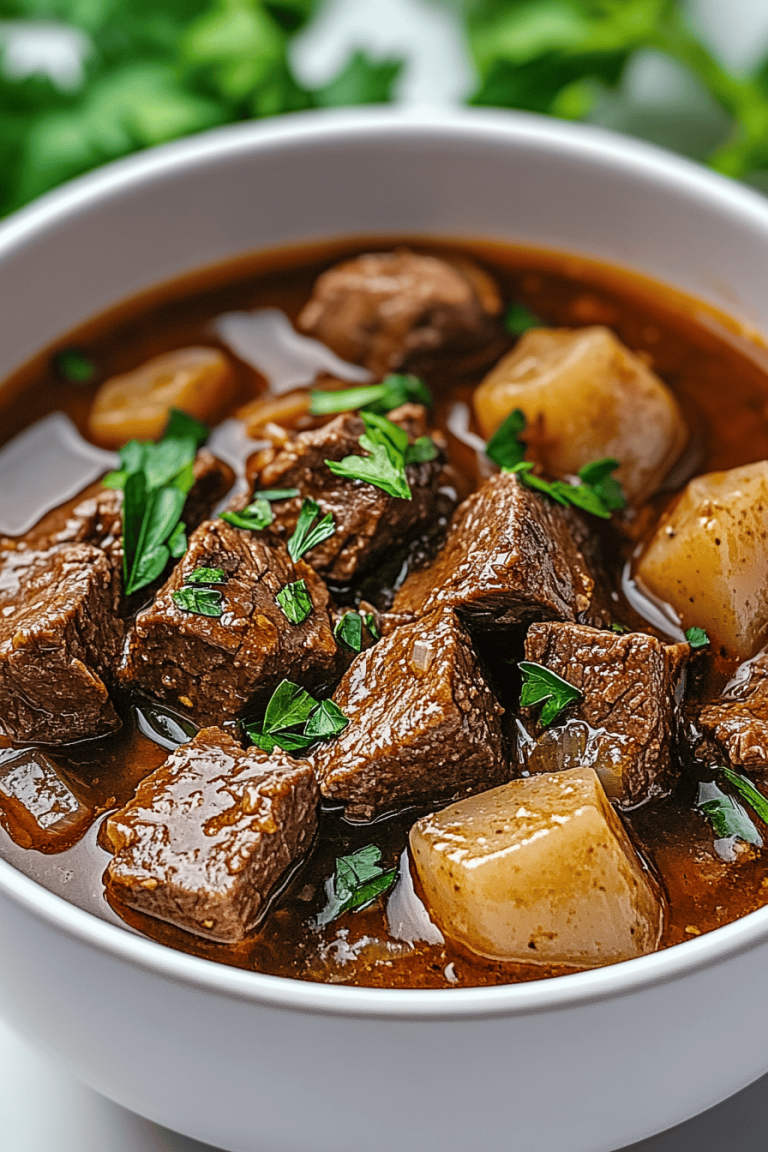
You know that feeling? The holiday feast is over, the leftovers are dwindling, and you’re staring into the fridge, wondering what to do with that last bit of glorious ham. I used to dread this moment, picturing endless ham sandwiches or dry, sad ham stir-fries. But then, a few years ago, during one particularly “what now?” evening, this recipe was born out of pure necessity and a dash of desperation. And let me tell you, it has since become my absolute go-to for transforming humble leftover ham into something truly spectacular. It’s so good, in fact, that my family actually asks for it, even when we don’t have leftover ham! Think of it as a comforting hug in a dish, a savory hug that also happens to be incredibly budget-friendly and surprisingly quick to whip up. It’s the perfect antidote to recipe fatigue, proving that even the simplest ingredients can be elevated into something extraordinary. This isn’t just another way to use up ham; it’s a celebration of flavor and resourcefulness. Honestly, it’s become a staple, a true lifesaver on those nights when cooking feels like too much of a mountain to climb.
What is leftover ham casserole?
So, what exactly is this magical dish I’m raving about? My leftover Ham Casserole is essentially a warm, comforting, and deeply satisfying baked dish that brings together diced ham with creamy, cheesy goodness and often a touch of hearty starch, all baked to golden perfection. Think of it as the ultimate comfort food – a harmonious blend of savory ham, a luscious sauce that coats every bite, and a topping that gets perfectly crispy. It’s not fancy, it’s not complicated, but oh boy, is it delicious. The beauty of it is its adaptability; it’s a blank canvas that welcomes whatever bits and bobs you might have lurking in the pantry or fridge. It’s essentially a hug in a bowl, a dish that speaks to your soul and reminds you why simple, home-cooked meals are the best. It’s the kind of meal that tastes like it took hours, but in reality, you can have it on the table in under an hour, making it perfect for busy weeknights or lazy Sundays alike. It’s the ultimate repurposing of a holiday star into an everyday champion.
Why you’ll love this recipe?
There are so many reasons why I just adore this leftover ham casserole, and I have a feeling you’ll fall in love with it too. First and foremost, the FLAVOR. Oh, the flavor! Even though we’re using leftover ham, which can sometimes be a bit…well, leftover-y, this casserole manages to imbue it with a rich, savory depth that’s just incredibly satisfying. The creamy sauce, often a béchamel-style base with plenty of cheese, clings to every morsel of ham and any other veggies or starches you add. It’s that perfect balance of salty, savory, and creamy that just makes your taste buds sing. Then there’s the SIMPLICITY. This is not a recipe that requires a culinary degree or a day in the kitchen. Most of the hard work is already done by your pre-cooked ham. It’s mostly about chopping, stirring, and baking. It’s a lifesaver when you’re short on time and energy but still want a hearty, delicious meal. And let’s talk COST-EFFICIENCY. After a holiday, nobody wants to spend a fortune on groceries. This casserole is a brilliant way to stretch your budget, using up leftovers and pantry staples to create a meal that feels gourmet without the hefty price tag. It’s proof that delicious food doesn’t have to break the bank. Finally, the VERSATILITY is a huge win for me. What I love most about this recipe is how easily it can be adapted. You can toss in leftover vegetables like peas, carrots, or broccoli. Add some cooked pasta or rice to make it even heartier. The possibilities are endless! It’s also fantastic for meal prepping. You can assemble it ahead of time and just pop it in the oven when you’re ready to eat. It’s a more satisfying and way more flavorful alternative to many other leftover ham recipes, and I find myself reaching for it constantly. It truly embodies comfort and convenience.
How do you make leftover ham casserole?
Quick Overview
This is one of those dishes that comes together surprisingly fast, which is why I love it so much. You’ll essentially sauté any aromatics, whisk up a simple cheese sauce, stir in your diced ham and any chosen additions like veggies or pasta, pour it all into a baking dish, top it off with something crunchy (hello, breadcrumbs!), and bake until it’s bubbly and golden. It’s a straightforward process that’s very forgiving, making it perfect for cooks of all levels. The key is really just combining delicious ingredients and letting the oven do its magic.
Ingredients
For the Heart of the Casserole:
About 2-3 cups diced cooked ham (the star of the show! Use any kind you have)
1 tablespoon olive oil or butter (for sautéing)
1 medium onion, finely chopped (adds a lovely savory base)
2 cloves garlic, minced (because garlic makes everything better)
2 cups cooked pasta (like elbow macaroni, rotini, or penne) or cooked rice, or even leftover mashed potatoes! (This is where you can really get creative and use up other bits)
1 cup frozen peas or mixed vegetables (optional, but adds color and nutrients)
Salt and freshly ground Black Pepper, to taste (start light, the ham is salty!)
For the Creamy Cheese Sauce:
3 tablespoons butter
3 tablespoons all-purpose flour (this is our thickener)
2 cups milk (whole milk makes it richest, but 2% works fine)
1 ½ cups shredded cheese (cheddar, Monterey Jack, Gruyère, or a blend are fantastic choices – good quality cheese melts better!)
For the Crispy Topping:
½ cup breadcrumbs (panko for extra crunch, or regular)
1 tablespoon melted butter
A pinch of paprika (for color and a little smoky depth)
Step-by-Step Instructions
Step 1: Preheat & Prep Pan
First things first, let’s get that oven going. Preheat it to 375°F (190°C). While it’s heating up, grab a 9×13 inch baking dish. You don’t need to grease it heavily, but a quick spray of cooking spray or a light brush of butter ensures nothing sticks. If you’re using pasta or rice, make sure it’s already cooked and ready to go. Chop up your ham into bite-sized pieces – about ½ inch cubes are perfect. Mince your garlic and chop your onion nice and fine. This is the foundation of our flavor!
Step 2: Sauté Aromatics
Grab a medium saucepan or a large skillet over medium heat. Add the tablespoon of olive oil or butter. Once it’s shimmering, toss in your chopped onion. Cook, stirring occasionally, until the onion is softened and translucent, about 5-7 minutes. Then, add your minced garlic and cook for another minute until fragrant. Be careful not to burn the garlic, or it can turn bitter! This step really wakes up the flavors before they even hit the sauce.
Step 3: Make the Creamy Sauce
Now, add the 3 tablespoons of butter to the same saucepan with the onions and garlic. Let it melt completely. Once melted, whisk in the 3 tablespoons of flour. Cook this mixture, whisking constantly, for about 1-2 minutes. This is called a roux, and it’s what will thicken our sauce. You want to cook out the raw flour taste. Gradually pour in the 2 cups of milk, whisking continuously to prevent lumps. Keep whisking until the sauce thickens and is smooth, which should take about 5-8 minutes. Bring it to a gentle simmer, but don’t let it boil rapidly. Season with a little salt and pepper, but remember your ham is salty, so taste as you go!
Step 4: Add Cheese and Ham
Remove the saucepan from the heat. Stir in your shredded cheese, a handful at a time, allowing each batch to melt before adding more. Keep stirring until you have a beautifully smooth and cheesy sauce. Now, gently fold in your diced ham, cooked pasta or rice (or potatoes!), and your optional frozen vegetables. Stir everything together until it’s well combined and coated in that luscious sauce. Give it a final taste and adjust seasoning if needed. If it seems a bit too thick, you can always stir in another splash of milk.
Step 5: Assemble the Casserole
Pour the entire mixture evenly into your prepared baking dish. Spread it out so it’s a nice, even layer. This ensures everything bakes and heats up uniformly.
Step 6: Prepare the Crispy Topping
In a small bowl, combine the ½ cup of breadcrumbs, 1 tablespoon of melted butter, and a pinch of paprika. Toss them together until the breadcrumbs are evenly coated. This little step adds a fantastic crunch and a beautiful golden color to the top of your casserole. It’s my favorite part!
Step 7: Top and Bake
Sprinkle the prepared breadcrumb mixture evenly over the top of the casserole. Make sure to cover the entire surface. Place the baking dish in your preheated oven.
Step 8: Bake Until Bubbly
Bake for 20-25 minutes, or until the casserole is heated through, the sauce is bubbling around the edges, and the topping is golden brown and crispy. Keep an eye on it to make sure the breadcrumbs don’t get too dark. If they are browning too quickly, you can loosely tent the dish with foil.
Step 9: Rest and Serve
Once it’s out of the oven, let the casserole rest for about 5-10 minutes before serving. This allows the sauce to set up a bit, making it easier to serve and preventing it from being too soupy. Then, dive in and enjoy this incredibly comforting dish!
What to Serve It With
This leftover ham casserole is so hearty and complete on its own, but it also pairs beautifully with a few things to round out the meal or change up the experience. For a comforting BREAKFAST, I sometimes serve a small scoop alongside a perfectly poached egg. The runny yolk mixing with the casserole is pure bliss. It’s a hearty start that keeps you going all morning. For BRUNCH, it feels a little more elegant when served with a fresh green salad tossed with a light vinaigrette. The crispness of the salad cuts through the richness of the casserole beautifully. A side of fresh fruit also adds a lovely brightness. If you’re looking for a comforting DESSERT alternative or just something sweet after dinner, this isn’t it! But as a hearty afternoon treat, it’s perfect. For COZY SNACKS, a dollop of this casserole topped with a bit of extra cheese and a quick broil can be incredibly satisfying on a chilly evening. It’s like a more substantial, savory cousin to a baked potato. Honestly, it’s so versatile that it can fit into almost any meal occasion depending on what you pair it with. I’ve even served it as a side dish to a simple grilled CHICKEN BREAST when I’ve had a smaller amount of leftover ham.
Top Tips for Perfecting Your Leftover Ham Casserole
Over the years, I’ve learned a few tricks that make this leftover ham casserole even better. Let’s dive into some of my favorite tips and tricks so you can achieve casserole perfection. For the ham itself, the finer you dice it, the better it distributes throughout the casserole. I aim for about a ½-inch dice. If you have particularly lean ham, you might want to add a little extra butter to the sauce to compensate for the lack of fat. When it comes to the sauce, whisking is your best friend. Start with cold or room-temperature milk when adding it to the roux; it helps prevent lumps. If you do get a few lumps, don’t panic! You can often whisk them out over low heat, or even give it a quick blitz with an immersion blender if you’re really worried. For the cheese, I highly recommend shredding your own from a block. Pre-shredded cheeses often have anti-caking agents that can make your sauce a little less smooth. Experiment with different cheese combinations! A sharp cheddar is classic, but adding some Gruyère for nuttiness or Monterey Jack for meltiness is divine. If you’re adding vegetables, make sure they are cooked or at least thawed. Don’t use raw, hard vegetables like carrots directly from the bag, or they won’t cook through in the baking time. I learned this the hard way! For the breadcrumb topping, panko breadcrumbs give an unbelievably crispy texture, but regular breadcrumbs work too. You can even add a sprinkle of dried herbs like thyme or parsley to the breadcrumb mixture for an extra layer of flavor. If your casserole seems a bit dry, don’t be afraid to add a little extra milk to the sauce before baking. Conversely, if it seems too wet, a bit more flour in the roux stage can help. Baking time is always an estimate, so trust your eyes and your nose – you want to see bubbling edges and smell that wonderful, cheesy aroma. My biggest secret? Don’t overcook it! Overcooked casserole can become rubbery and dry. Aim for that perfect point where it’s heated through and bubbly, then let it rest.
Storing and Reheating Tips
One of the best things about this leftover ham casserole is how well it stores and reheats. If you have any leftovers (which is rare in my house, but it happens!), let the casserole cool completely at room temperature before storing. Once cooled, cover the baking dish tightly with plastic wrap or aluminum foil, or transfer the casserole to an airtight container. Stored properly in the refrigerator, it should last for about 3-4 days. For the best quality, I always try to eat it within those first few days. If you plan to freeze it, I recommend freezing individual portions in freezer-safe containers or bags. It freezes beautifully and can be kept in the freezer for up to 2-3 months. When you’re ready to reheat, there are a few ways to go about it. From the refrigerator, you can reheat individual portions in the microwave for 1-2 minutes, or the whole dish in a 350°F (175°C) oven for about 20-30 minutes, or until heated through. If reheating from frozen, it will take longer. For the oven, you might need 45-60 minutes, covered loosely with foil for the first part of baking to prevent the top from burning, then uncovered to crisp up. Microwaving from frozen will take about 5-7 minutes, stirring halfway through. The key is to reheat gently to avoid drying it out. I find that adding a tiny splash of milk or a small pat of butter on top before reheating can help restore some of that creamy moisture.
Frequently Asked Questions
Final Thoughts
So there you have it – my beloved leftover ham Casserole Recipe! It’s the kind of dish that proves you don’t need a fancy ingredient list or a complicated process to create something truly satisfying and delicious. It’s hearty, comforting, and so incredibly adaptable, making it perfect for any occasion, whether it’s a busy weeknight dinner or a cozy weekend meal. What I love most is the feeling of accomplishment knowing I’ve transformed a humble leftover into a star. It’s a true testament to the magic of home cooking. If you’re a fan of comforting casseroles and delicious ways to use up leftovers, I think you’ll really fall in love with this one. Give it a try, and I can’t wait to hear how yours turns out! Don’t forget to leave a comment below with your favorite additions or variations – I’m always looking for new ways to make this dish even more amazing. Happy cooking!

leftover ham casserole
Ingredients
Main Ingredients
- 2 cups cubed cooked ham
- 1 can condensed cream of mushroom soup 10.5 oz
- 0.5 cup milk
- 1 cup shredded cheddar cheese
- 1 cup cooked egg noodles
- 0.5 cup crushed potato chips for topping
Instructions
Preparation Steps
- Preheat your oven to 375°F (190°C). Grease a 9x13 inch baking dish.
- In a large bowl, combine the cubed ham, condensed cream of mushroom soup, milk, cheddar cheese, and cooked egg noodles.
- Pour the mixture into the prepared baking dish and spread evenly.
- Top the casserole with the crushed potato chips.
- Bake for 30 minutes, or until the casserole is bubbly and the topping is golden brown.
- Let stand for a few minutes before serving.