There are few things that instantly transport me back to my childhood like the smell of barbecue smoke on a summer evening. And in my family, no barbecue is complete without a generous slathering of that quintessential Kansas City BBQ sauce. It’s the stuff of legend, really. Forget those watery, one-note sauces you find in the grocery store; this is the real deal. I’ve spent years perfecting this particular Kansas City BBQ sauce recipe, tweaking and tasting until it hit that perfect balance of sweet, tangy, and smoky that makes your taste buds sing. It’s the kind of sauce that makes even a simple grilled CHICKEN BREAST taste like a gourmet meal. If you’ve ever had authentic KC barbecue, you know what I’m talking about. It’s rich, it’s complex, and it’s surprisingly easy to whip up at home. I’m so excited to share this with you because, honestly, it’s a lifesaver on busy weeknights when you need to elevate dinner in a hurry.
What is Kansas City BBQ sauce?
So, what exactly makes a sauce a “Kansas City BBQ sauce”? Think of it as the king of barbecue sauces, a true crowd-pleaser with a flavor profile that’s robust and undeniably delicious. It’s essentially a tomato-based sauce that leans heavily on a delightful interplay of sweet and tangy elements, often with a good kick of spice. Unlike some of its regional counterparts – say, a vinegar-heavy Carolina sauce or a mustard-based option from Alabama – Kansas City BBQ sauce is known for its rich, thick consistency and its complex layers of flavor. It’s not just about heat; it’s about a symphony of ingredients that come together to create something truly special. It’s the kind of sauce that begs to be drizzled, brushed, and dipped. It’s less about a single dominant flavor and more about a harmonious blend that complements, rather than overpowers, whatever deliciousness it’s paired with.
Why you’ll love this recipe?
What are some of the reasons why I love this Kansas City BBQ sauce recipe?flavor is just out of this world. It’s got that perfect balance: a deep sweetness from the molasses and brown sugar, a bright tang from the vinegar, a subtle warmth from the spices, and a smoky depth that really makes it sing. It’s the kind of flavor that makes you close your eyes and savor every bite. Then there’s the simplicity. I know it might sound intimidating to make your own sauce, but trust me, this is remarkably easy. Most of the ingredients are pantry staples, and you can have a batch ready in under an hour. What I love most about this is its incredible versatility. It’s not just for ribs (though it’s phenomenal on ribs!). I use it on Pulled Pork, grilled chicken, burgers, even as a dip for sweet potato fries. It’s seriously a game-changer for so many meals. And let’s not forget how cost-efficient this is. Making your own sauce is significantly cheaper than buying high-quality store-bought versions, and you get so much more flavor. Plus, I know exactly what’s going into it – no weird additives or preservatives here! It’s truly a win-win-win. If you’re a fan of classic barbecue flavors, this recipe is going to be your new best friend.
How do I make Kansas City BBQ Sauce?
Quick Overview
This Kansas City BBQ sauce recipe is all about building layers of flavor in One Pot. We’ll start by sautéing some aromatics to build a savory base, then combine all our liquid and spice ingredients, and finally, let it simmer gently until it thickens and the flavors meld beautifully. It’s a straightforward process that doesn’t require fancy equipment or advanced techniques, making it totally achievable for any home cook. The magic really happens during the simmer, where all those individual ingredients transform into a rich, cohesive sauce that’s nothing short of spectacular.
Ingredients
For the Savory Base:
2 tablespoons olive oil
1 medium yellow onion, finely chopped
2 cloves garlic, minced
For the Sauce Body:
2 cups ketchup (I prefer a good quality, not too sweet one)
1/2 cup apple cider vinegar (for that signature tang)
1/4 cup molasses (this is key for depth and color)
1/4 cup packed dark brown sugar (you can adjust this slightly to your sweetness preference)
2 tablespoons Worcestershire sauce (adds an umami punch)
1 tablespoon Dijon mustard
1 teaspoon smoked paprika (for that essential smoky aroma)
1/2 teaspoon Black Pepper
1/4 teaspoon cayenne pepper (or more, if you like it spicy!)
Pinch of salt, to taste (you might not need much with the other salty ingredients)
Step-by-Step Instructions
Step 1: Sauté Aromatics
Grab a medium-sized saucepan or Dutch oven. Heat the olive oil over medium heat. Add the finely chopped onion and cook, stirring occasionally, until it’s softened and translucent, about 5-7 minutes. You don’t want it to brown too much, just get nice and tender. Then, add the minced garlic and cook for another minute until fragrant. Be careful not to burn the garlic, as it can turn bitter.
Step 2: Add Sauce Ingredients
Pour in the ketchup, apple cider vinegar, molasses, brown sugar, Worcestershire sauce, and Dijon mustard. Give everything a good stir to combine.
Step 3: Stir in Spices
Add the smoked paprika, black pepper, cayenne pepper, and a pinch of salt. Stir everything together until all the spices are well incorporated. Make sure there are no clumps of spice or brown sugar.
Step 4: Simmer and Thicken
Bring the sauce to a gentle simmer over medium-low heat. Once it’s simmering, reduce the heat to low, cover the pot loosely (to prevent splattering but allow steam to escape), and let it cook for at least 30 minutes, or up to an hour. The longer it simmers, the thicker it will get and the more the flavors will deepen and meld. Stir occasionally to prevent it from sticking to the bottom of the pan.
Step 5: Taste and Adjust
After simmering, carefully taste the sauce. This is where you make it your own! Does it need more tang? Add a splash more vinegar. Not sweet enough? A little more brown sugar or molasses. Want more heat? A pinch more cayenne. This step is crucial for getting it *just right* for your preference.
Step 6: Cool Down
Once you’re happy with the flavor, remove the sauce from the heat and let it cool for about 15-20 minutes before you plan to use it or store it. It will continue to thicken as it cools.
Step 7: Blend (Optional for Smoother Sauce)
If you prefer a super smooth sauce without any onion bits, you can carefully transfer it to a blender or use an immersion blender to blend it until it’s silky smooth. Be very careful when blending hot liquids!
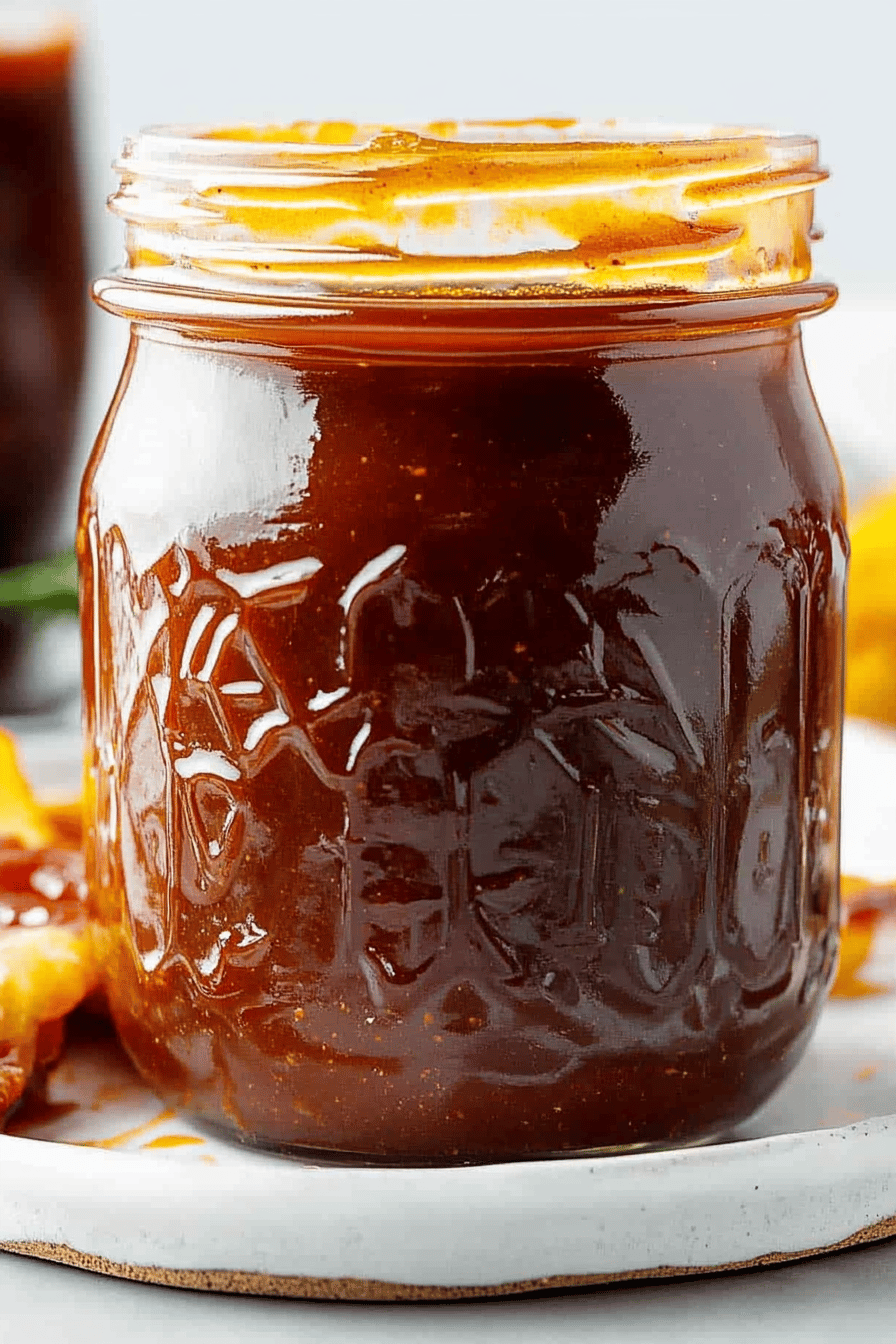
Step 8: Store
Once completely cooled, transfer the sauce to an airtight container or mason jars. It will keep in the refrigerator for a good couple of weeks.
Step 9: Serve and Enjoy!
Now the fun part! Brush it on your favorite grilled meats, use it as a dip, or get creative. This sauce is meant to be enjoyed liberally!
What to Serve It With
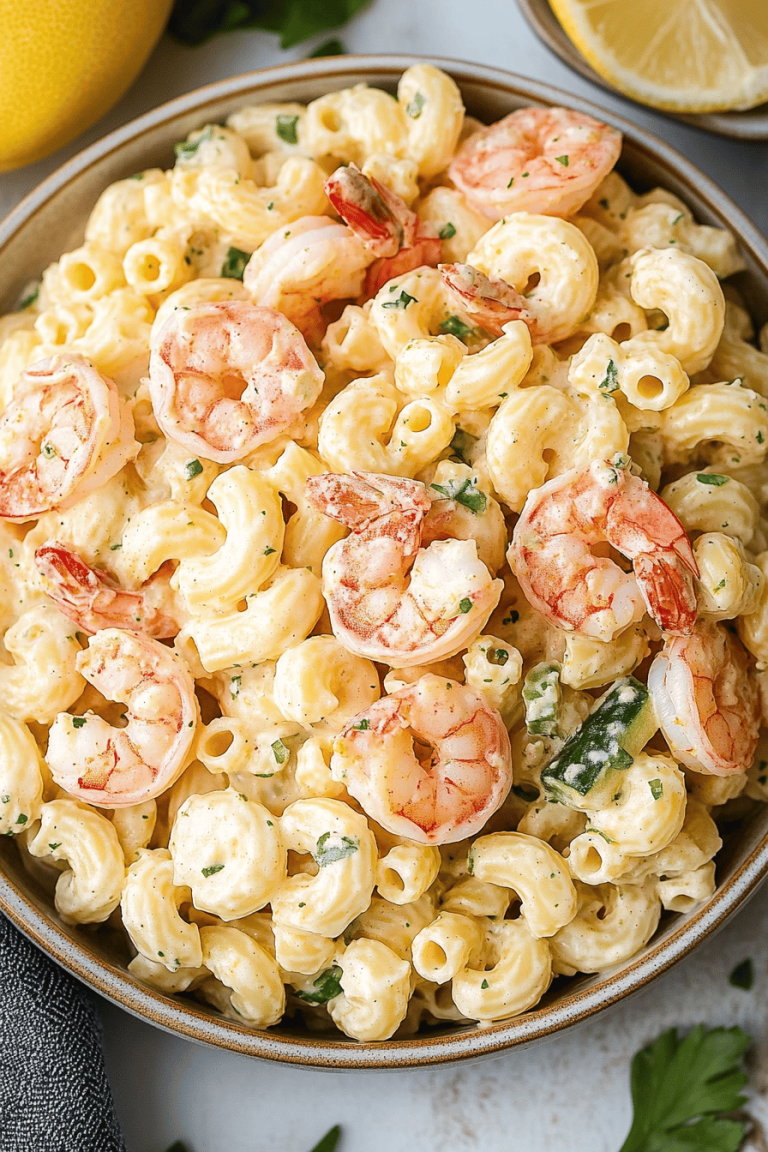
This Kansas City BBQ sauce is incredibly versatile, which is one of the main reasons I keep a jar of it in my fridge at all times. For those classic barbecue nights, it’s an absolute must for ribs (baby back or spare ribs, it doesn’t matter!), pulled pork sandwiches, and grilled chicken thighs. If you’re firing up the grill for burgers, a generous dollop on top is pure magic. I also love to drizzle it over a rack of smoked brisket. But it’s not just for grilled meats! It’s fantastic as a dipping sauce for sweet potato fries or even onion rings. My kids also go crazy for it when I make homemade chicken nuggets; they’re way better with this sauce than any store-bought version. On a really lazy night, I’ve even stirred a bit into baked beans to give them an extra flavor boost. It’s also surprisingly good as a base for a quick cocktail sauce if you’re serving shrimp. The possibilities are really endless, and it always seems to make everything taste a little bit more special and a lot more delicious.
Top Tips for Perfecting Your Kansas City BBQ Sauce
Over the years, I’ve learned a few tricks that really make this Kansas City BBQ sauce recipe shine. First, when it comes to the onions, don’t skip sautéing them until they’re soft and translucent. This step releases their sweetness and mellows their bite, creating a much smoother flavor base for the sauce. Burning the garlic is an easy mistake to make, so keep an eye on it and just cook it until it’s fragrant, about 30 seconds to a minute. For the molasses, I find that a good quality unsulphured molasses works best. It provides that characteristic deep, rich flavor without any bitterness. If you can’t find it, you can use dark corn syrup in a pinch, but molasses is truly preferred for that authentic KC taste. When it comes to the simmer time, patience is key! While 30 minutes is the minimum, letting it go for an hour or even a little longer allows the flavors to meld and the sauce to thicken beautifully. I’ve found that stirring every 10-15 minutes during the simmer is crucial to prevent sticking and ensure even cooking. Don’t be afraid to taste and adjust the seasonings at the end – that’s where you truly personalize it. Some people like it sweeter, some tangier, some spicier. My family likes a good balance with a noticeable tang, so I usually stick to the recipe, but feel free to experiment! If you’re aiming for an ultra-smooth sauce, the immersion blender is your best friend. Just be sure to let it cool slightly before blending, or you risk a very hot, splattery mess. And when it comes to the cayenne pepper, start with a little and add more if you’re unsure. You can always add more heat, but you can’t take it away!
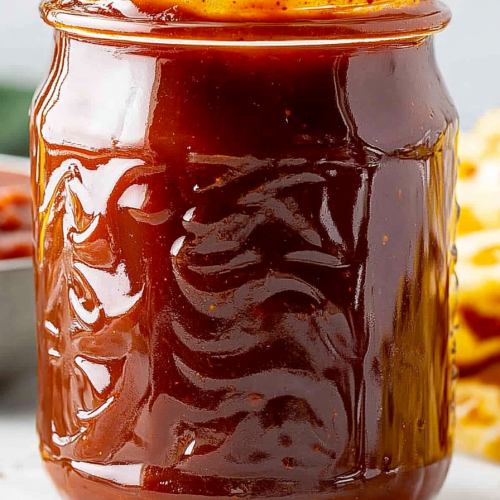
Storing and Reheating Tips
One of the best things about making a big batch of this Kansas City BBQ sauce is how well it stores. Once it’s completely cooled (and I mean *completely* cooled, this is important for preventing condensation that can lead to spoilage), I like to transfer it into clean glass jars with tight-fitting lids. It will keep beautifully in the refrigerator for a good two to three weeks. I’ve tested this numerous times, and the flavor actually seems to get even better after a day or two as the spices have more time to meld. If you find it’s gotten a little too thick after refrigerating, you can easily thin it out with a tablespoon or two of water or apple cider vinegar when you’re ready to use it. For longer storage, this sauce freezes incredibly well. I usually divide it into smaller portions in freezer-safe containers or even ice cube trays – the cubes are perfect for small amounts when you just need a little boost. It will stay good in the freezer for about 3-4 months. To thaw, just transfer it to the refrigerator overnight. Reheating is super simple; you can do it gently on the stovetop over low heat, or even microwave small portions. Just remember to stir it well as it heats up.
Frequently Asked Questions
Final Thoughts
I truly believe that once you make this Kansas City BBQ sauce recipe, you’ll understand why it’s become such a staple in my home. It’s more than just a condiment; it’s a flavor enhancer, a memory-maker, and honestly, a culinary confidence booster. It takes a little bit of simmering, but the payoff is immense – a rich, complex, homemade sauce that far surpasses anything you can buy in a jar. It’s the perfect balance of sweet, tangy, and smoky, and it has a way of making even the simplest grilled chicken or burger feel incredibly special. If you love that classic, craveable barbecue flavor, you owe it to yourself to try this. Don’t be afraid to tweak it to your own taste buds – that’s part of the fun! I’d love to hear how yours turns out, so please leave a comment below and tell me what you think, or share your favorite ways to use this sauce. Happy cooking, and even happier eating!
Kansas City BBQ Sauce Recipe
Ingredients
Main Ingredients
- 2 cups Ketchup
- 0.5 cups Apple Cider Vinegar
- 0.25 cups Brown Sugar packed
- 0.25 cups Worcestershire Sauce
- 2 tablespoons Molasses
- 1 tablespoon Smoked Paprika
- 1 teaspoon Garlic Powder
- 0.5 teaspoon Onion Powder
- 0.5 teaspoon Black Pepper
- 0.25 teaspoon Cayenne Pepper optional, for a little heat
Instructions
Preparation Steps
- In a medium saucepan, combine all ingredients: ketchup, apple cider vinegar, brown sugar, Worcestershire sauce, molasses, smoked paprika, garlic powder, onion powder, black pepper, and cayenne pepper (if using).
- Stir everything together until well combined.
- Place the saucepan over medium heat and bring the mixture to a simmer, stirring occasionally.
- Once simmering, reduce the heat to low and let it cook for at least 30 minutes, stirring every 5-10 minutes. This allows the flavors to meld and the sauce to thicken.
- Remove from heat and let the sauce cool slightly before serving. It will thicken further as it cools.
- Transfer the sauce to an airtight container and store in the refrigerator. It will keep for up to 2 weeks.