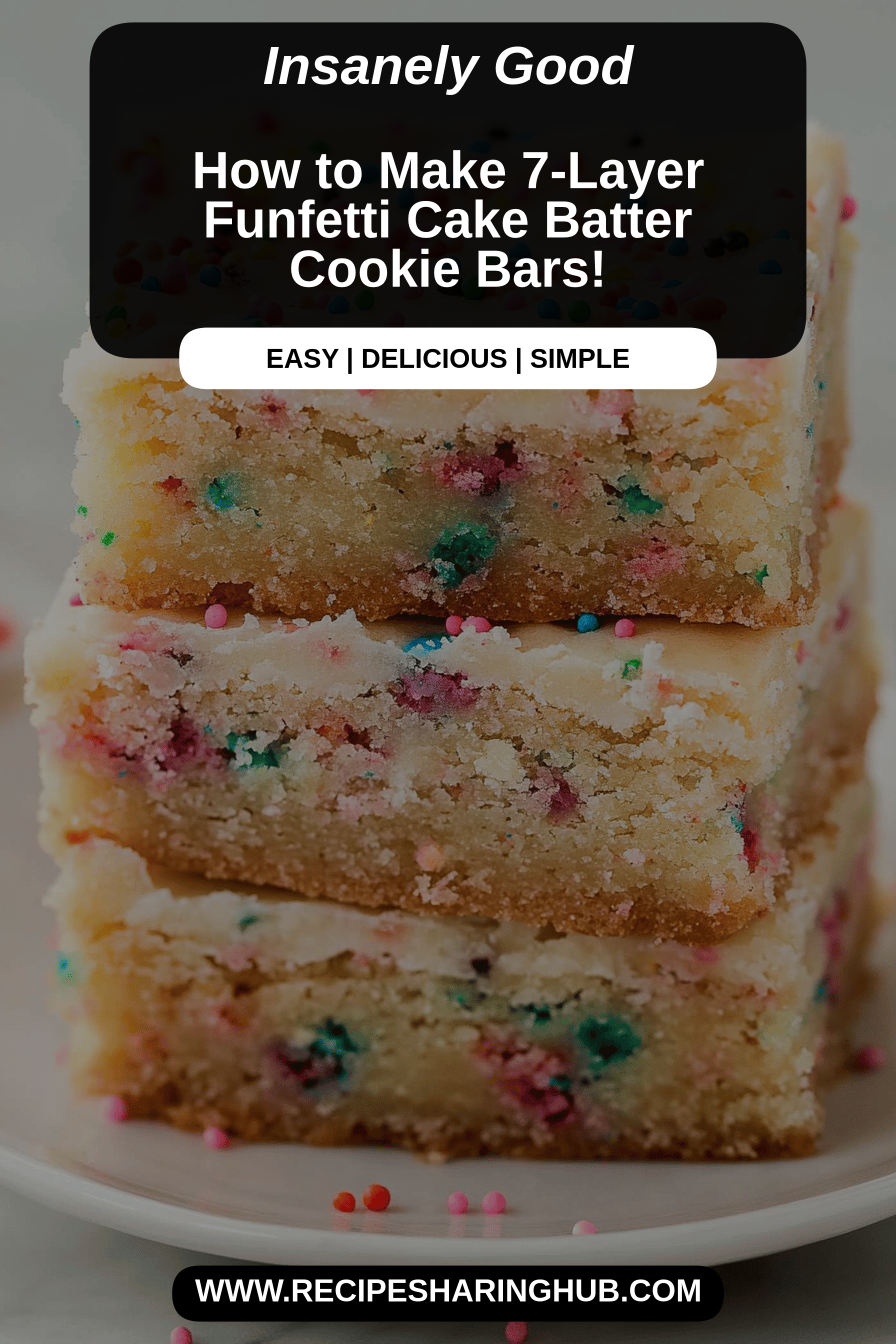
Okay, you guys, I have something seriously special to share today. You know those moments when you just need a hug in dessert form? Or when you’re trying to impress someone without spending hours slaving away in the kitchen? This recipe, these Funfetti Cake Batter Cookie Bars, are that hug. They’re pure sunshine, happy memories, and an explosion of flavor all rolled into one ridiculously easy treat. I swear, the first time I made these, my entire house smelled like a birthday party, and my kids came running from their rooms, eyes wide with wonder. It’s like taking the best part of a cake – that sweet, vanilla-y, magical cake batter – and transforming it into a chewy, decadent bar that’s even better than the original. Forget complicated layer cakes for a minute, because these bars are the ultimate shortcut to pure, unadulterated happiness. They’re pretty much my go-to when the sweet craving hits hard after dinner, or when I need a quick, impressive dessert for a last-minute get-together. Honestly, these Funfetti Cake Batter Cookie Bars are a lifesaver!
What are Funfetti
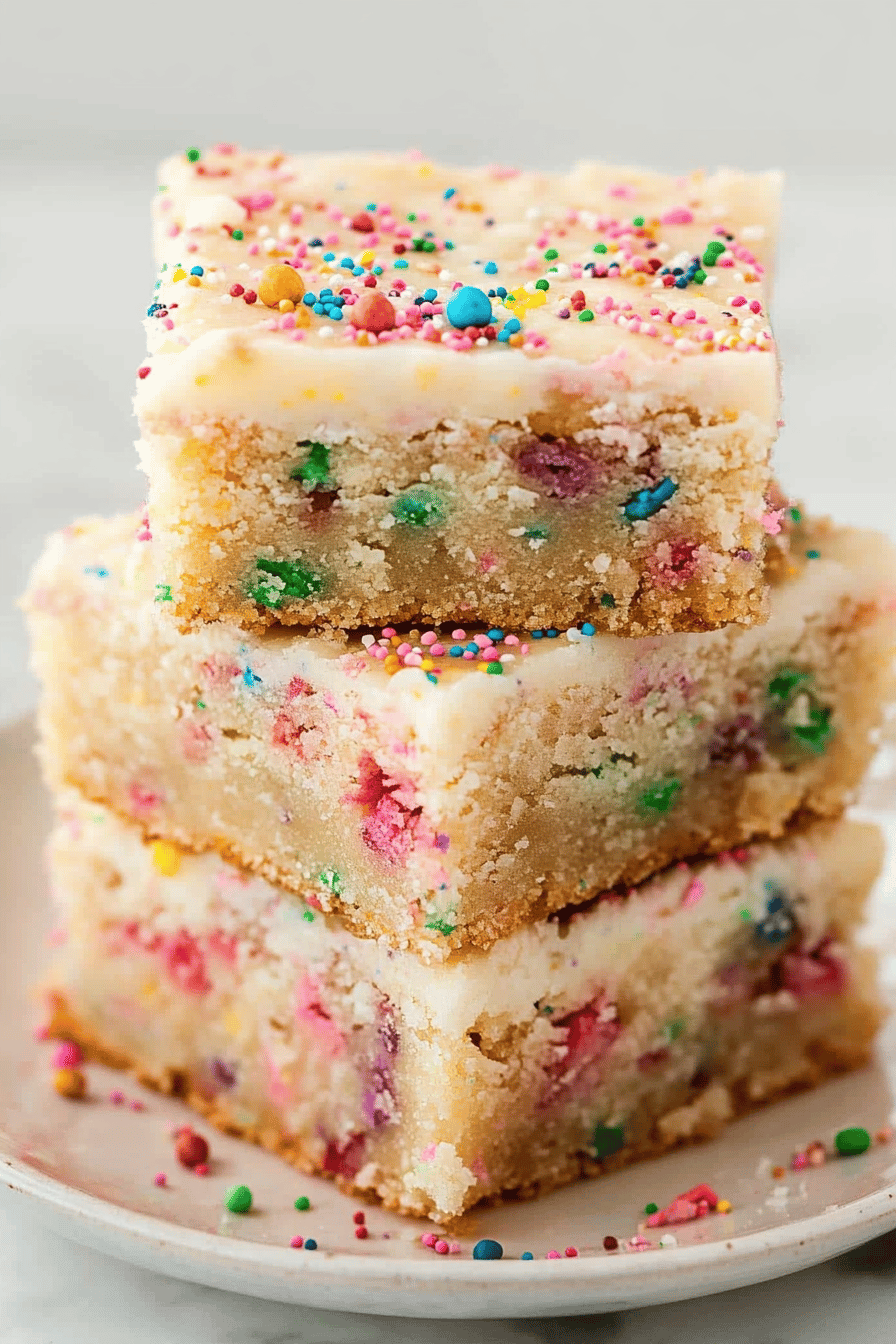
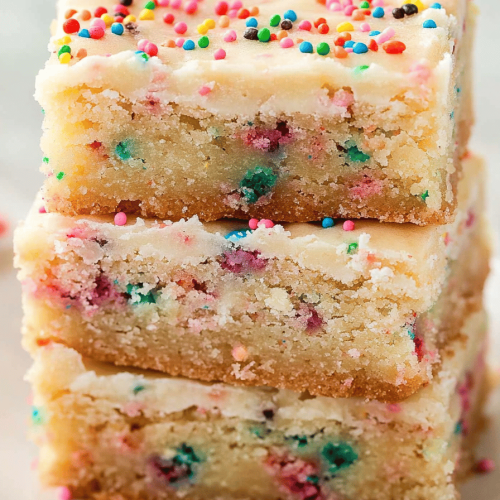
So, what exactly *are* Funfetti Cake Batter Cookie Bars? Think of it as the best of both worlds, mashed up into one glorious pan. It’s essentially a super soft, slightly Chewy Sugar cookie dough that’s loaded with those iconic rainbow sprinkles – hence the “Funfetti” part. But here’s the magic: instead of just being a cookie, it’s baked into bars! This means no more rolling and scooping individual cookies, which is a lifesaver on busy days. And the “cake batter” aspect? That comes from the specific flavor profile – that unmistakable sweet, rich vanilla taste that you get right from the bowl before it even hits the oven. We’re capturing that essence perfectly here. It’s that comforting, nostalgic flavor we all know and love, but in a form that’s way easier to slice and share. It’s not quite a cookie, not quite a brownie, but something wonderfully in between, with a delightful chewiness and a pop of colorful sprinkles in every single bite. It’s pure joy, really!
Why you’ll love
Honestly, there are so many reasons why I keep coming back to this recipe, and I just know you’re going to fall head over heels for it too. Let’s start with the obvious: the flavor. Oh, the flavor! It’s like a party in your mouth. The sweetness is perfectly balanced, not cloying, with that comforting vanilla base that just sings. And those sprinkles? They add such a fun visual pop and a little textural surprise. But it’s not just about taste. This recipe is ridiculously simple to whip up. I’m talking minimal fuss, maximum deliciousness. You don’t need any fancy equipment or obscure ingredients. Everything you need is likely already in your pantry. Plus, the cost-efficiency is fantastic! You get a ton of delicious bars from one batch, making it perfect for feeding a crowd without breaking the bank. What I love most about these Funfetti Cake Batter Cookie Bars is their versatility. They’re fantastic on their own, but you can totally jazz them up. I’ve even seen people add a CREAM CHEESE frosting or a drizzle of white chocolate, though I think they’re absolutely perfect just as they are with their simple glaze. Compared to a full cake that requires multiple pans and careful frosting, these bars are an absolute dream. They’re sturdy enough to transport, easy to slice, and everyone always raves about them. They’re a guaranteed crowd-pleaser and a definite keeper in my recipe collection, and I’m so excited to add it to yours!
How do I make Funfett
Quick Overview
This recipe is all about simplicity and maximum flavor payoff. We’re essentially making a wonderfully soft sugar Cookie Dough, swirling in a simple, sweet filling, and baking it all into a glorious pan of bar goodness. The process is straightforward: cream your butter and sugars, add your wet ingredients, then fold in the dry, and finally, mix in those festive sprinkles. A quick swirl of a sweet, creamy filling takes it to the next level, and a simple glaze ties it all together. It’s designed to be foolproof, even if you’re new to baking. You’ll be amazed at how quickly these come together, and the results are consistently delightful. Trust me, it’s way easier than you might think!
Ingredients
For the Main Batter:
Here’s what you’ll need for the star of the show – that irresistible cookie dough base. I always make sure to use softened, but not melted, butter. It makes all the difference in getting that perfect texture.
- 1 cup (2 sticks) unsalted butter, softened
- 1 1/2 cups granulated sugar
- 2 large eggs
- 1 teaspoon vanilla extract (use the good stuff, it matters!)
- 2 3/4 cups all-purpose flour
- 1 teaspoon baking soda
- 1/2 teaspoon salt
- 1/2 cup rainbow sprinkles (jimmies style work best for that classic look)
For the Filling:
This little addition really elevates the bars, giving them an extra layer of creamy sweetness. It’s super quick to mix up.
- 4 ounces cream cheese, softened
- 1/4 cup unsalted butter, softened
- 1/2 cup powdered sugar
- 1 teaspoon vanilla extract
For the Glaze:
A simple glaze adds a touch of elegance and extra sweetness. You can adjust the consistency by adding more or less milk.
- 1 cup powdered sugar
- 2-3 tablespoons milk (or heavy cream for extra richness)
- 1/2 teaspoon vanilla extract
Step-by-Step Instructions
Step 1: Preheat & Prep Pan
First things first, let’s get our oven ready. Preheat it to 350°F (175°C). Then, grab a 9×13 inch baking pan. I like to line mine with parchment paper, leaving an overhang on the sides. This is my secret weapon for easy removal! Just grease your pan really well, then lay in the parchment paper, letting it drape over the edges. This makes lifting the baked bars out so much simpler, and cleanup is a breeze. Don’t skip this step!
Step 2: Mix Dry Ingredients
In a medium bowl, whisk together your all-purpose flour, baking soda, and salt. Just a quick whisk to combine everything evenly. We want to make sure the leavening agent is distributed throughout, so we get a nice, even bake. Set this aside for now.
Step 3: Mix Wet Ingredients
In a large bowl, cream together the softened butter and granulated sugar. I like to use an electric mixer for this, but you can absolutely do it by hand if you’re feeling ambitious! Beat them until the mixture is light and fluffy – this usually takes about 2-3 minutes. Then, beat in the eggs, one at a time, followed by the vanilla extract. Make sure each egg is fully incorporated before adding the next. You’re looking for a smooth, creamy mixture.
Step 4: Combine
Gradually add the dry ingredients to the wet ingredients. Mix on low speed or by hand just until everything is combined. Be careful not to overmix here! Overmixing can lead to tough cookies, and we definitely don’t want that. Once it’s just combined, gently fold in those colorful rainbow sprinkles. The dough will be thick and wonderfully speckled.
Step 5: Prepare Filling
While the dough chills slightly (or while you clean up a bit), let’s whip up that simple filling. In a small bowl, beat together the softened cream cheese and softened butter until smooth. Then, beat in the powdered sugar and vanilla extract until everything is well combined and creamy. It should be a nice, smooth consistency, easy to spread.
Step 6: Layer & Swirl
Take about two-thirds of your cookie dough and press it evenly into the bottom of your prepared baking pan. Make sure it covers the entire bottom. Then, dollop spoonfuls of the cream cheese filling over the dough. Now, take the remaining one-third of the cookie dough and crumble it over the filling. Use a knife or a toothpick to gently swirl the filling into the crumbly dough. Don’t over-swirl; you want to see distinct ribbons of the filling throughout the cookie dough.
Step 7: Bake
Pop the pan into your preheated oven. Bake for 25-30 minutes, or until the edges are lightly golden brown and the center is set. You can test for doneness by inserting a toothpick into the center – it should come out with a few moist crumbs attached, but not wet batter. Keep an eye on it, as oven temperatures can vary!
Step 8: Cool & Glaze
This is crucial for the perfect texture! Let the bars cool completely in the pan on a wire rack. I know it’s tempting to dive in, but trust me, letting them cool makes them so much easier to cut and gives them that perfect chewy texture. Once they’re completely cool, whisk together the glaze ingredients until smooth. You want a drizzle-able consistency. Drizzle it over the cooled bars. Let the glaze set for about 15-30 minutes before slicing.
Step 9: Slice & Serve
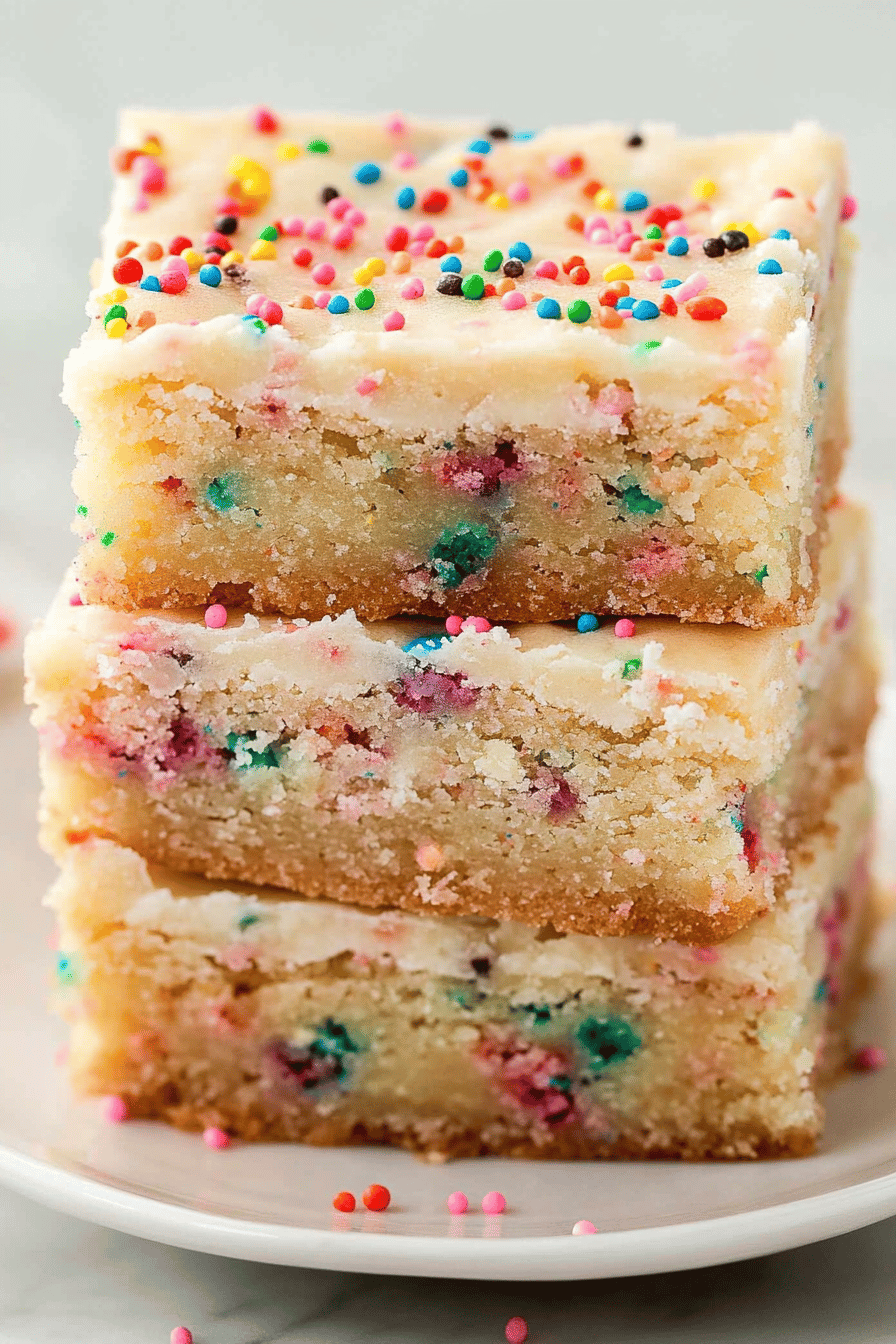
Once the glaze has set, use those parchment paper overhangs to lift the entire slab out of the pan onto a cutting board. Slice into squares or bars of your desired size. These are best served at room temperature, but a little chill from the fridge is also delicious. Prepare for happy noises!
What to Serve It With
These Funfetti Cake Batter Cookie Bars are so versatile, they really do fit into any occasion! For a cozy breakfast, I love to pair a warm bar with a steaming mug of coffee. The sweetness is just enough to kickstart the day, and it feels like a special treat. For brunch, they look absolutely delightful on a dessert platter alongside some fresh fruit and maybe a yogurt parfait. A light, bubbly mimosa or a fancy iced tea would be a perfect beverage pairing here. As a dessert, they’re pure magic. I love serving them slightly warm with a scoop of vanilla bean ice cream – the contrast of warm cookie bar and cold ice cream is divine! For those late-night cravings, they’re the ultimate cozy snack. Just grab a bar and a glass of milk, and you’re set. My family also loves them with hot chocolate on a chilly evening. Honestly, the options are endless, and they always disappear in a flash!
Top Tips for Perfecting Your Funfetti Cake Batter Cookie Bars
Over the years, I’ve picked up a few little tricks that I think really help make these bars absolutely perfect every time. You know, those little lessons learned from a few batches that maybe didn’t turn out *quite* right!
Sprinkle Selection: When it comes to the sprinkles, I always opt for the “jimmies” style sprinkles. They hold their shape and color better during baking and give that classic, nostalgic Funfetti look. The tiny rod-shaped ones can sometimes bleed their color or melt away. So, for maximum visual impact and authentic flavor, go for the jimmies!
Don’t Overmix the Dough: This is a big one for any cookie-based recipe! Once you add the dry ingredients to the wet, mix *just* until combined. Overmixing develops the gluten in the flour too much, which can result in tough, dense bars instead of the soft, chewy texture we’re aiming for. It’s better to have a few streaks of flour than to overwork the dough.
Achieve the Perfect Swirl: For that beautiful marbled effect, don’t go crazy with the swirling. Use a toothpick or a thin knife and make just a few passes through the filling and dough. You want distinct ribbons of the cream cheese filling visible, not a muddy brown mess. It’s more about gentle art than vigorous mixing.
Ingredient Swaps: While this recipe is fantastic as is, I’ve experimented a bit! If you’re out of regular milk for the glaze, heavy cream works wonderfully and makes it extra rich. For a slightly different flavor profile, a tiny bit of almond extract can be added to the filling, but use it sparingly – it’s potent! I haven’t personally tried gluten-free flour swaps, but a good quality 1-to-1 baking blend should work well; you might need to slightly adjust baking time.
Baking Temperature is Key: Always make sure your oven is fully preheated. I also tend to bake these on the middle rack of my oven. If your oven tends to run hot, you might want to reduce the temperature by about 10-15 degrees and keep a close eye on them. The goal is a lightly golden edge and a set, but still soft, center. They’ll continue to cook slightly as they cool.
Glaze Consistency: The glaze is pretty forgiving. If it’s too thick, add milk a teaspoon at a time until it reaches your desired drizzling consistency. If it’s too thin, add a bit more powdered sugar. I love a thicker glaze that sets up a bit more firmly, but a thinner glaze that drips down the sides is equally delicious!
Storing and Reheating Tips
These Funfetti Cake Batter Cookie Bars are quite forgiving when it comes to storage, which is another reason I love them so much. If you happen to have any leftovers (which is rare in my house!), here’s how to keep them fresh.
Room Temperature: Once the glaze has fully set, you can store the bars in an airtight container at room temperature for up to 3 days. They tend to stay nice and chewy this way. Just make sure they’re completely cooled before sealing them up, or condensation can make them soggy. I sometimes just cover the pan tightly with plastic wrap if they’re going to be eaten within a day or two.
Refrigerator Storage: If you want them to last a bit longer, or if your kitchen is particularly warm, you can store them in the refrigerator for up to a week. Keep them in an airtight container. They might firm up a bit in the fridge, but they’re still delicious. I actually enjoy them cold sometimes!
Freezer Instructions: These bars freeze beautifully, which is perfect for make-ahead baking. Wrap individual bars tightly in plastic wrap, then place them in a freezer-safe bag or container. They’ll stay good in the freezer for up to 3 months. To thaw, simply unwrap them and let them come to room temperature for a few hours. You can also pop them in the microwave for about 10-15 seconds if you want them slightly warm and soft.
Glaze Timing Advice: I always recommend adding the glaze *after* the bars have completely cooled. If you add glaze to warm bars, it will melt and become a sticky mess. If you plan to freeze them, I would suggest freezing the bars *without* the glaze and adding it once they’ve thawed. This keeps the glaze looking fresh and prevents it from getting brittle in the freezer.
Frequently Asked Questions
Final Thoughts
I truly hope you give these Funfetti Cake Batter Cookie Bars a try. They’re more than just a recipe to me; they represent pure, unadulterated joy and the simple pleasure of sharing something delicious with the people you love. They’re easy enough for a weeknight treat, impressive enough for a party, and comforting enough for a quiet moment of indulgence. The combination of soft, chewy cookie dough, the sweet surprise of the filling, and those cheerful sprinkles is just magic. If you love this recipe, you might also enjoy my other sprinkle-filled treats or my easy bar cookie recipes. They’re all designed to bring a smile to your face and delight your taste buds with minimal fuss. I can’t wait to hear how yours turn out! Please feel free to leave a comment below with your thoughts, any variations you tried, or just to share your love for all things Funfetti. Happy baking, everyone!

Funfetti Cake Batter Cookie Bars
Ingredients
Main Ingredients
- 0.5 cup unsalted butter, softened
- 1 cup granulated sugar
- 1 large egg
- 1 teaspoon vanilla extract
- 1 cup all-purpose flour
- 0.5 teaspoon baking soda
- 0.25 teaspoon salt
- 0.5 cup rainbow sprinkles
- 0.5 cup white chocolate chips optional
Instructions
Preparation Steps
- Preheat your oven to 350°F (175°C). Grease and flour an 8x8 inch baking pan or line it with parchment paper.
- In a large bowl, cream together the softened butter and granulated sugar until light and fluffy.
- Beat in the egg and vanilla extract until well combined.
- In a separate bowl, whisk together the all-purpose flour, baking soda, and salt.
- Gradually add the dry ingredients to the wet ingredients, mixing until just combined. Do not overmix.
- Fold in the rainbow sprinkles and white chocolate chips (if using).
- Spread the batter evenly into the prepared baking pan.
- Bake for 20-25 minutes, or until the edges are golden brown and a toothpick inserted into the center comes out with moist crumbs attached.
- Let the bars cool completely in the pan before cutting into squares.