Oh, where do I even begin with this Beefaroni recipe? It’s more than just a meal for us; it’s a warm hug on a plate, a trip back to my childhood kitchen, and a guaranteed hit with even the pickiest eaters. I remember coming home from school, the scent of this simmering on the stove instantly making everything feel right in the world. It’s that kind of magic I want to share with you today. Forget those boxed versions that taste… well, let’s just say *different*. This is the real deal – rich, savory, and unbelievably satisfying. If you’ve ever craved that perfect balance of tender pasta, hearty beef, and a creamy, cheesy sauce that just coats everything just right, then you’re in for a treat. It’s like a grown-up, significantly more delicious version of those childhood favorites, and honestly, it’s surprisingly simple to whip up. I promise, this Beefaroni recipe will become a staple in your home, just like it has in mine.
What is Beefaroni?
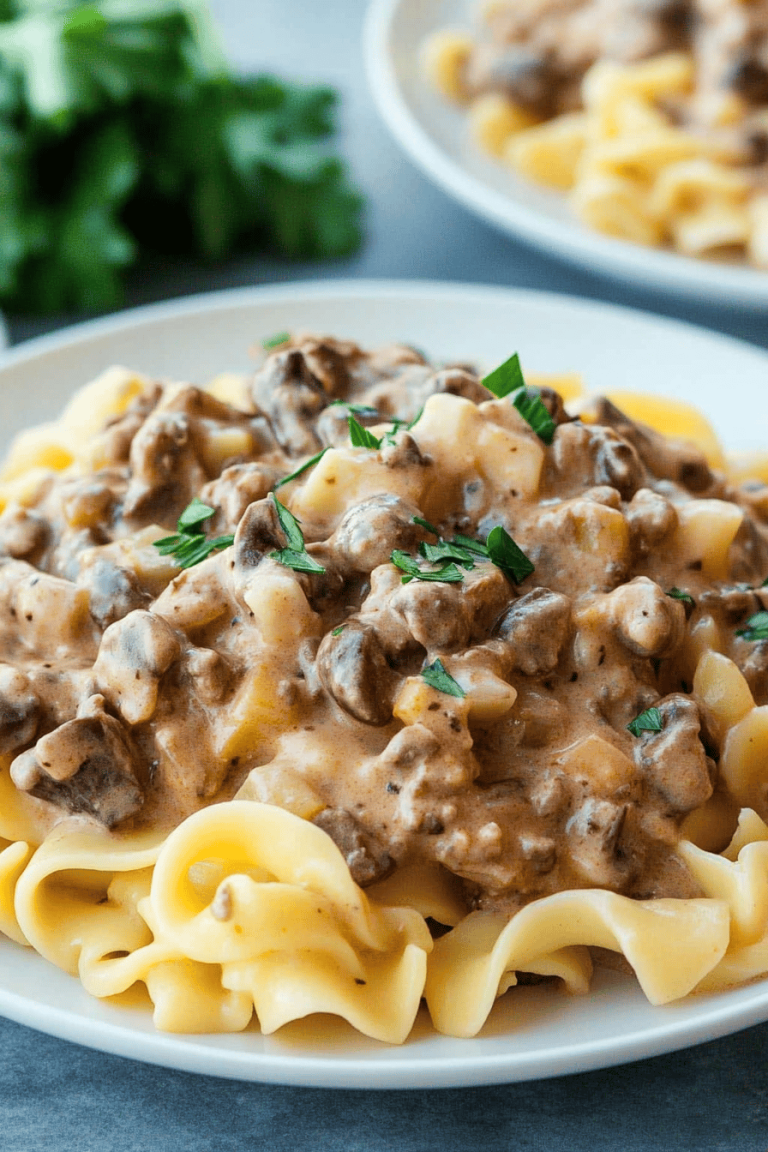
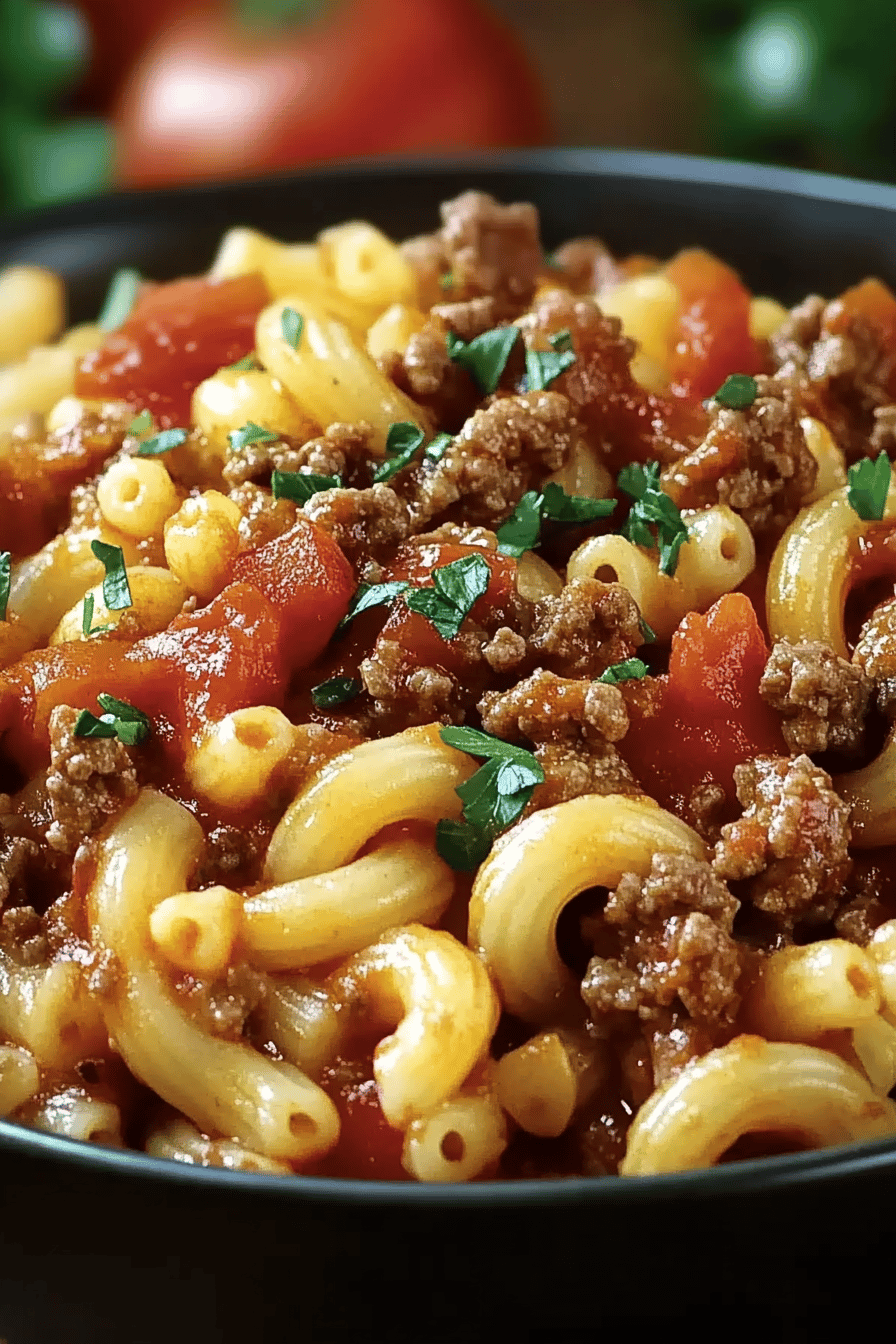
So, what exactly *is* Beefaroni, you ask? At its heart, it’s a glorious, baked pasta dish that takes the humble macaroni and cheese and gives it a seriously delicious upgrade with seasoned Ground Beef and a rich, comforting sauce. Think of it as a deconstructed pasta bake, where all those amazing flavors meld together beautifully. The name itself, “Beefaroni,” is pretty straightforward, right? It’s literally beef and macaroni! But don’t let the simple name fool you. This dish is a symphony of flavors and textures. It’s got that satisfying chew from the elbow macaroni, the savory depth from the ground beef that’s been cooked with onions and spices, all bound together in a creamy, cheesy tomato-based sauce. It’s hearty, it’s filling, and it’s the kind of food that makes you feel instantly happy. It’s not fancy, but it’s honest, delicious home cooking that truly hits the spot.
Why you’ll love this recipe?
Honestly, there are so many reasons why this particular Beefaroni recipe has earned a permanent spot in my recipe rotation. First and foremost, the flavor is just out of this world. The Ground Beef gets browned with onions and garlic, which builds this incredible savory base. Then, it’s simmered in a tomato sauce that’s just the right amount of tangy and rich, getting infused with all those beefy juices. When you combine that with the macaroni and a generous amount of melty cheese, you get this incredible depth that you just can’t get from a can. And the simplicity! I know pasta bakes can sometimes feel daunting, but this one is remarkably straightforward. Even if you’re not a seasoned chef, you can absolutely nail this. I’ve made it on weeknights when I’m exhausted and it’s still manageable. Plus, it’s a fantastic way to stretch a budget; ground beef and pasta are usually quite affordable, and this recipe makes a big batch that’s perfect for feeding a crowd or for lunches throughout the week. It’s also incredibly versatile. While I love it baked until bubbly and golden, it’s also pretty darn good just served straight from the pot after everything is mixed. What I love most, though, is the pure comfort it brings. It’s the kind of meal that just makes you feel good from the inside out. It reminds me of simpler times, of family dinners, and that’s a feeling I cherish. It’s also a fantastic alternative to something like a lasagna or baked ziti, offering a similar comfort food vibe but with its own unique charm.
How do I make Beefaroni?
Quick Overview
Making this Beefaroni is a wonderfully straightforward process that really lets the delicious ingredients shine. You’ll start by browning your seasoned Ground Beef, then building a flavorful tomato and cheese sauce. The cooked macaroni gets tossed in, and then it all goes into a baking dish to get wonderfully bubbly and golden in the oven. It’s that simple! The beauty of this method is how everything melds together while baking, creating a cohesive dish that’s much more than the sum of its parts. You get that fantastic texture from the perfectly cooked pasta and the slightly crispy edges of the cheesy topping, all while keeping the inside wonderfully moist and creamy. It’s a lifesaver on busy nights when you need something delicious and filling without a lot of fuss.
Ingredients
For the Main Dish:
1 pound ground beef (80/20 is my preference for flavor, but leaner works too!)
1 large yellow onion, finely diced
2 cloves garlic, minced
1 teaspoon dried Italian seasoning
1/2 teaspoon salt, plus more to taste
1/4 teaspoon Black Pepper, plus more to taste
1 (15 ounce) can crushed tomatoes
1/2 cup beef broth (or water if you don’t have any)
1/4 cup heavy cream (this is the secret to creaminess, don’t skip it if you can help it!)
8 ounces elbow macaroni, uncooked
2 cups shredded cheddar cheese, divided
1/2 cup shredded Monterey Jack cheese (optional, but adds a nice meltiness)
Butter, for greasing the baking dish
Step-by-Step Instructions
Step 1: Preheat & Prep Pan
First things first, let’s get that oven preheated to 375 degrees Fahrenheit (190 degrees Celsius). While that’s warming up, grab a 9×13 inch baking dish. I like to give it a good buttering – it not only prevents sticking but also adds a little extra richness and helps create those lovely golden edges. Just spread a good amount of softened butter all over the bottom and up the sides.
Step 2: Brown the Beef & Aromatics
In a large skillet or Dutch oven, brown the Ground Beef over medium-high heat. Break it up with a spoon as it cooks. Once it’s mostly browned, add the diced onion and cook until it starts to soften and become translucent, about 5-7 minutes. Then, stir in the minced garlic and cook for another minute until fragrant. Make sure not to burn the garlic!
Step 3: Build the Sauce
Drain off any excess grease from the skillet – I usually tilt the pan and use a spoon to carefully remove it. Now, stir in the Italian seasoning, salt, and pepper. Pour in the crushed tomatoes and beef broth. Bring the mixture to a simmer, then reduce the heat to low, cover, and let it cook for about 10 minutes. This allows the flavors to really meld together. After 10 minutes, stir in the heavy cream. It will make the sauce wonderfully rich and creamy.
Step 4: Combine with Macaroni
Now for the fun part! Add the uncooked elbow macaroni directly into the skillet with the beef and sauce mixture. Stir everything really well to make sure all the pasta is coated. The pasta will cook in the sauce as it bakes, absorbing all those delicious flavors. It might look a little saucy right now, but don’t worry, it’s exactly what you want.
Step 5: Add Cheese & Transfer to Dish
Stir in 1.5 cups of the shredded cheddar cheese and all of the Monterey Jack cheese (if using). Mix until the cheese is mostly melted and incorporated into the saucy pasta. Now, carefully pour this mixture into your prepared baking dish, spreading it out evenly. Make sure to scrape out every last bit of that deliciousness from the skillet!
Step 6: Top and Bake
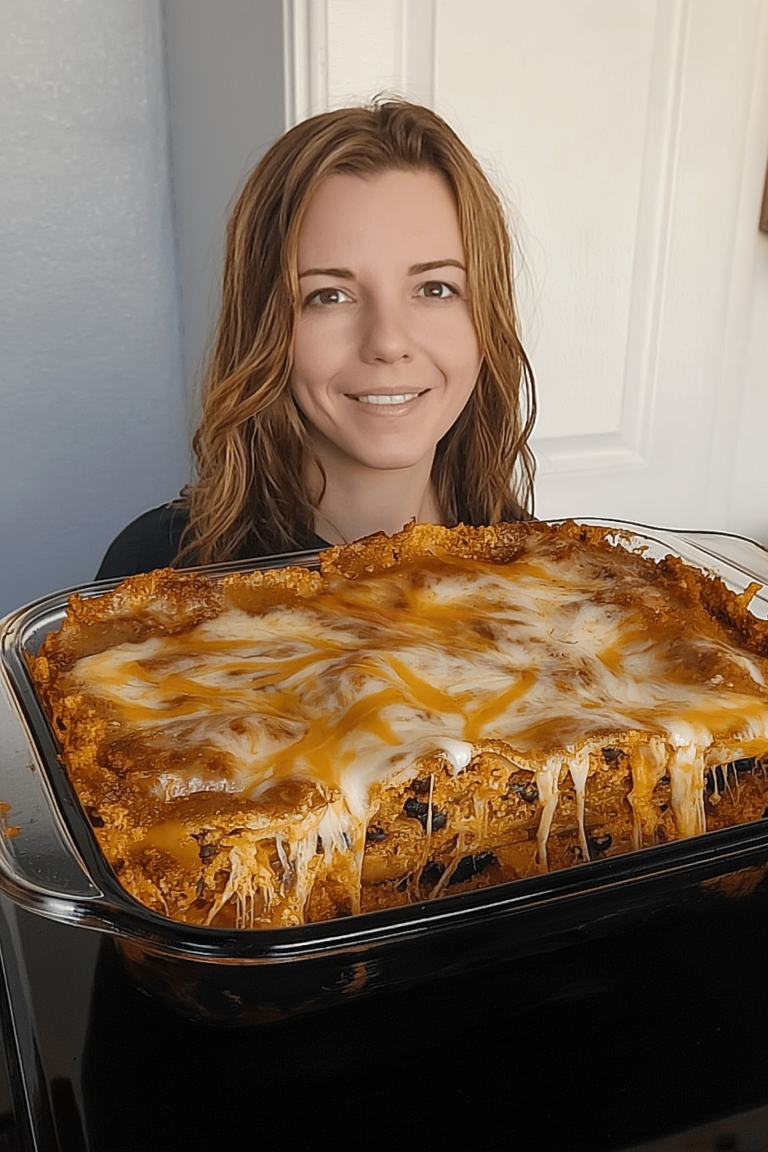
Sprinkle the remaining 1/2 cup of cheddar cheese evenly over the top of the Beefaroni. This is what gives you that glorious, golden-brown cheesy crust. Cover the baking dish tightly with aluminum foil. Place it in the preheated oven and bake for 30 minutes.
Step 7: Uncover and Finish Baking
After 30 minutes, carefully remove the foil. You’ll see that the pasta has absorbed most of the liquid and is starting to cook through. Continue baking uncovered for another 20-25 minutes, or until the Beefaroni is bubbly around the edges and the cheese on top is melted and beautifully golden brown. If you like your cheese a bit crispier, you can pop it under the broiler for a minute or two at the very end, but watch it closely!
Step 8: Rest and Serve
This is probably the hardest part for everyone in my house – waiting! Once it’s out of the oven, let the Beefaroni rest for about 5-10 minutes before serving. This allows it to set up just a little, making it easier to serve and ensuring all those flavors have settled perfectly. Then, dive in!
What to Serve It With
This Beefaroni is pretty much a meal in itself, a hearty, comforting dish that satisfies on so many levels. But if you’re looking to round out the meal, I’ve got a few ideas that are tried and true in my kitchen.
For a Hearty Dinner: The classic pairing for Beefaroni has to be a simple green salad. A crisp romaine salad with a light vinaigrette is perfect for cutting through the richness of the pasta. I also love serving it with some crusty garlic bread – perfect for mopping up any extra sauce! Sometimes, on a really cold evening, a side of steamed green beans or broccoli is also a welcome addition, adding a touch of freshness and color to the plate.
For Kid-Friendly Lunches: When packing this for school lunches, I often pair it with some fruit slices like apples or oranges, and maybe a few pretzel sticks for a bit of crunch. It holds up really well and is just as delicious cold or reheated.
For a Potluck or Gathering: If I’m bringing this to a potluck, I’ll often make a larger batch and pair it with a big bowl of coleslaw – the creamy tang of the coleslaw is a wonderful contrast. A simple side of roasted vegetables like carrots or Brussels sprouts also works beautifully to add variety.
My own kids, bless their hearts, usually just want their Beefaroni with a side of ketchup (yes, I know!), but they also love it with some simple sweet corn kernels mixed in or served alongside. It’s just that kind of crowd-pleasing dish that adapts to whatever you have on hand or whatever your family loves.
Top Tips for Perfecting Your Beefaroni
I’ve made this Beefaroni more times than I can count, and over the years, I’ve picked up a few little tricks that I think make all the difference in getting it just right. These are the things I always do now that I’ve learned through a little trial and error!
Onion & Garlic Foundation: Don’t skimp on sautéing your onions and garlic properly! Softening the onions until they’re translucent and then just briefly cooking the garlic until fragrant builds a crucial flavor base. It’s not just about adding flavor; it’s about mellowing them out so they meld into the sauce rather than being harsh. I learned early on that burning the garlic can completely ruin the dish, so I’m always mindful of that quick minute of cooking.
The Creamy Secret: That touch of heavy cream isn’t just for show; it’s what gives the sauce that luxurious, silky texture that really coats the macaroni. If you’re trying to lighten it up, you can experiment with half-and-half, but I find heavy cream really delivers the best result. I once tried using evaporated milk, and while it was okay, it just didn’t have that same richness. Trust me on this one, a little cream goes a long way.
Pasta Cooking Power: Adding the *uncooked* macaroni directly to the sauce is key. It’s designed to cook *in* the sauce, absorbing all those delicious flavors and the sauce thickens up beautifully as a result. Make sure there’s enough liquid in the sauce to fully submerge the pasta – the beef broth is important here. If it looks too dry after you add the pasta, a splash more broth or even water can help. The pasta should be *al dente* when you take it out of the oven; it will continue to cook slightly as it rests.
Cheese Blending is Best: While cheddar is a classic for a reason, mixing in a good melting cheese like Monterey Jack or even a bit of provolone really elevates the cheesiness and creaminess. I always shred my own cheese from a block, as pre-shredded cheeses often have anti-caking agents that can make them a bit more stubborn to melt smoothly. It makes a noticeable difference in the final texture.
Don’t Overbake: While you want that bubbly, golden-brown top, be careful not to bake it for too long or at too high a temperature without covering. Overbaking can lead to dry pasta and a less creamy sauce. The initial covered bake is crucial for ensuring the pasta cooks through properly and the sauce doesn’t reduce too much. The uncovered bake is just to get that beautiful cheesy crust.
Rest is Best: I know it’s tempting to dig in immediately, but letting the Beefaroni rest for a bit after baking is essential. It allows the sauce to thicken up a little more and the flavors to settle. If you try to serve it piping hot straight from the oven, it can be a bit too loose. That short rest makes for a much more cohesive and enjoyable dish.
Storing and Reheating Tips
One of the things I love most about this Beefaroni is how well it stores and reheats, making it perfect for leftovers. It’s almost as good, if not better, the next day!
Room Temperature: If you’ve got leftovers, you can leave them covered on the counter for about an hour or so while dinner winds down. However, for longer storage, it’s best to refrigerate it fairly quickly to maintain quality and food safety. I usually aim to get leftovers into the fridge within two hours of it coming out of the oven.
Refrigerator Storage: Once cooled (or mostly cooled), transfer your Beefaroni to an airtight container. You can also cover the original baking dish tightly with plastic wrap and then foil. It will stay delicious in the refrigerator for about 3-4 days. I find that the flavors actually meld and deepen even more overnight, so it’s a fantastic lunch option.
Freezer Instructions: This recipe freezes like a dream! You can freeze the entire baked dish (once cooled completely) or portion it out into freezer-safe containers or heavy-duty freezer bags. Wrap it well to prevent freezer burn – I usually do a layer of plastic wrap and then a layer of foil, or use a good quality freezer container. It should last for up to 2-3 months in the freezer. When you’re ready to thaw, the best method is to move it from the freezer to the refrigerator overnight. This allows it to thaw slowly and evenly.
Reheating: For reheating from the refrigerator, the best way is to pop it back into a moderately heated oven (around 350°F or 175°C) until heated through. You might want to cover it with foil for the first 15-20 minutes, then uncover it to let the cheese on top get a little melty again. If you’re reheating from frozen, you can either thaw it in the fridge overnight or bake it directly from frozen, adding a good 15-20 minutes (or more) to the baking time, and making sure to cover it initially. For smaller portions, the microwave works in a pinch, but it can sometimes make the pasta a little softer. Just heat in 30-second intervals, stirring in between, until hot.
Glaze Timing Advice: Since this recipe doesn’t have a separate glaze, the cheese topping is part of the dish. For best results when storing and reheating, make sure the cheese is well-melted and slightly browned before storing. It will re-melt beautifully when reheated.
Frequently Asked Questions
Final Thoughts
So there you have it – my cherished Beefaroni recipe! I truly hope you give this a try. It’s more than just a pasta dish; it’s a vessel for comfort, a way to bring people together around the table, and a reminder that sometimes, the simplest meals are the most satisfying. The combination of savory ground beef, tender macaroni, and that rich, cheesy tomato sauce baked to bubbly perfection is just pure bliss. It’s the kind of recipe that feels like a warm hug, and I’m so excited for you to experience that too. It’s a lifesaver on busy weeknights and impressive enough for company. If you’re a fan of hearty, classic comfort food, this Beefaroni recipe is an absolute must-try. You might even find, like my family has, that it becomes a beloved tradition in your own home. I can’t wait to hear how yours turns out! If you give it a go, please leave a comment below and let me know your thoughts, or share any fun variations you tried. Happy cooking!
Beefaroni Recipe
Ingredients
Main Ingredients
- 1 pound ground beef
- 1 medium onion chopped
- 2 cloves garlic minced
- 7 ounces macaroni uncooked
- 15 ounces canned diced tomatoes undrained
- 8 ounces canned tomato sauce
- 2 cups beef broth
- 1 teaspoon dried oregano
- 0.5 teaspoon dried basil
- 0.25 teaspoon black pepper
- 0.5 teaspoon salt or to taste
- 0.5 cup shredded cheddar cheese
Instructions
Preparation Steps
- In a large pot or Dutch oven, brown the ground beef over medium-high heat. Drain off any excess grease.
- Add the chopped onion and cook until softened, about 5 minutes. Stir in the minced garlic and cook for 1 minute more until fragrant.
- Stir in the uncooked macaroni, diced tomatoes (with their juice), tomato sauce, and beef broth.
- Add the dried oregano, dried basil, black pepper, and salt. Stir to combine.
- Bring the mixture to a boil, then reduce the heat to low, cover, and simmer for 20-25 minutes, or until the macaroni is tender and most of the liquid has been absorbed. Stir occasionally to prevent sticking.
- Remove from heat and stir in the shredded cheddar cheese until melted.
- Serve hot.