There are some desserts that just bring back a flood of happy memories, aren’t there? For me, this Banana Split Dump Cake is one of those. It’s like a warm hug in cake form, and it’s ridiculously simple. Honestly, it feels like cheating because it’s *that* easy to get such amazing results. I remember the first time I made this, it was a sweltering summer afternoon, and I desperately wanted something sweet but couldn’t face turning on the oven for too long. This recipe saved the day, and my family has been asking for it ever since. It’s a fantastic alternative to a traditional, more involved cake, and it captures all those classic banana split flavors we all adore. If you’ve ever made a dump cake, you know the magic of minimal effort, but this one takes it to a whole new level of deliciousness.
What is banana split dump cake?
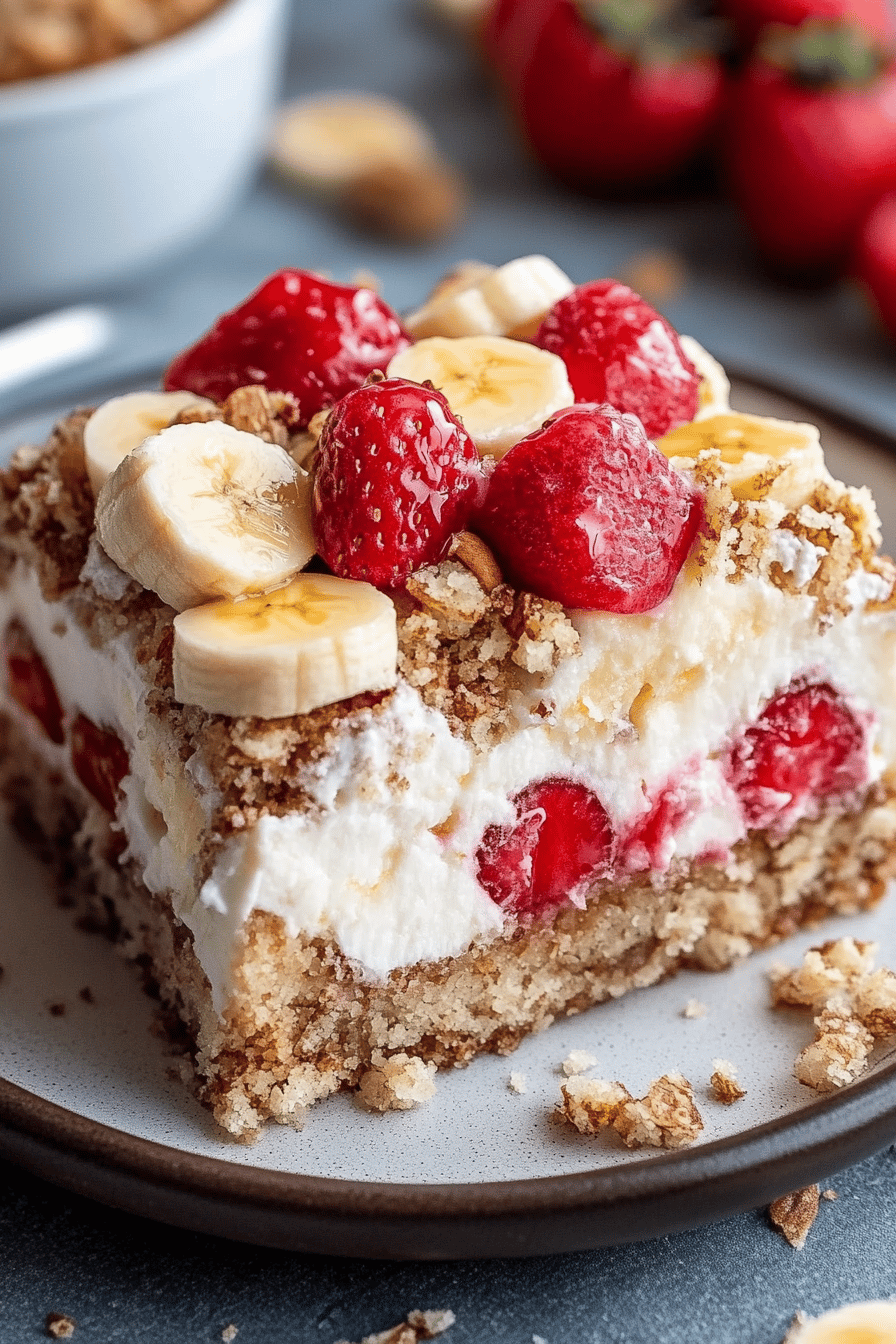
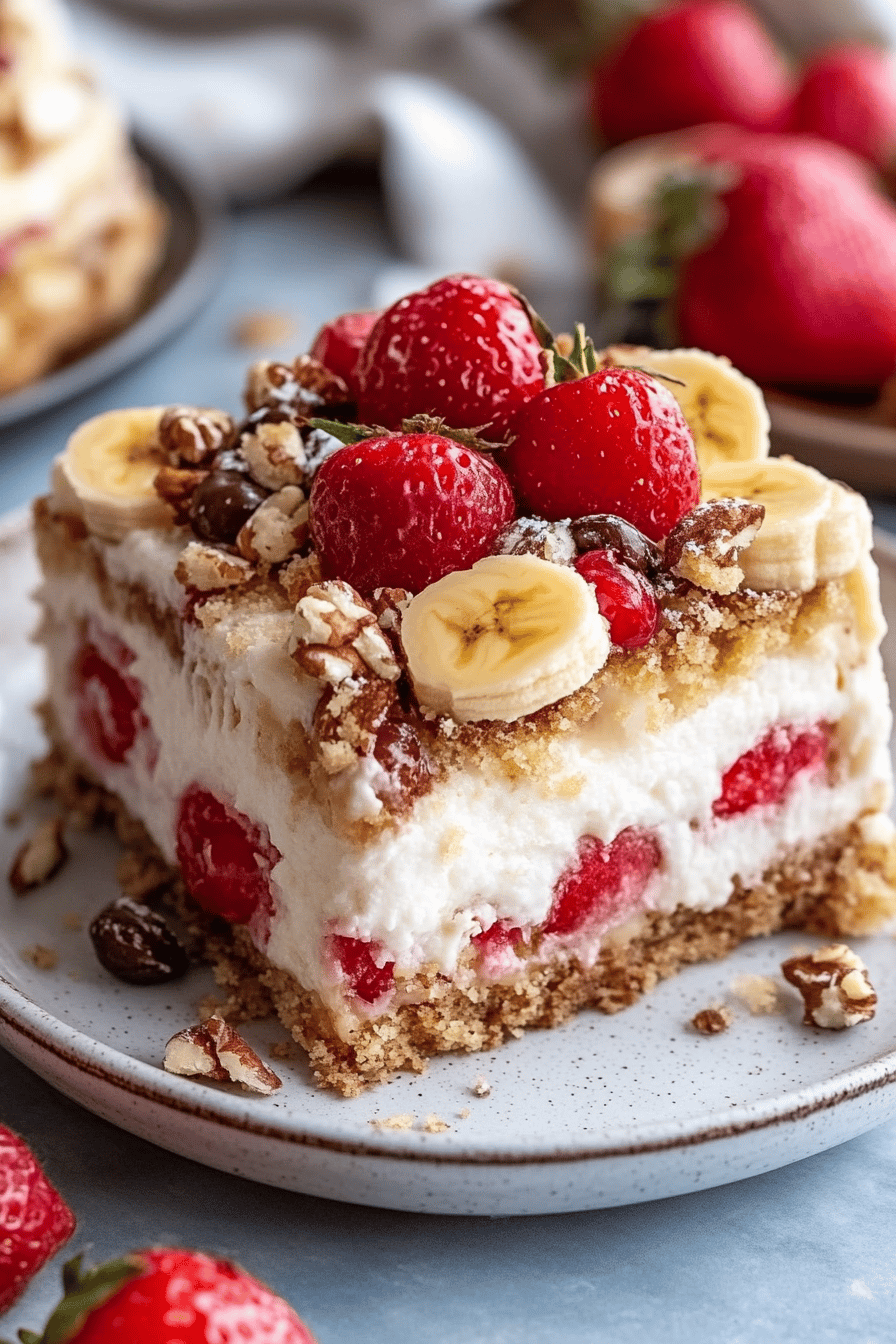
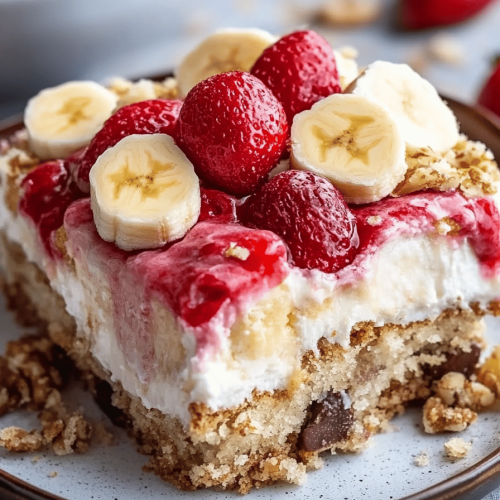
So, what exactly *is* a Banana Split Dump Cake? Well, the name kind of gives it away, doesn’t it? It’s a dessert that’s designed to be incredibly straightforward – you literally “dump” the ingredients into a pan and bake. There’s no fancy mixing, no creaming butter and sugar for ages, no delicate folding. Think of it as a super-shortcut way to get all the incredible flavors of a banana split into a warm, comforting cake. We’re talking about layers of ripe bananas, a sweet Cake Batter that bakes up right on top, and a glorious topping that gets all gooey and delicious. It’s the kind of dessert that looks and tastes like you spent hours on it, but in reality, you probably spent less time gathering ingredients than it takes to preheat your oven. It’s essentially a flavor explosion waiting to happen, with minimal fuss.
Why you’ll love this recipe?
Honestly, there are so many reasons why this Banana Split Dump Cake has become a staple in my kitchen, and I’m convinced it will in yours too! First and foremost, let’s talk about the flavor. It’s pure, unadulterated banana bliss, swirled with those classic cherry and pineapple notes that make a banana split so iconic. The cake itself bakes up incredibly moist and tender, soaking up all those fruity juices. Then there’s the simplicity – and oh my goodness, is it simple! This is my go-to when I’m short on time, need a last-minute dessert for a potluck, or just have a serious craving that needs satisfying ASAP. You truly just dump and bake. Beyond the incredible taste and ease, it’s also remarkably budget-friendly. You likely have most of the ingredients already, and even if you don’t, they’re super affordable. What I love most, though, is its versatility. You can easily tweak it, and it’s always a crowd-pleaser. It’s like the more relaxed, more fun cousin of a traditional layered cake or a fussy cobbler. This recipe has truly become a lifesaver on busy nights and a guaranteed hit with everyone, from picky eaters to discerning dessert aficionados. It’s just pure joy in a pan!
How do you make banana split dump cake?
Quick Overview
Making this Banana Split Dump Cake is almost laughably easy. You’ll start by preparing your baking pan, then layer ripe bananas in the bottom. Next, you’ll mix up a simple cake batter and pour it right over the bananas. The magic happens when you top it with a delightful sprinkle of cake mix and a buttery drizzle, creating a perfectly baked, moist cake with pockets of gooey fruit. It’s the ultimate shortcut dessert that delivers huge flavor with minimal effort, perfect for any occasion or just because!
Ingredients
For the Main Batter:
* 2 cups all-purpose flour (I always use unbleached, it just seems to make a difference in texture)
* 1 ½ cups granulated sugar (you can slightly reduce this if your bananas are super ripe)
* 1 teaspoon baking soda
* ½ teaspoon salt
* ½ cup unsalted butter, melted (I prefer real butter for the flavor, but a good quality margarine works in a pinch)
* 1 cup milk (whole milk makes it richest, but I’ve successfully used 2% and even almond milk for a dairy-free option, it just changes the texture slightly)
For the Filling:
* 3-4 ripe bananas, sliced (the riper, the sweeter and more flavorful your cake will be! Look for those brown spots!)
* ½ cup crushed pineapple, drained well (this adds a lovely tang and moisture, make sure to get most of the juice out or it can make the cake gummy)
* ¼ cup maraschino cherries, halved or quartered (the ones with the stems removed, obviously! You can also use dried cherries if you prefer)
For the Topping:
* 1 box (about 15.25 oz) yellow cake mix (this is the secret weapon for that easy cake texture!)
* ½ cup unsalted butter, melted (again, real butter is best for flavor)
Step-by-Step Instructions
Step 1: Preheat & Prep Pan
First things first, let’s get that oven ready. Preheat it to 350°F (175°C). Now, grab a 9×13 inch baking dish. I always give mine a light greasing with butter or cooking spray, just to be safe. Even though the cake is moist, no one wants their masterpiece sticking to the pan!
Step 2: Mix Dry Ingredients
In a large bowl, whisk together the all-purpose flour, granulated sugar, baking soda, and salt. You want to make sure everything is well combined so you don’t get pockets of salt or baking soda in your cake. A good whisking aerates it a bit too, which is always a good thing for cakes.
Step 3: Mix Wet Ingredients
Now, pour the melted butter into the dry ingredients. Then, add the milk. Mix everything together with a whisk or a spatula until it’s just combined. Don’t overmix! A few lumps are perfectly fine; overmixing can lead to a tougher cake, and we want this to be tender.
Step 4: Combine
Gently pour the wet ingredients into the dry ingredients. Use a spatula to mix them together until they are *just* combined. Seriously, stop as soon as you don’t see any dry flour. It’s okay if there are still a few little lumps!
Step 5: Prepare Filling
Here comes the fun part! Arrange your sliced ripe bananas evenly over the bottom of your prepared baking dish. Then, scatter the drained crushed pineapple and the halved maraschino cherries over the bananas. This is where all those classic banana split flavors start to come together.
Step 6: Layer & Swirl
Pour the cake batter evenly over the fruit layer. Now, for the topping: evenly sprinkle the dry yellow cake mix all over the batter. Don’t mix it in; just let it sit on top. Finally, drizzle the melted butter over the dry cake mix, making sure to cover as much of it as possible. This creates that signature crispy, gooey topping.
Step 7: Bake
Pop that beautiful creation into your preheated oven. Bake for about 45-55 minutes, or until the top is golden brown and a toothpick inserted into the cake (avoiding the fruit pockets!) comes out clean. The edges should be bubbly and delicious-looking.
Step 8: Cool & Glaze
Once it’s out of the oven, let the cake cool in the pan for at least 15-20 minutes before slicing. This is crucial for the cake to set up properly. If you’re adding a glaze (which I highly recommend!), mix up your favorite powdered sugar glaze (powdered sugar, a splash of milk or lemon juice, and maybe a drop of vanilla) and drizzle it over the warm cake. The warmth will help the glaze melt slightly and create a beautiful finish.
Step 9: Slice & Serve
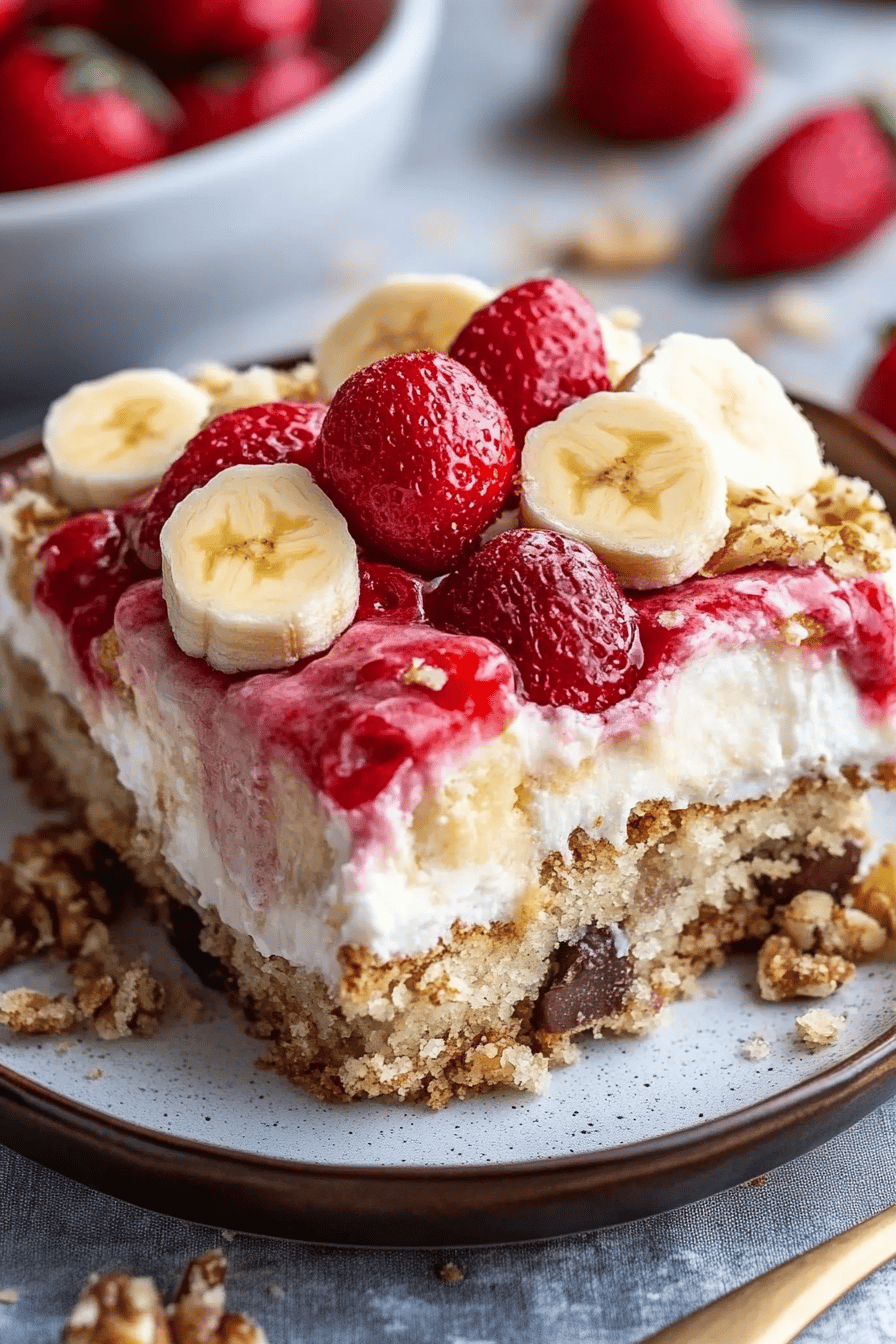
Slice the cooled cake into generous squares. Serve warm, maybe with a scoop of vanilla ice cream or a dollop of whipped cream, just like a proper banana split! Enjoy the amazing aroma and taste!
What to Serve It With
This Banana Split Dump Cake is so versatile, it’s practically its own food group! For a leisurely breakfast or a weekend brunch, I love serving it warm with a strong cup of coffee. The sweetness of the cake is a perfect counterpoint to the bitterness of the coffee. For a more elegant brunch, I’ll plate a slightly larger slice with some fresh berries on the side and perhaps a mimosa. The bright fruit cuts through the richness beautifully. As a dessert, it’s divine on its own, but of course, it’s a no-brainer to serve it with a scoop of good quality vanilla ice cream – it melts into the warm cake just like it would on a banana split. A drizzle of chocolate or strawberry sauce takes it over the top! And for those cozy snack moments, there’s nothing better than a warm slice with a glass of cold milk. It’s pure comfort. My family has a tradition of having this after movie nights, and it’s always the perfect ending to a cozy evening.
Top Tips for Perfecting Your Banana Split Dump Cake
Over the years of making this glorious dessert, I’ve picked up a few tricks that I think make a big difference. For the bananas, make sure they are *really* ripe. I’m talking about the ones with plenty of brown spots; they’re sweeter and mash up better, infusing the whole cake with that banana flavor. Don’t be afraid of a few brown spots! When you’re mixing the batter, I can’t stress enough: do NOT overmix. A few lumps are your friend here; overmixing develops the gluten in the flour, which can make your cake tough. We want tender and moist, remember? For the topping, make sure to spread that dry cake mix as evenly as possible. Then, drizzle the melted butter generously over it. This is what creates that amazing crispy, buttery layer on top that contrasts so well with the soft cake underneath. If you’re worried about sticking, a quick spray of cooking oil or a thin buttering of your baking dish goes a long way. I’ve tried using a different flavor of cake mix, like French vanilla, and it was delicious, adding a slightly different depth of flavor. Also, the pineapple is key for moisture and that little bit of tang. Make sure to drain it really well, though, or you might end up with a gummy layer at the bottom. If you don’t have maraschino cherries, you can leave them out, or try using some dried cranberries for a different kind of tartness. Baking time can vary a bit depending on your oven, so always keep an eye on it. The toothpick test is your best friend here. And trust me on this one: letting it cool for at least 15-20 minutes before slicing is crucial. It allows the cake to set, preventing it from falling apart when you cut into it. Enjoy experimenting and finding your perfect slice!
Storing and Reheating Tips
This Banana Split Dump Cake is so good, you might actually have leftovers (though I wouldn’t bet on it!). If you do find yourself with some, proper storage is key to keeping it delicious. At room temperature, it’s best to keep it covered tightly with plastic wrap or aluminum foil, and it should stay fresh for about 1-2 days. I usually try to get it into the fridge after that, especially if it’s warm where you live, to prevent any spoilage. In the refrigerator, wrap it well, and it will last for a good 3-4 days. The texture might change slightly, becoming a bit firmer, but it’s still wonderfully tasty. If you want to freeze it, this cake freezes surprisingly well! Let it cool completely, then wrap it tightly in a layer of plastic wrap followed by a layer of aluminum foil. You can also freeze individual slices. It will keep in the freezer for up to 2-3 months. When you’re ready to enjoy it again, you can thaw it in the refrigerator overnight, or gently reheat it. For reheating, I find that a few minutes in the microwave (covered loosely) works wonders for individual slices, bringing back that warm, gooey goodness. If you’re reheating a larger portion, a low oven temperature (around 300°F or 150°C) for about 10-15 minutes should do the trick, uncovered. If you’ve decided to add a glaze, I find it’s best to add the glaze *after* reheating if you’re using the oven method, or add it to the freshly baked cake before storing if you plan to eat it without reheating. For refrigerator storage, adding the glaze on top is fine. If freezing, I often prefer to glaze it after it’s been reheated to keep the glaze fresh and looking its best.
Frequently Asked Questions
Final Thoughts
So there you have it, my friends! This Banana Split Dump Cake is the epitome of effortless deliciousness. It’s proof that you don’t need complicated steps or fancy ingredients to create something truly special that will have everyone begging for the recipe. The combination of tender bananas, that perfectly baked cake, and that irresistible topping is just pure magic. It’s the kind of dessert that brings smiles and happy sighs to the table, and it’s so forgiving, even if you’re new to baking, you’ll nail this one. If you loved this recipe, you might also enjoy my Easy Apple Crumble Pie or my One-Bowl Chocolate Chip Cookie Bars – they’re all about big flavor with minimal fuss. I truly can’t wait to hear what you think of this Banana Split Dump Cake! Let me know in the comments below how yours turned out, what variations you tried, or if you have any special family memories tied to this kind of dessert. Happy baking, and enjoy every single bite!
Banana Split Dump Cake
Ingredients
Main Ingredients
- 1 box yellow cake mix
- 1 cup butter melted
- 1 can crushed pineapple drained
- 2 cups banana slices
- 1 package chocolate chips semi-sweet
- 1 package caramel candies cut into pieces
Instructions
Preparation Steps
- Preheat your oven to 350°F (175°C). Grease a 9x13 inch baking dish.
- In a bowl, combine the yellow cake mix and melted butter. Stir until well combined and crumbly.
- Spread half of the cake mix and butter mixture evenly over the bottom of the prepared baking dish.
- Layer the drained crushed pineapple over the cake mixture.
- Arrange the banana slices over the pineapple.
- Sprinkle the chocolate chips and caramel pieces evenly over the bananas.
- Top with the remaining cake mix and butter mixture.
- Bake for 40-50 minutes, or until the top is golden brown and bubbly.
- Let cool for at least 15 minutes before serving. Serve warm with ice cream or whipped cream.