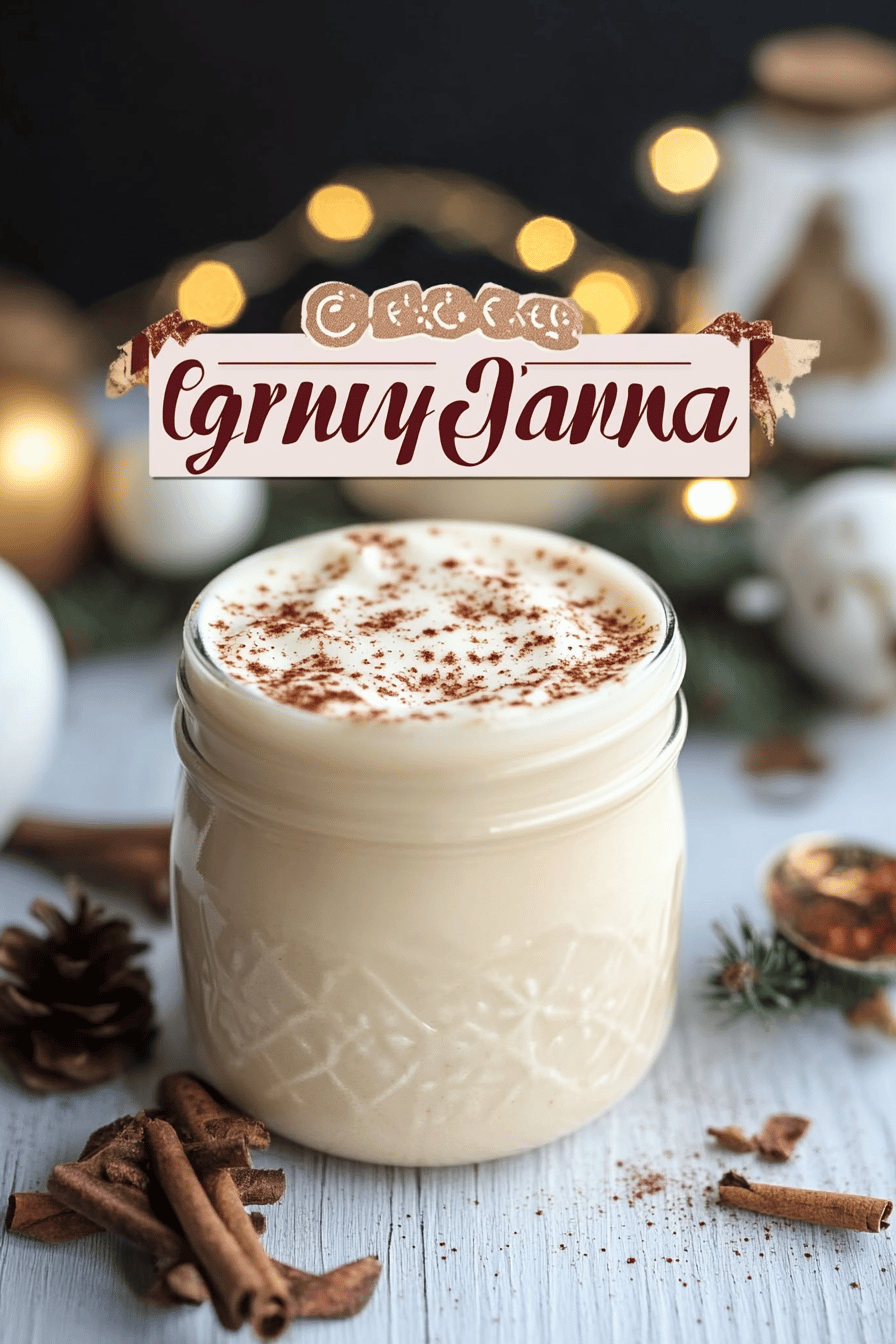
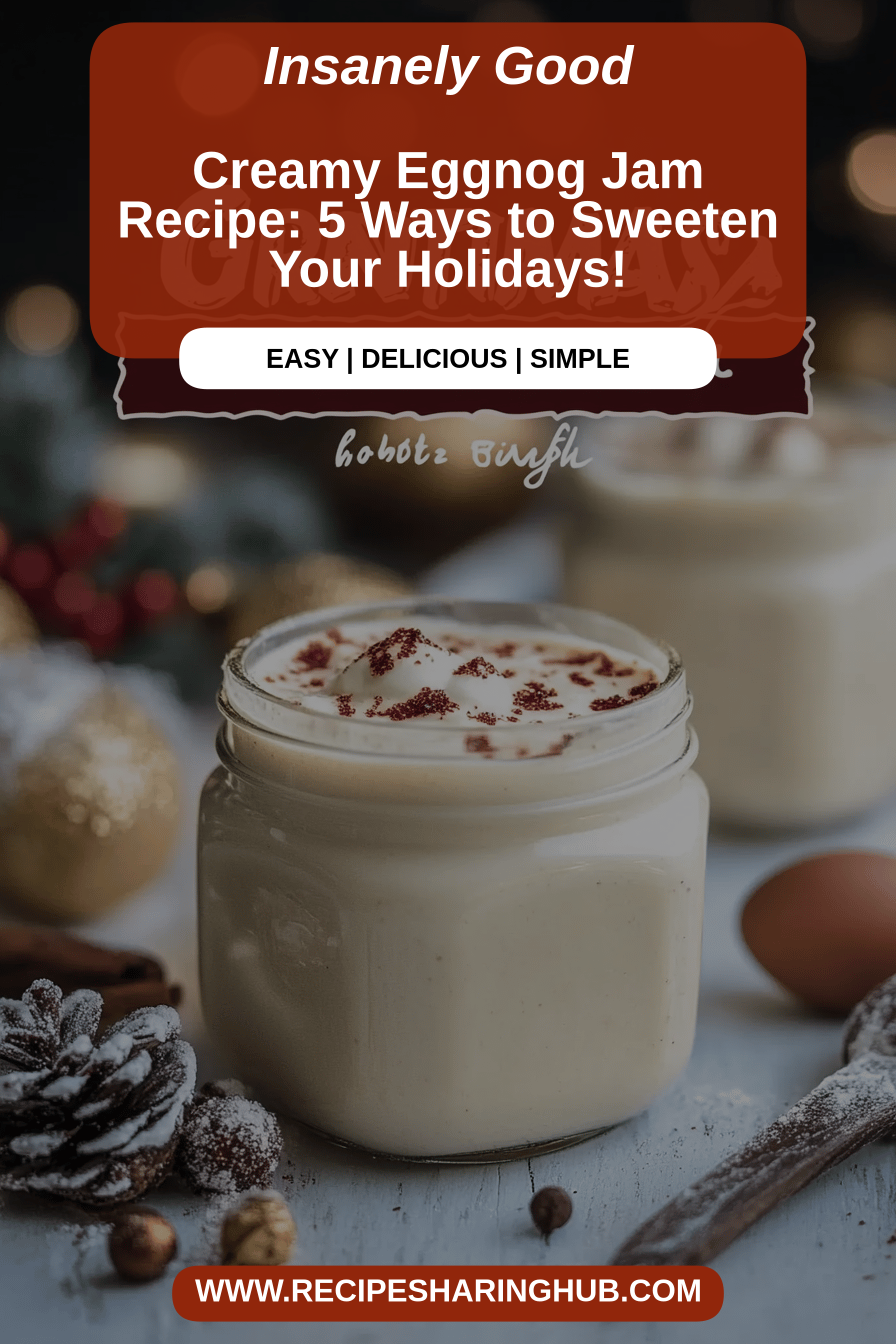
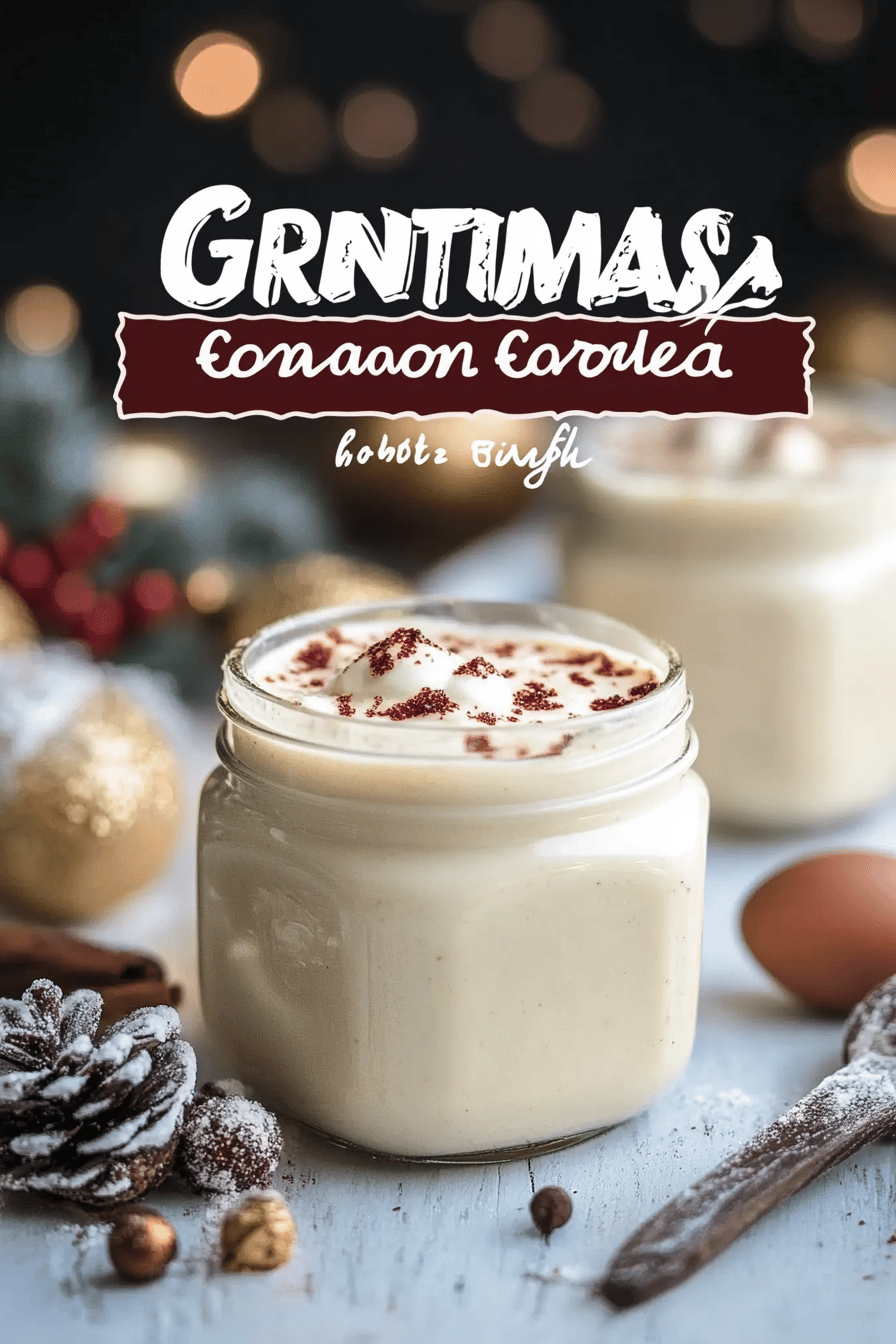
Eggnog Jam Recipe
You know those recipes that just *feel* like home? The ones that fill your kitchen with the most incredible aroma and bring smiles to everyone’s faces the moment they take a bite? This Eggnog Jam Recipe is exactly that for me. It’s my little secret weapon for turning an ordinary morning into something truly special, or for adding a touch of cozy holiday magic any time of year. Honestly, when I first stumbled upon the idea of making a jam inspired by eggnog, I was a little skeptical. Could you really capture that rich, spiced, creamy essence in a spreadable form? Well, let me tell you, I am a full-blown convert! It’s like a warm hug in a jar, and it’s surprisingly simple to whip up. If you’ve ever loved a perfectly spiced gingerbread cookie or a warm apple crumble, you’re going to adore this. It’s got all those comforting, festive flavors without any of the fuss of baking a whole pie or cake.
What is Eggnog Jam?
So, what exactly *is* this magical Eggnog Jam Recipe? Think of it as taking all the best parts of traditional eggnog – that wonderfully spiced, custardy, sweet flavor we all know and love, especially around the holidays – and transforming it into a luscious, spreadable jam. It’s not your average fruit jam, though you can certainly incorporate some fruit if you like! At its heart, it’s a creamy, spiced concoction that tastes remarkably like drinking a chilled glass of perfectly spiced eggnog, but with the satisfying texture and versatility of a jam. The “jam” part comes from the process of cooking it down to a spreadable consistency, often with the help of a little pectin or just patience and reduced liquid. It’s essentially a sweet, spiced, creamy spread that’s incredibly addictive. The name itself just sounds festive, doesn’t it? It’s a little bit of a dessert, a little bit of a condiment, and a whole lot of deliciousness.
Why you’ll love this recipe?
Oh, where do I even begin with why this Eggnog Jam Recipe is an absolute keeper? First off, the *flavor*. It’s like a holiday explosion in your mouth – warm notes of nutmeg, cinnamon, and a hint of clove, all swirled into a rich, creamy base that’s just perfectly sweet. It’s not cloying at all, which is something I always worry about with sweet spreads. What I love most about this is how it tastes so decadent, like it took hours of effort, but honestly, it’s so straightforward. You don’t need any fancy equipment or obscure ingredients, which is a huge win in my book. It’s also incredibly cost-effective, especially if you make it when eggnog is readily available and on sale. And the versatility! I’ll get into this more later, but you can use it on toast, scones, swirled into pancakes, as a filling for cookies, or even just scooped straight from the jar when no one’s looking (don’t tell!). I’ve tried a few variations, and while some were good, this particular recipe hits that perfect balance of spice, creaminess, and just the right amount of sweetness. It’s truly a standout, and I always get rave reviews when I bring a jar to a friend’s house or share it with family.
How do you make Eggnog Jam?
Quick Overview
The process for this Eggnog Jam Recipe is wonderfully simple. We’re essentially combining a few key ingredients – the star being a good quality eggnog – with spices and a thickening agent, then cooking it down until it reaches that perfect jam consistency. It’s a hands-off process for the most part, requiring just a little stirring here and there. You’ll be amazed at how something so delicious comes together so easily. It’s the kind of recipe that makes you feel like a kitchen wizard without breaking a sweat.
Ingredients
For the Main Batter:
2 cups good quality eggnog (the richer, the better! Whole milk eggnog is my favorite here.)
1/4 cup granulated sugar (you can adjust this slightly based on your eggnog’s sweetness and your preference)
1/4 cup light corn syrup or glucose syrup (this helps prevent crystallization and gives it a lovely sheen)
1/2 teaspoon ground cinnamon
1/4 teaspoon ground nutmeg
Pinch of ground cloves (optional, but I love the extra warmth)
2 tablespoons lemon juice (this helps with setting and adds a subtle brightness)
2 tablespoons cornstarch (this is our secret weapon for thickening without making it gloopy)
For the Filling (Optional, but highly recommended!):
1/4 cup heavy cream
1 tablespoon powdered sugar
A splash of rum extract or bourbon (optional, for that authentic eggnog kick)
For the Glaze (Optional, for a beautiful finish):
1 cup powdered sugar
2-3 tablespoons milk or a little extra eggnog
A tiny drop of vanilla extract
Step-by-Step Instructions
Step 1: Preheat & Prep Pan
First things first, get your kitchen ready. I like to have my jars sterilized and ready to go before I even start cooking. You can do this by washing them in hot, soapy water and then either running them through a hot dishwasher cycle or placing them in a preheated oven at 250°F (120°C) for at least 15 minutes. For the jam itself, grab a medium-sized, heavy-bottomed saucepan. A heavy bottom is key to prevent scorching, which you definitely don’t want here. Set your stove to medium heat.
Step 2: Mix Dry Ingredients
In a small bowl, whisk together the granulated sugar, cornstarch, cinnamon, nutmeg, and cloves (if using). Make sure there are no lumps of cornstarch. This little step ensures that the cornstarch disperses evenly in the liquid and thickens the jam beautifully without any powdery bits. I always do this first so everything is ready to go when it’s time to add it to the pot.
Step 3: Mix Wet Ingredients
In your heavy-bottomed saucepan, gently whisk together the eggnog and the corn syrup. You don’t want to create a ton of foam at this stage, just combine them smoothly. Add the lemon juice to this mixture as well. It might seem a bit odd to add lemon juice to something that’s supposed to taste like eggnog, but trust me, it brightens the flavors and helps the jam set up properly.
Step 4: Combine
Now, gradually whisk the dry ingredients into the wet ingredients in the saucepan. Keep whisking until the mixture is smooth and there are no lumps. It will look a bit watery at this point, but don’t worry, it will thicken up beautifully as it cooks. Patience is key here!
Step 5: Prepare Filling (Optional)
If you’re making the optional filling, this is a good time to whip it up. In a small bowl, combine the heavy cream, powdered sugar, and rum or bourbon extract. Whisk it until it’s smooth and slightly thickened. It should be spoonable but not runny. Set this aside.
Step 6: Layer & Swirl
Once your main jam mixture is in the pot and whisked smooth, it’s time to start cooking! Stir the mixture constantly over medium heat. You’ll notice it starting to thicken as it heats up. Keep stirring! You want it to come to a gentle simmer. Once it begins to simmer, let it cook for about 2-3 minutes, still stirring, until it’s quite thick, almost like a pudding. If you’re adding the optional filling, you can gently dollop spoonfuls of the cream mixture into the hot jam. Then, using a knife or a skewer, gently swirl the cream into the jam. Don’t overmix! You want distinct swirls, not a uniform color. This is where the beautiful marbling comes from. It looks so pretty when you slice into it later.
Step 7: Bake
This step is optional but I find it really helps to develop that deep, custardy flavor and ensures the jam sets perfectly. Pour the thickened jam mixture (with or without the swirls) into your prepared jars, filling them about two-thirds full. Place the jars in a baking dish. Carefully pour hot water into the baking dish, so it comes about halfway up the sides of the jars. This creates a water bath, which helps the jam cook evenly and gently. Carefully transfer the baking dish to your preheated oven at 325°F (160°C). Bake for about 30-40 minutes, or until the jam is set but still has a slight jiggle in the center. It will continue to thicken as it cools.
Step 8: Cool & Glaze
Carefully remove the baking dish from the oven. Let the jars cool in the water bath for about 30 minutes before carefully removing them to a wire rack to cool completely. Once the jam is completely cool, you can prepare the glaze. In a small bowl, whisk together the powdered sugar, milk (or eggnog), and vanilla extract until smooth. You want a drizzly consistency, not too thick. Drizzle this glaze over the cooled jam in the jars. It adds a beautiful finishing touch and a little extra sweetness. Let the glaze set before covering.
Step 9: Slice & Serve
Once the jam is completely cooled and the glaze has set, you can cover your jars tightly. Store them in the refrigerator. This Eggnog Jam Recipe is best served chilled, but it’s also delicious slightly warmed. It’s perfect for spreading on toast, scones, or even as a topping for cheesecake!
What to Serve It With
This Eggnog Jam Recipe is incredibly versatile, and I love finding new ways to enjoy it! For a truly decadent breakfast, I slather it on thick slices of toasted brioche or challah bread. The richness of the bread pairs beautifully with the spiced jam. It’s also absolutely divine swirled into plain yogurt or cottage cheese – it adds that festive flair to a healthy snack. If you’re a pancake or waffle person, this jam is a game-changer! Just spoon a generous dollop over your stack instead of syrup. For brunch, it’s a showstopper when served alongside scones or biscuits. I like to serve it in a small, pretty dish so guests can help themselves. And as for dessert? Oh, my goodness. It’s amazing on a slice of pound cake, as a filling for shortbread cookies, or even dolloped on top of vanilla ice cream. My family also loves it smeared on gingerbread cookies – talk about a flavor marriage made in heaven! You can even use it as a base for a quick no-bake dessert by layering it with whipped cream and crumbled cookies.
Top Tips for Perfecting Your Eggnog Jam
Over the years, I’ve learned a few tricks that really help make this Eggnog Jam Recipe shine. Here are my best tips:
Eggnog Quality is Key: Seriously, use the best quality eggnog you can find. The richer and more flavorful it is, the better your jam will taste. Avoid the watery, bland stuff if you can. If you can find a homemade-style eggnog, even better!
Don’t Skip the Corn Syrup: I know some people avoid corn syrup, but in jam-making, it really serves a purpose. It helps prevent the sugar from crystallizing, ensuring a smooth, silky texture, and it also adds a lovely shine. If you absolutely can’t use it, a little bit of honey can work, but it might change the flavor profile slightly.
Gentle Swirling for the Win: If you’re adding the cream filling, resist the urge to over-swirl. You want those beautiful ribbons of creamy goodness throughout the jam, not a uniformly blended color. A few gentle pulls with a skewer or the tip of a knife are all you need to create a stunning visual effect.
The Water Bath is Your Friend: Even though we’re not strictly canning this jam for long-term shelf stability (it’s so good, it never lasts!), the water bath helps it cook evenly and achieve that perfect jam-like consistency. It also helps to ensure a cleaner set.
Spice it Your Way: The spice blend is really a personal preference. I love the classic eggnog combo, but feel free to experiment. A little extra cinnamon, a dash of cardamom, or even a hint of ginger can add a wonderful twist. Just start with small amounts and adjust to your taste.
Cool Completely Before Glazing: This might seem obvious, but if you glaze the jam while it’s still warm, the glaze will melt and become too runny. Letting it cool completely ensures you get a nice, defined drizzle on top.
Storage Savvy: Always store this jam in the refrigerator. Because it contains dairy (from the eggnog) and isn’t processed for long-term canning, it needs to be kept cold. It should last for about 2-3 weeks, but honestly, it’s usually gone much, much sooner in my house!
Storing and Reheating Tips
Storing this delightful Eggnog Jam Recipe is pretty straightforward, and it’s designed to be enjoyed relatively fresh. Because it uses eggnog as a base, it’s not shelf-stable like traditional fruit jams that are processed for long-term canning. So, here’s the lowdown on keeping it delicious:
Refrigerator Storage: This is your go-to method. Once the jam has cooled completely (and the glaze, if you used it, has set), transfer it to clean, airtight jars. Store them in the refrigerator. It should stay wonderfully fresh and delicious for about 2 to 3 weeks. I always make sure to use a clean spoon or knife every time I dip into the jar to avoid introducing any contaminants that could shorten its lifespan.
Freezer Instructions: If, by some miracle, you have more jam than you can eat within 2-3 weeks, you can freeze it! Allow the jam to cool completely and the glaze to set. Transfer it to freezer-safe containers or jars, leaving a little headspace at the top as liquids expand when frozen. It should keep well in the freezer for up to 3 months. When you’re ready to use it, thaw it overnight in the refrigerator. The texture might be slightly softer after freezing and thawing, but the flavor will still be fantastic.
Glaze Timing Advice: For the best results, I recommend adding the glaze only when the jam has completely cooled and you’re ready to store it in the fridge or freezer. If you glaze it while it’s warm, the glaze can melt and run off, or become too absorbed into the jam. Applying it to a cooled surface creates that lovely, distinct topping.
Frequently Asked Questions
Final Thoughts
I truly hope you give this Eggnog Jam Recipe a try. It’s become such a beloved part of my recipe collection, and I can’t wait for you to experience that same cozy, festive magic it brings. It’s more than just a jam; it’s a little jar of pure comfort and joy. It’s perfect for those moments when you crave something sweet and special without the commitment of baking. If you love the sound of this, you might also enjoy my recipe for Spiced Pear Butter or my incredibly easy Cranberry Orange Relish – they’ve got that same warming, comforting vibe! I’d absolutely love to hear how your Eggnog Jam turns out. Did you try the swirls? What did you serve it with? Don’t be shy – leave a comment below and tell me all about it! And if you’re sharing photos of your creations, be sure to tag me. Happy jam-making, everyone!
Eggnog Jam Recipe
Ingredients
Main Ingredients
- 4 cups cranberries
- 2 cups sugar
- 1 cup eggnog store-bought or homemade
- 1 tablespoon lemon juice
- 0.5 teaspoon nutmeg freshly grated
- 0.25 teaspoon ground cinnamon
Instructions
Preparation Steps
- In a large saucepan, combine the cranberries, sugar, eggnog, lemon juice, nutmeg, and cinnamon.
- Stir well to combine all ingredients.
- Bring the mixture to a boil over medium-high heat, stirring occasionally.
- Once boiling, reduce the heat to low and simmer for about 25-30 minutes, or until the jam has thickened and the cranberries have burst.
- Remove from heat. Skim off any foam that may have formed on the surface.
- Pour the hot jam into clean jars, leaving about 0.5 inch of headspace. Seal the jars tightly.
- Let the jam cool completely at room temperature before storing in the refrigerator.