Oh, you guys! I’ve been meaning to share this with you for ages, and I’m finally sitting down with my coffee, ready to spill the beans (or should I say, the crumbs!). This Gluten-Free Digestive Biscuits Recipe isn’t just a recipe; it’s a little piece of my childhood, a weekend ritual, and honestly, a lifesaver for those unexpected sweet cravings. You know those moments when you’re just dying for something a bit sweet, a bit crumbly, something you can dunk into your tea without it disintegrating into oblivion? That used to be a serious challenge when we went gluten-free. I tried so many store-bought options, and they were either too dry, too gritty, or just… sad. Then, one day, after a particularly disappointing biscuit experience, I decided enough was enough. I rolled up my sleeves and got to work, and this, my friends, is the result. It’s my go-to for everything from a simple afternoon pick-me-up to a delightful treat to share with friends. Seriously, it’s become legendary in my family, and I can’t wait for it to become a staple in yours too. It’s a bit like my famous Chocolate Chip Cookies, but with that perfect, satisfying crunch you only get from a truly great digestive biscuit.

What are gluten-free biscuits?
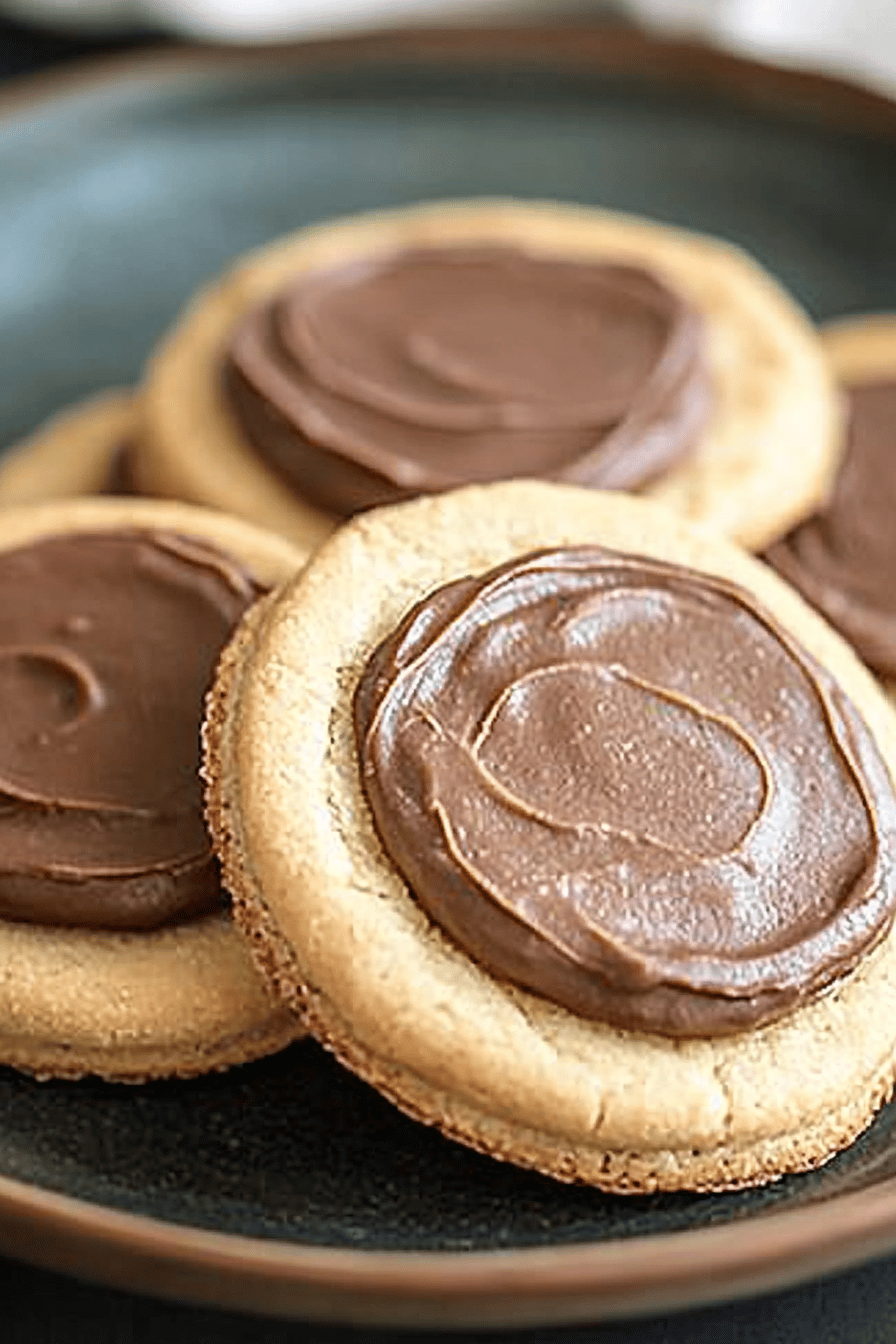
So, what exactly are these magical things? Think of them as the comforting, reliable biscuit that everyone loves. Traditionally, digestive biscuits are known for their slightly sweet, wheaty flavor and their satisfyingly firm yet crumbly texture. They’re the perfect canvas for a smear of butter or jam, and, of course, the undisputed champion of dunking. My gluten-free version aims to capture all of that goodness. It’s essentially a simple, slightly sweet biscuit made with a blend of gluten-free flours that give it that characteristic texture and flavor profile without any of the gluten. They’re not overly sweet, which I think is key, allowing the other flavors to shine through. It’s the kind of biscuit that makes you feel instantly at home, whether you’re enjoying it with a cup of tea in the afternoon or as part of a cheeky midnight snack. The name “digestive” actually comes from their perceived ability to aid digestion, thanks to the inclusion of bicarbonate of soda back in the day, though we focus more on the delicious taste and texture these days!
Why you’ll love this recipe?
I could honestly go on and on about why this recipe is so special, but let me try and distill it down to the absolute highlights. First off, the flavor is just incredible. You get that subtle sweetness, a hint of nuttiness from the flours, and that wonderful, wholesome biscuit taste that’s just so comforting. It’s not a sugary explosion; it’s a refined, satisfying taste. Then there’s the texture. Oh, the texture! They bake up perfectly crisp around the edges and slightly softer in the middle, with that signature crumbly bite that you just crave. They hold their own, meaning you can dunk them without fear of them dissolving into a soggy mess in your tea or coffee – a crucial test, if you ask me! What I love most, though, is how surprisingly simple they are to make. Even if you’re new to gluten-free baking, you’ll find this recipe incredibly approachable. The ingredients are mostly pantry staples, and the process is straightforward. Plus, they’re budget-friendly! You don’t need any fancy, expensive flours to get amazing results. And the versatility? It’s fantastic. I often serve them plain, but they’re also brilliant with a dollop of jam, a slice of cheese, or even dipped in chocolate. They’re a real crowd-pleaser, and the fact that they’re gluten-free just makes them even more of a win-win. I’ve tried other gluten-free biscuit recipes that come out too dense or too crumbly, but this one just hits that sweet spot every single time. It’s definitely a standout compared to some of the more complex gluten-free bakes I’ve attempted!
How do I make gluten-free biscuits?
Quick Overview
Making these gluten-free digestive biscuits is a breeze! You’ll simply mix your dry ingredients, add your wet ingredients, form a dough, chill it briefly, roll it out, cut your shapes, and bake them until golden. The key is to get that dough just right – not too sticky, not too dry – and then a gentle bake is all it needs. It’s really that straightforward, and the results are so worth the minimal effort involved.
Ingredients
For the Main Biscuit Dough: For the Biscuit Dough: For the Biscuit Dough: For the Biscuit Dough: For the
300g Gluten-Free Flour Blend (look for one that includes rice flour, tapioca starch, and potato starch for the best texture. I find a blend with a bit of almond flour also adds a lovely depth of flavor, but it’s optional! If you’re unsure, a good quality all-purpose GF blend will work well.)
100g Fine Oatmeal (ensure it’s certified gluten-free oats if you have celiac disease. Ground oats give that classic digestive texture.)
100g Caster Sugar (or granulated sugar if that’s what you have. This is for a subtle sweetness, not overly sweet.)
1 teaspoon Baking Soda (this is crucial for that slight lift and characteristic texture)
½ teaspoon Salt (just a pinch to enhance all the flavors)
150g Cold Unsalted Butter, cubed (using cold butter is really important for the texture. You want it to be like small pebbles in the flour.)
1 large Egg, beaten (this acts as a binder)
2-3 tablespoons Cold Water or Milk (you might not need it all, just enough to bring the dough together. I sometimes use almond milk and it works a treat!)
Step-by-Step Instructions
Step 1: Preheat & Prep Pan
First things first, get your oven preheating to 180°C (160°C fan/350°F/Gas Mark 4). You’ll want to line two large baking sheets with parchment paper. This is super important to prevent sticking and make clean-up a doddle. Don’t skip this!
Step 2: Mix Dry Ingredients
In a large bowl, whisk together the gluten-free flour blend, ground oatmeal, caster sugar, baking soda, and salt. Give it a good mix with a whisk or a fork to make sure everything is evenly distributed. You want a consistent blend before you add the wet ingredients.
Step 3: Mix Wet Ingredients
In a separate, smaller bowl, lightly beat the egg. This is where you’ll eventually add your cold water or milk.
Step 4: Combine
Add the cold, cubed butter to the dry ingredients. Now, using your fingertips, a pastry blender, or a food processor (if you have one and want to speed things up), rub the butter into the dry ingredients until the mixture resembles coarse breadcrumbs. You want little pea-sized pieces of butter still visible – this is what helps create that lovely crumbly texture. Then, make a well in the centre and pour in the beaten egg. Start mixing with a knife or a spatula, gradually adding the cold water or milk, a tablespoon at a time, just until a soft dough forms. Be careful not to overmix here; you just want it to come together into a cohesive ball. If it seems too dry, add a tiny bit more liquid. If it’s too sticky, a light dusting of GF flour can help.
Step 5: Prepare Filling
This step isn’t for the biscuit dough itself, but for how you might choose to serve them! While the dough chills, you could be getting your favorite jam ready, or perhaps melting some chocolate for dipping. This part is all about setting yourself up for deliciousness later!
Step 6: Layer & Swirl
Turn the dough out onto a lightly floured surface (use GF flour, of course!). Gently bring it together into a disc. Now, this is where you roll! Roll the dough out to about ½ cm (¼ inch) thickness. I like to use a ruler to make sure it’s even. Use your favorite biscuit cutters (round ones are traditional for digestives!) to cut out your biscuits. Reroll any scraps gently, but try not to overwork the dough. Place the cut biscuits onto your prepared baking sheets, leaving a little space between them as they might spread slightly.
Step 7: Bake
Bake for 12-15 minutes, or until the edges are a lovely golden brown and the centers are firm to the touch. Keep an eye on them, as gluten-free baked goods can sometimes brown a little quicker. They should smell amazing! If they’re starting to brown too quickly, you can always loosely tent them with foil.
Step 8: Cool & Glaze
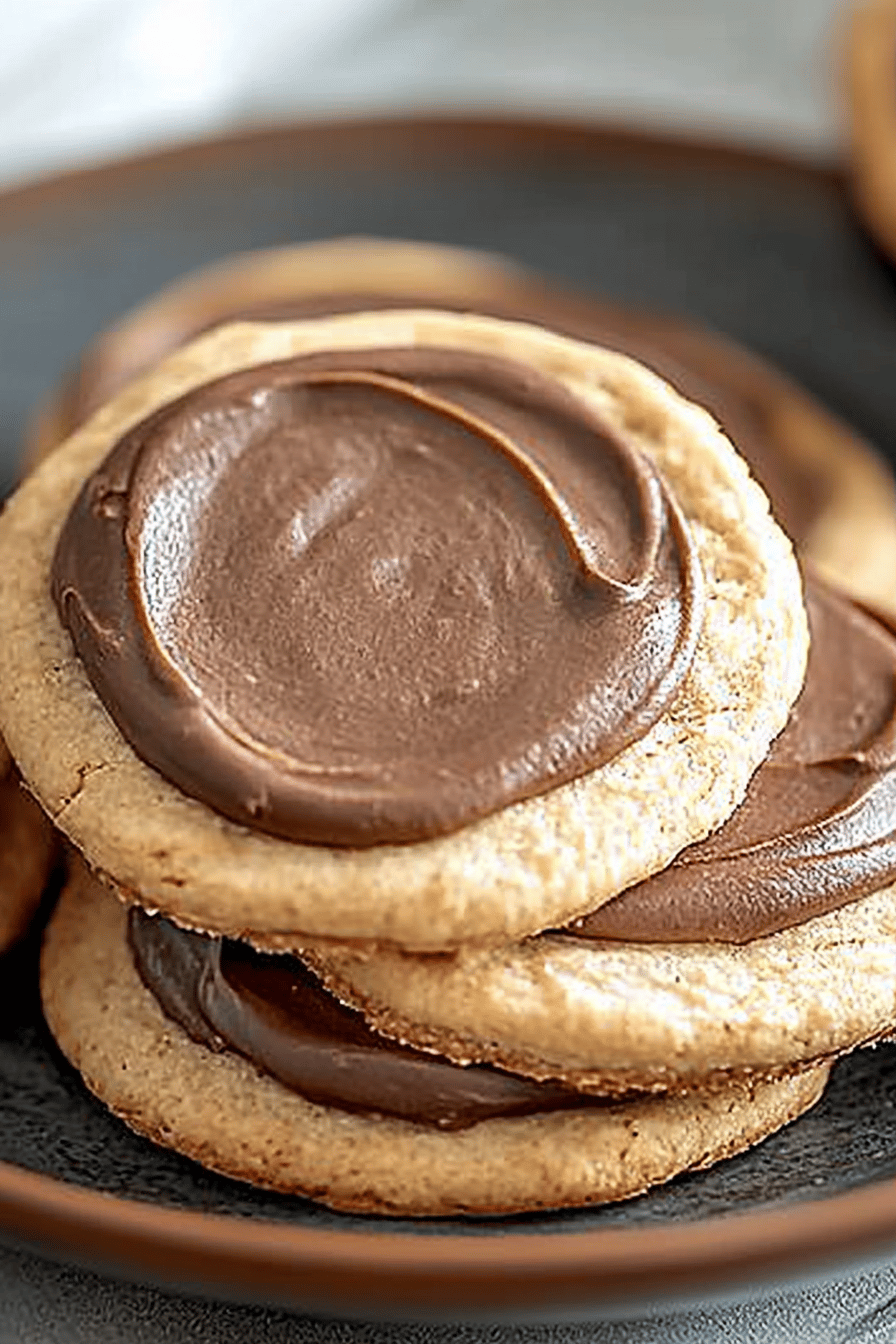
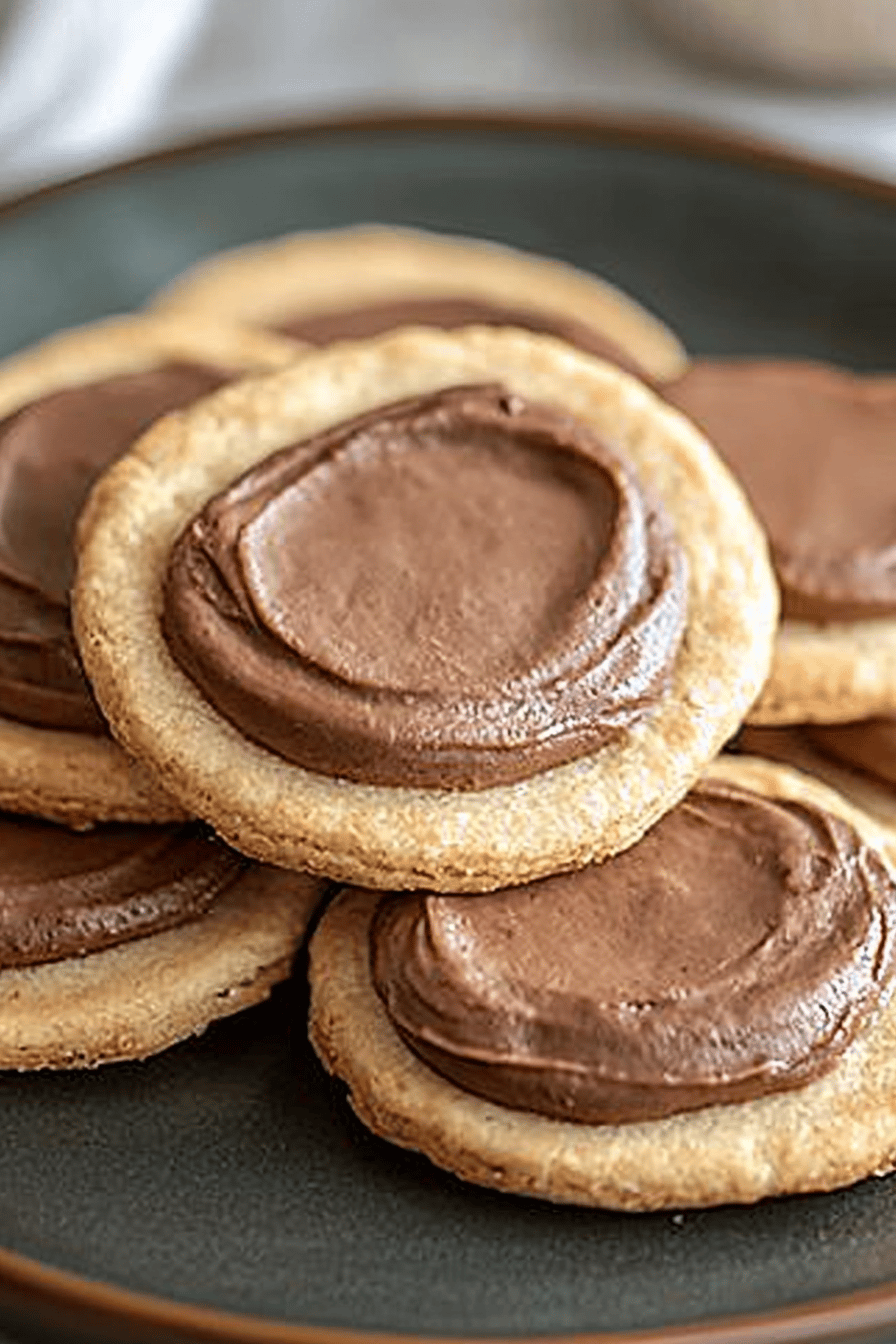
Once baked, carefully transfer the biscuits to a wire rack to cool completely. This is essential! They will firm up a lot as they cool. If you’re planning to glaze them, wait until they are fully cold. You can make a simple icing with icing sugar and a tiny bit of water or lemon juice, or even melt some chocolate for a decadent finish. Drizzle or dip as desired!
Step 9: Slice & Serve
Once cool (and glazed, if you went that route), your delicious gluten-free digestive biscuits are ready to enjoy! I love to have them with a cup of strong tea. The best way to slice and serve them is just as they are – simple, classic, and utterly delightful. If you’ve made any particularly fancy shapes or dipped them in chocolate, you might want to arrange them nicely on a platter. For that classic digestive look, you can even prick them with a fork a few times before baking!
What to Serve It With
These gluten-free digestive biscuits are incredibly versatile, which is another reason I adore them! Here are some of my favorite ways to enjoy them:
For Breakfast: While not a traditional breakfast biscuit, I love having one or two with my morning coffee. It’s not too sweet, so it’s a perfect little treat to ease into the day. The slightly oaty texture feels wholesome, and they’re sturdy enough that they don’t crumble into my coffee. It’s a simple pleasure that makes my morning routine feel a little more special.
For Brunch: If you’re hosting a brunch, these are a fantastic addition. Arrange them on a platter with a selection of cheeses and perhaps some fruit preserves. They pair beautifully with a sharp cheddar or a creamy brie. A glass of bubbly or a nice cup of Earl Grey tea complements them perfectly.
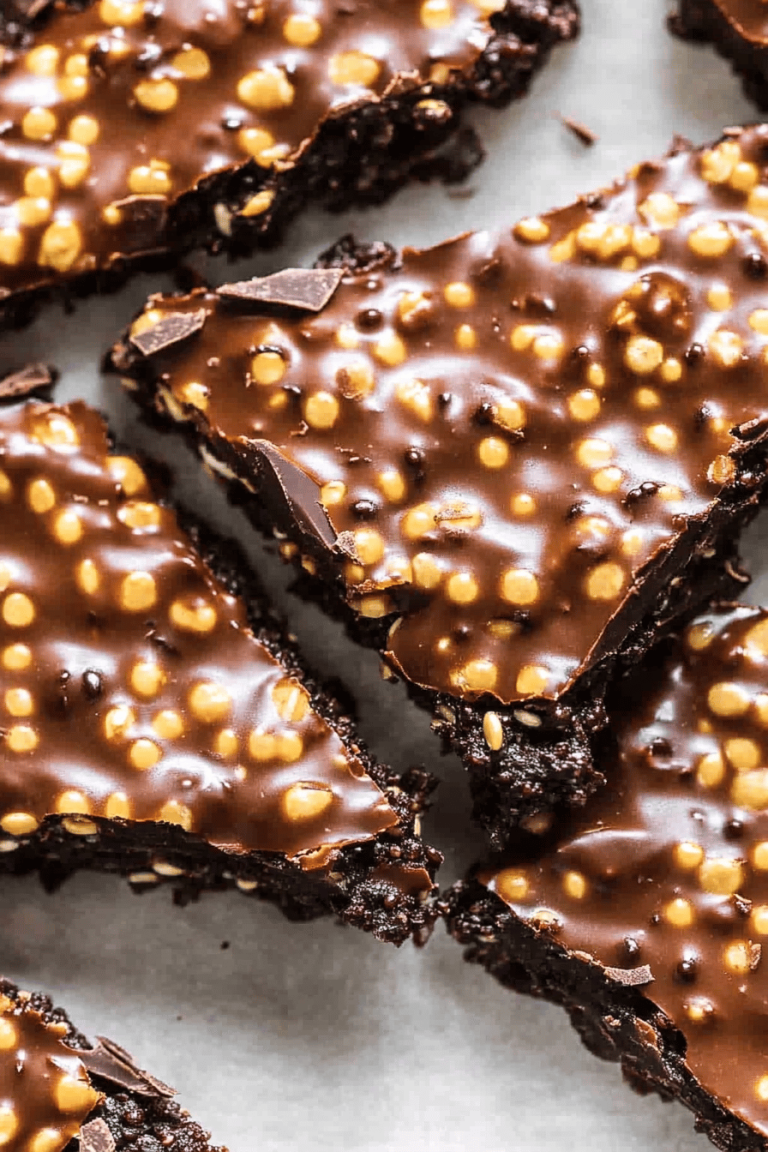
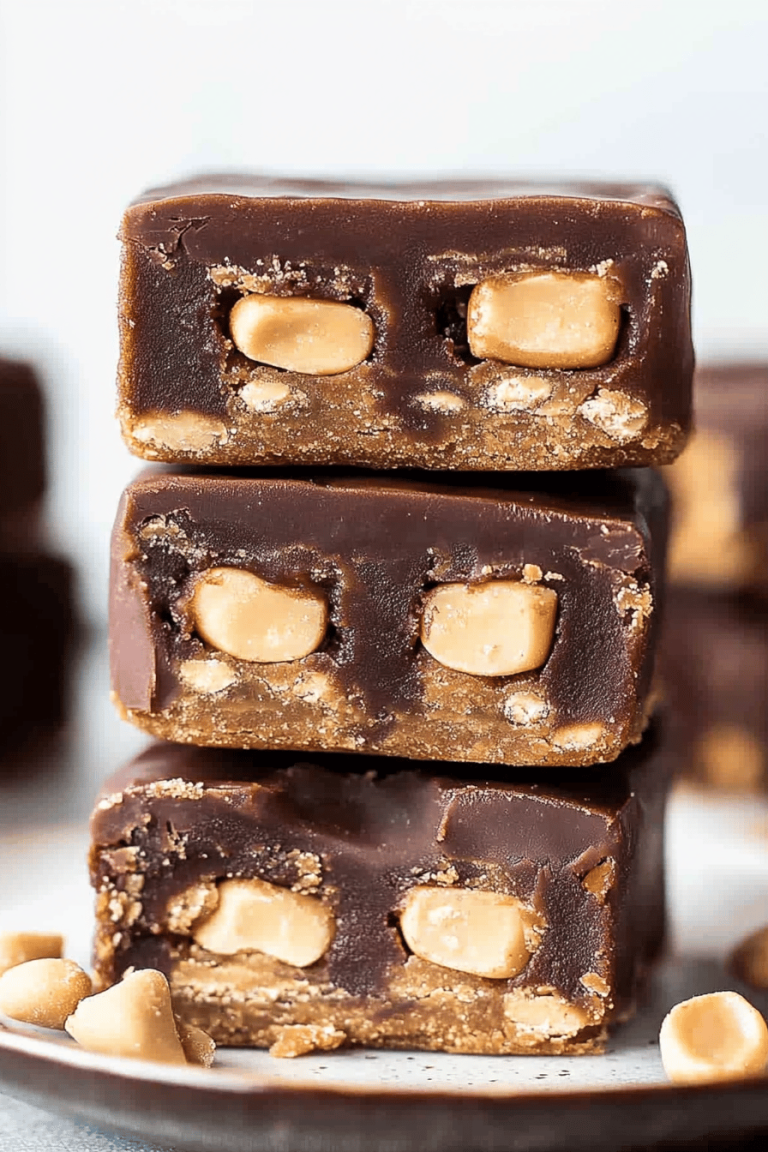
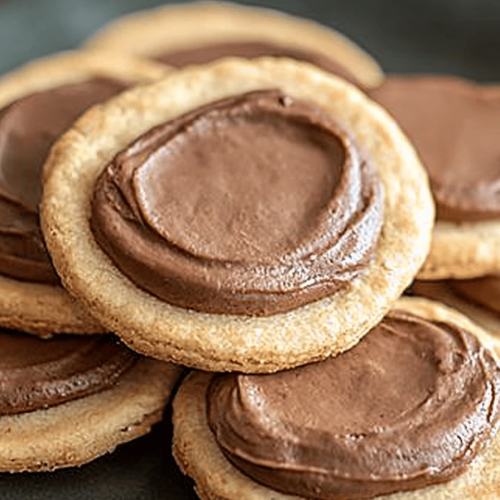
As Dessert: This is where they really shine for me. A classic way is to serve them alongside a rich chocolate mousse or a creamy panna cotta. You can also crush them up to make a gluten-free base for cheesecakes – they’re absolutely divine for that! Another idea is to dip them halfway in melted dark chocolate and let them set; pure indulgence!
For Cozy Snacks: My absolute favorite time to enjoy these is in the late afternoon or evening with a hot cup of tea or even a glass of milk. They’re just so comforting. They’re the perfect “don’t want to bake a whole cake” kind of treat. They remind me of being a kid and sneaking a biscuit when no one was looking, but now I can make my own delicious, safe version!
Top Tips for Perfecting Your Gluten-Free Digestive Biscuits
I’ve learned a thing or two over the years of making these, so here are my absolute best tips to ensure your gluten-free digestive biscuits turn out just perfectly every single time:
Flour Blend is Key: Don’t be tempted to use just one type of gluten-free flour. A blend that includes rice flour, tapioca starch, and potato starch creates the best texture – it mimics the chewiness and crispness of wheat flour. If you can, a touch of almond flour adds a wonderful nutty depth, but it’s not essential. Experiment with your favorite store-bought blends; just make sure it’s a good quality one designed for baking.
Cold Butter is Your Best Friend: Seriously, don’t use softened butter here. You want it ice cold and cubed. Rubbing it into the dry ingredients creates those little pockets of fat that melt in the oven, giving you that signature crumbly, slightly flaky texture that makes a digestive biscuit so satisfying. If your kitchen is warm, pop the butter cubes in the freezer for 10-15 minutes before you start.
Don’t Overwork the Dough: Once you add the wet ingredients, mix *just* until the dough comes together. Overmixing gluten-free dough can make it tough or gummy, which is the last thing you want for a biscuit. It should feel soft and pliable, not sticky or dense.
Chill Time is Important: Even a short 20-30 minute chill in the fridge makes a huge difference. It firms up the butter, makes the dough easier to handle and roll without sticking, and helps the biscuits hold their shape better during baking. I usually pop it in the fridge while I’m cleaning up the mixing bowls.
Even Rolling is Crucial: Try to roll your dough out to a consistent thickness. If some parts are thicker than others, they’ll bake unevenly, with some being too soft and others too crisp. A rolling pin with guides or a good ruler can be a lifesaver here. Aim for about ½ cm (¼ inch).
Watch Them Closely While Baking: Gluten-free baked goods can go from perfectly golden to burnt very quickly. Start checking your biscuits around the 12-minute mark. They should be golden brown around the edges and feel firm to the touch. If they’re browning too fast, you can always tent them loosely with foil for the last few minutes of baking.
Cool Completely Before Storing or Glazing: This is probably the most important tip for texture. Warm biscuits are often soft. They firm up and get that perfect crispness as they cool completely on a wire rack. Trying to glaze or store warm biscuits will result in a sticky mess and potentially soggy bottoms.
Ingredient Swaps: If you don’t have oats, you can try using a bit more GF flour blend, but the texture won’t be quite the same. For sweetness, you can experiment with a little less sugar, but it does affect the crispness. You can also add a pinch of cinnamon or cardamom to the dry ingredients for a little extra flavor boost.
Storing and Reheating Tips
Proper storage is key to keeping these gluten-free digestive biscuits deliciously crisp and ready to enjoy. Here’s how I do it:
Room Temperature Storage: Once completely cooled, store the biscuits in an airtight container at room temperature. They should stay fresh and retain their crispness for up to 5-7 days. If your kitchen is particularly humid, you might want to add a food-safe silica gel packet to the container to absorb any excess moisture. Make sure they are fully cooled before sealing the container, otherwise, condensation can form and make them go soft.
Refrigerator Storage: Honestly, I rarely refrigerate these as they’re best at room temp. However, if you live in a very warm climate or the biscuits have a glaze that needs to stay firm, you can store them in the fridge. They’ll last about the same amount of time, 5-7 days, but they might lose a little crispness. You can bring them back to room temperature for about 30 minutes before serving.
Freezer Instructions: These biscuits freeze surprisingly well! Once completely cooled and any glaze is set, wrap them tightly in plastic wrap, then place them in a freezer-safe bag or container. They can be kept in the freezer for up to 2-3 months. To thaw, simply remove them from the freezer and let them come to room temperature in their packaging. This usually takes a couple of hours. They should regain their original texture.
Glaze Timing Advice: If you’ve glazed your biscuits, make sure the glaze is completely set before storing them. For room temperature storage, it’s best to have the glaze fully dry. If refrigerating, it helps keep the glaze firm. For freezer storage, ensure the glaze is hard before wrapping to prevent it from sticking to the plastic wrap.
Frequently Asked Questions
Final Thoughts
There you have it – my treasured Gluten-Free Digestive Biscuits Recipe! I really hope you give these a try. They’re a testament to the fact that going gluten-free doesn’t mean missing out on those comforting, classic treats. They’ve brought so much joy to my family, and I’m genuinely excited for you to experience that too. Whether you’re baking for yourself, your family, or friends with dietary needs, these biscuits are a guaranteed winner. They’re perfect for dunking, for snacking, or just for enjoying that satisfying crunch. If you try them out, please do let me know how they turn out in the comments below – I absolutely love hearing your feedback and seeing your creations! And if you loved these, you might also want to check out my [Link to another popular recipe, e.g., Gluten-Free Scones] for more delicious gluten-free baking inspiration. Happy baking, everyone!
Gluten-Free Digestive Biscuits Recipe
Ingredients
Main Ingredients
- 1.5 cup Gluten-free all-purpose flour blend
- 0.5 cup Oat flour
- 0.25 cup Brown sugar
- 0.125 cup Granulated sugar
- 1 teaspoon Baking soda
- 0.5 teaspoon Salt
- 4 oz Unsalted butter, cold and cubed
- 3 tablespoon Milk (dairy or non-dairy)
Instructions
Preparation Steps
- Preheat your oven to 375°F (190°C) and line a baking sheet with parchment paper.
- In a large bowl, whisk together the gluten-free all-purpose flour, oat flour, brown sugar, granulated sugar, baking soda, and salt.
- Cut in the cold, cubed butter using a pastry blender or your fingertips until the mixture resembles coarse crumbs.
- Add the milk, a tablespoon at a time, and mix until the dough just comes together. Be careful not to overmix.
- Turn the dough out onto a lightly floured surface and gently pat it into a disc about 0.5 inch thick.
- Using a round cookie cutter (about 2.5 inches in diameter), cut out biscuits and place them on the prepared baking sheet.
- Bake for 10-12 minutes, or until the edges are lightly golden brown.
- Let the biscuits cool on the baking sheet for a few minutes before transferring them to a wire rack to cool completely.