Okay, friends, gather ’round because I’m about to spill the beans on a recipe that’s basically my culinary superhero. We’re talking Sugar Cookie Bars, and let me tell you, these aren’t just any Sugar Cookies. These are the kind of bars that disappear in minutes, the ones my little ones beg for on repeat, and honestly, they’ve saved my sanity more times than I can count when unexpected guests pop over or I just *need* something sweet after a long day. Forget the fuss of rolling and cutting individual cookies; these sugar cookie bars are your shortcut to pure, unadulterated cookie joy. Think of them as the best parts of a classic sugar cookie – that soft, chewy texture and delicate vanilla-almond flavor – but in a format that’s ridiculously easy to whip up and even easier to devour. They’re my answer to the “I want cookies NOW” dilemma, and I’m so excited to share them with you!
What are sugar cookie bars?
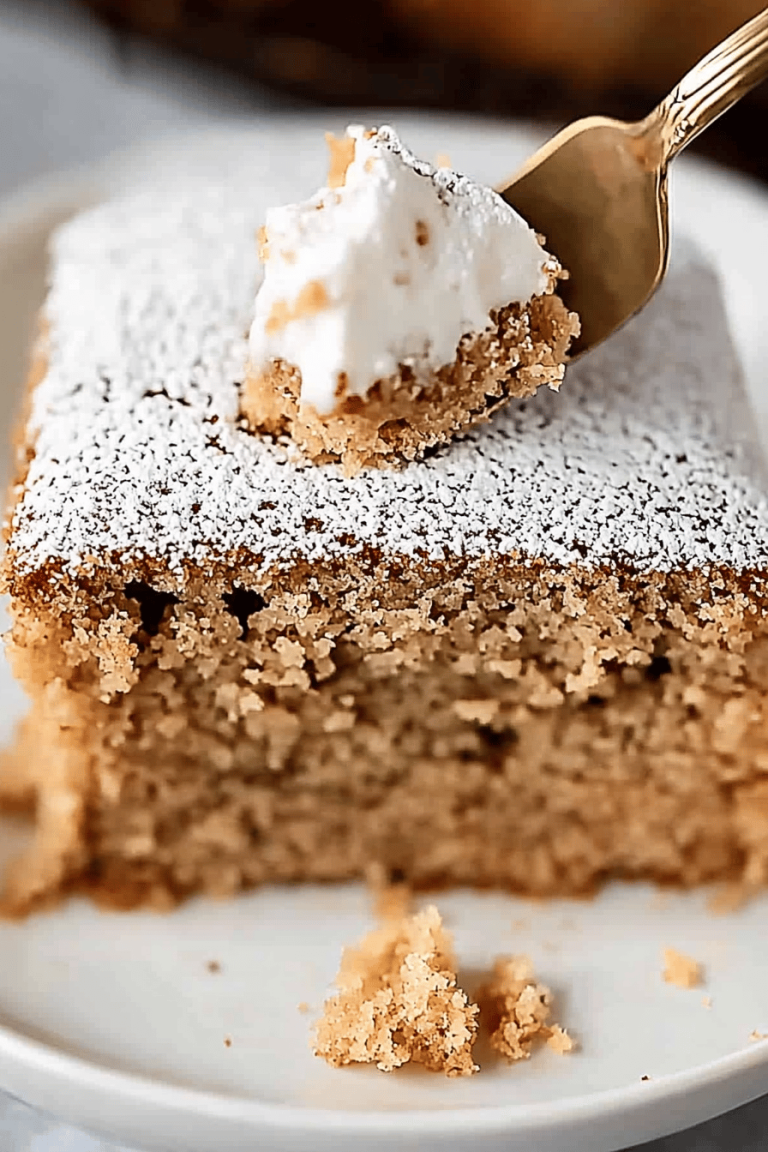
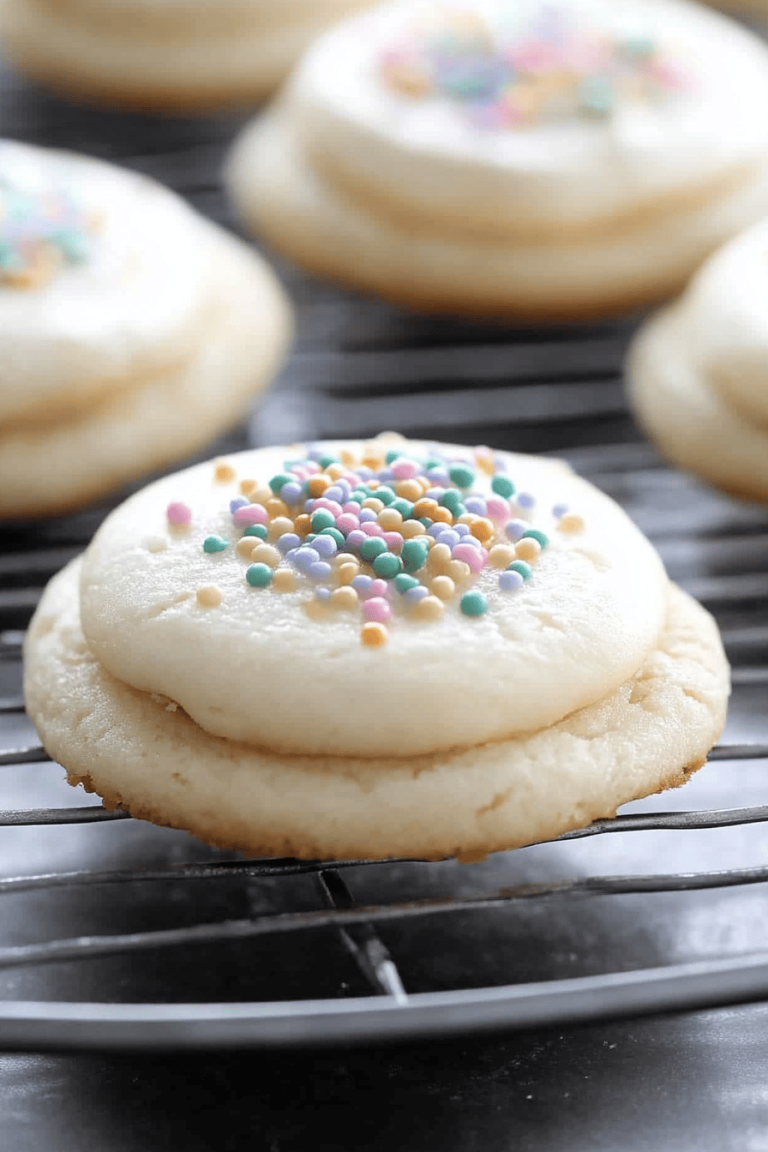
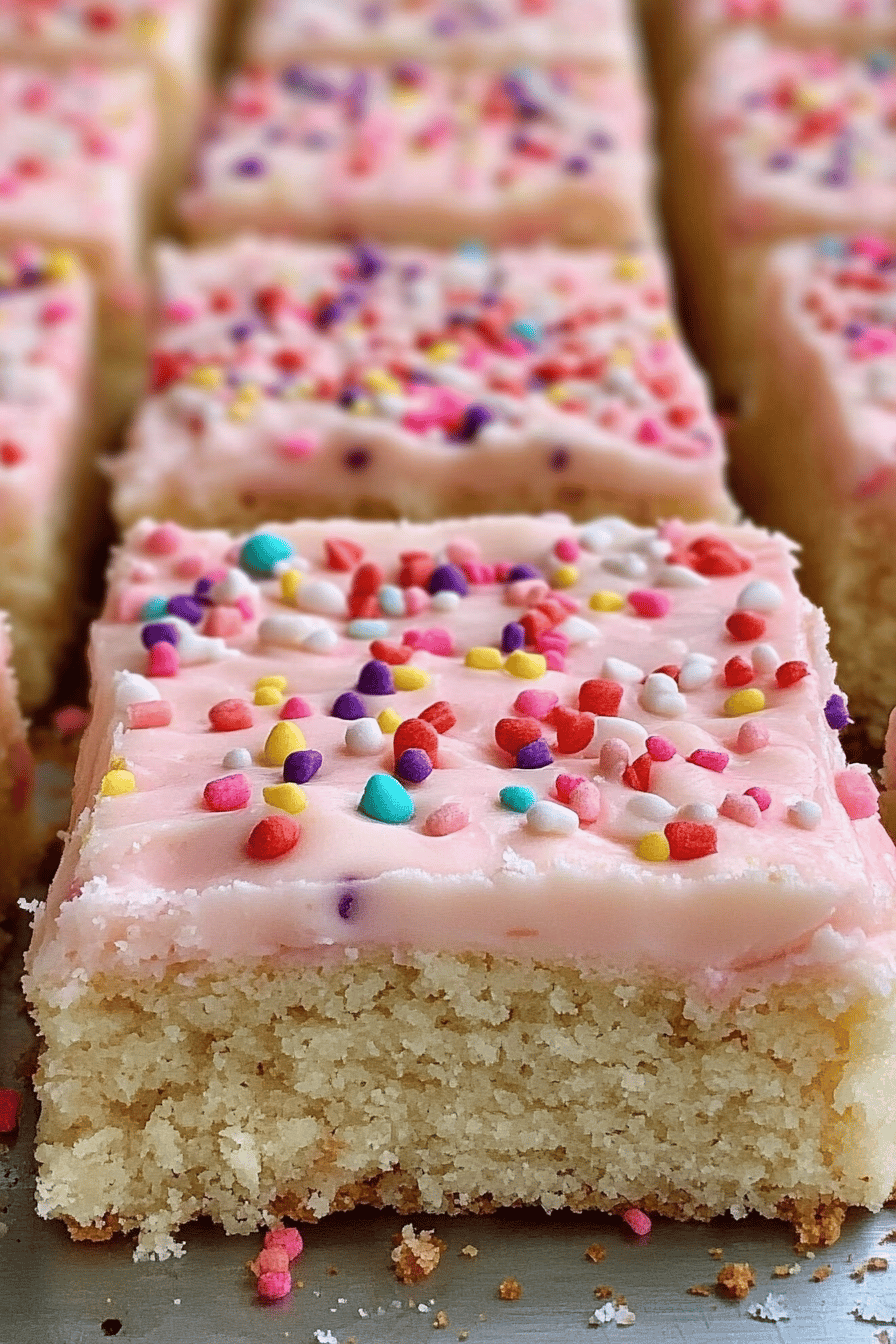
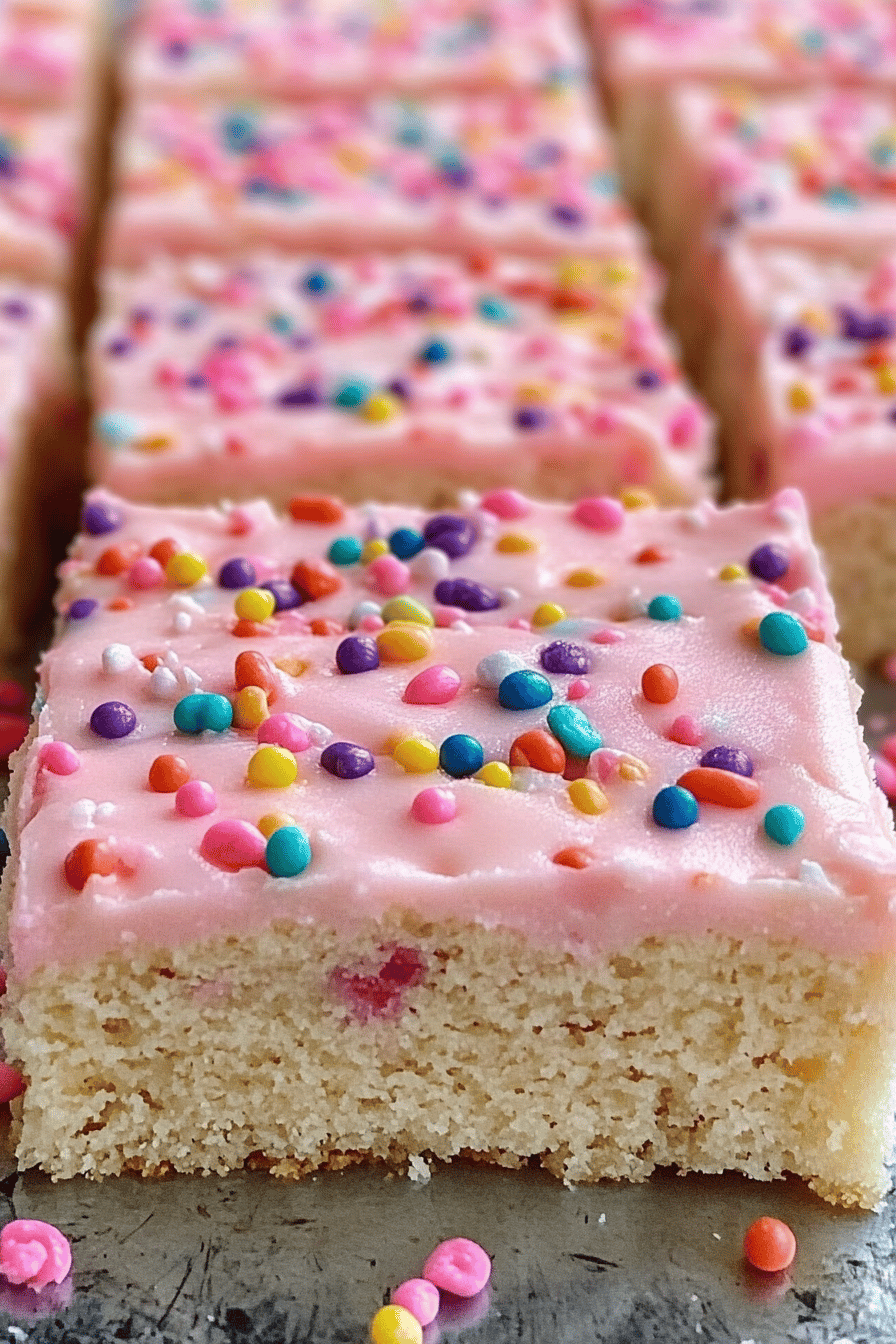
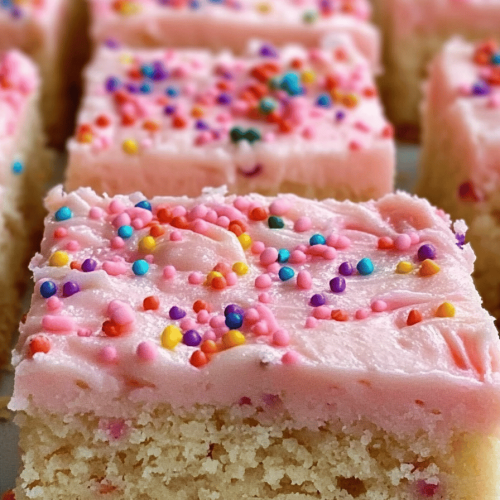
So, what exactly are these magical sugar cookie bars we’re talking about? Well, think of them as your favorite sugar Cookie Dough, but instead of going through the whole song and dance of rolling it out, cutting shapes, and decorating each individual cookie, you press the dough directly into a baking pan. After it bakes into a glorious, golden sheet, you can frost it or just dust it with powdered sugar and cut it into squares or rectangles. It’s essentially a deconstructed, super-easy sugar cookie. The name itself tells you everything you need to know: it’s sugar cookie goodness, served in bar form. It’s the approachable, less intimidating cousin of the traditional cut-out sugar cookie, and for that, I am eternally grateful!
Why you’ll love this recipe?
Honestly, there are so many reasons this sugar cookie bar recipe has earned a permanent spot in my recipe binder. First and foremost, the FLAVOR. It’s that quintessential sweet, buttery, vanilla-almond goodness that just screams comfort and celebration. It’s not overly sweet, which I appreciate, allowing the subtle notes of almond extract to really sing. Then there’s the SIMPLICITY. Seriously, this recipe is a lifesaver. It comes together in about 15 minutes of active time, and most of that is just creaming butter and sugar. No chilling dough, no flour explosions all over the kitchen from rolling, just a simple press-and-bake operation. It’s also incredibly COST-EFFECTIVE. The ingredients are all pantry staples that most of us already have on hand, making it a budget-friendly treat for any occasion. And the VERSATILITY! Oh, the ways you can dress these up or down. A simple dusting of powdered sugar is perfect for a quick treat, but a luscious buttercream frosting takes them to a whole new level. You can add sprinkles, chocolate chips, or even a swirl of jam. It’s the perfect base for any kind of cookie craving. What I love most about these sugar Cookie Bars, though, is that they bring that nostalgic, happy feeling of homemade cookies without the stress. They’re my secret weapon when I want to impress without breaking a sweat, and that, my friends, is gold.
How do I make sugar cookie bars?
Quick Overview
The process is wonderfully straightforward. You’ll cream together butter and sugar, add your wet ingredients, then mix in your dry ingredients to form a slightly soft dough. This dough gets pressed into a baking pan and baked until golden. Once cooled, a simple glaze or your favorite frosting is added, and then it’s sliced into bars. It’s designed for maximum deliciousness with minimal effort, making it perfect for busy weeknights or spontaneous baking sessions.
Ingredients
For the Main Batter:
Butter: 1 cup (2 sticks) unsalted butter, softened. Make sure it’s truly softened, not melted! I always leave mine on the counter for about an hour before I plan to bake. It makes creaming so much easier and ensures a better texture.
Granulated Sugar: 1.5 cups. This is what gives us that classic sugar cookie sweetness.
Eggs: 2 large eggs. These bind everything together and add richness.
Vanilla Extract: 2 teaspoons. Don’t skimp here! This is where so much of that lovely sugar cookie flavor comes from.
Almond Extract: 1/2 teaspoon (optional, but highly recommended!). This is my little secret for that extra layer of bakery-style flavor. If you’re not a fan of almond, you can omit it or add another teaspoon of vanilla.
All-Purpose Flour: 3 cups. Spooned and leveled, not scooped! This is crucial for getting the right dough consistency. Scooping can lead to dry bars.
Baking Powder: 1 teaspoon. This helps them puff up just enough.
Salt: 1/2 teaspoon. Balances the sweetness and enhances all the other flavors.
For the Glaze:
Powdered Sugar: 2 cups. Sifted, if you want a super smooth glaze, though I often skip this step when I’m in a hurry and it’s still delicious!
Milk or Cream: 3-4 tablespoons. You can also use water, but milk or cream makes it extra rich. Start with 3 tablespoons and add more, a teaspoon at a time, until you reach your desired drizzling consistency.
Vanilla Extract: 1 teaspoon. For a little extra flavor pop in the glaze.

Step-by-Step Instructions
Step 1: Preheat & Prep Pan
First things first, get your oven preheating to 350°F (175°C). While that’s warming up, grab a 9×13 inch baking pan. I like to grease it really well with butter or non-stick spray, and then I often line it with parchment paper, leaving some overhang on the sides. This makes lifting the entire baked slab out so much easier for cutting. Just make sure the parchment doesn’t go up the sides too high, or it might burn.
Step 2: Mix Dry Ingredients
In a medium bowl, whisk together the flour, baking powder, and salt. Whisking them together now helps distribute the leavening agent and salt evenly throughout the flour, ensuring your bars bake up consistently. Give it a good stir until everything looks well combined. Set this aside for a moment.
Step 3: Mix Wet Ingredients
In a large bowl (or the bowl of your stand mixer if you have one), cream together the softened butter and granulated sugar until light and fluffy. This usually takes about 3-5 minutes. You’ll see the color lighten and the mixture become airy. Then, beat in the eggs one at a time, making sure each egg is fully incorporated before adding the next. Stir in the vanilla extract and almond extract (if using).
Step 4: Combine
Now, it’s time to bring it all together. Gradually add the dry ingredients to the wet ingredients, mixing on low speed (or with a spatula) until *just* combined. Be careful not to overmix here! Overmixing can develop the gluten too much, leading to tough bars. You want to stop as soon as you don’t see any more streaks of dry flour. The dough will be soft and a bit sticky, which is exactly what we’re going for.
Step 5: Prepare Filling
(Wait, there’s no filling listed in the ingredients. I think we’re referring to the base batter itself being the “filling” for the pan in this instance. If there was a separate swirl or topping intended, it would be listed here. For these bars, the batter *is* the delicious filling!) So, your prepared dough is ready to go!
Step 6: Layer & Swirl
Transfer the dough to your prepared baking pan. Now, this is the part where you can get a little messy, but in the best way! Use your hands (lightly floured or greased if it’s very sticky) or a spatula to press the dough evenly into the bottom of the pan. You want a nice, uniform layer. Don’t worry if it’s not perfectly smooth, a little rustic charm is good!
Step 7: Bake
Pop that pan into your preheated oven. Bake for 20-25 minutes, or until the edges are lightly golden brown and the center is set. You can test for doneness by gently pressing the center; it should spring back slightly. If you insert a toothpick, it should come out with moist crumbs, not wet batter.
Step 8: Cool & Glaze
This is perhaps the hardest part: letting them cool! Let the bars cool in the pan on a wire rack for at least 15-20 minutes before attempting to glaze. While they’re cooling, whisk together the powdered sugar, 3 tablespoons of milk or cream, and the vanilla extract for the glaze. Add more liquid a teaspoon at a time until you get a pourable, but not too thin, consistency. Once the bars are mostly cool, drizzle or spread the glaze evenly over the top. Let the glaze set for about 15-20 minutes before slicing.
Step 9: Slice & Serve
Once the glaze has set, use the parchment paper overhang to lift the entire slab out of the pan and place it on a cutting board. Now, you can slice it into squares or rectangles. I usually aim for about 2-inch squares. For clean cuts, use a sharp knife and wipe it clean between slices if the glaze gets a bit sticky.
What to Serve It With
These sugar cookie bars are wonderfully versatile, fitting into almost any meal or occasion. For breakfast, a small square with a hot cup of coffee is pure bliss – simple, sweet, and satisfying. They’re also fantastic for a casual brunch spread; arrange them on a platter alongside fresh fruit and maybe some yogurt parfaits. As a dessert, they’re a crowd-pleaser. Serve them after dinner with a scoop of vanilla ice cream or a side of fresh berries. They’re also my go-to for cozy snacks when that afternoon craving hits. My family loves them with a tall glass of cold milk, and I can’t say I blame them! They’re also surprisingly good alongside a cup of tea, especially if you’ve added a hint of lemon zest to the glaze. They truly are a blank canvas for deliciousness!
Top Tips for Perfecting Your Sugar Cookie Bars
Over the years, I’ve picked up a few tricks that make these sugar cookie bars consistently amazing. For the butter, always make sure it’s truly softened, not melted. If it’s melted, your dough will be too greasy and your bars might spread too much. When you’re mixing the dry ingredients, whisking them together really does make a difference for even baking – it’s a small step that pays off. I learned this the hard way after a batch of lopsided bars! The “don’t overmix” rule for adding the flour is paramount. Seriously, just mix until you don’t see flour. Overmixing develops gluten, and that’s the enemy of tender cookies. If your dough seems too sticky to press into the pan, don’t be tempted to add more flour! Instead, lightly grease your hands or use a piece of parchment paper over the dough and press with your hands or a flat-bottomed glass. For the glaze, consistency is key. Start with less liquid and add more slowly. You want it thick enough to coat but thin enough to drizzle. If it’s too thin, just whisk in a bit more powdered sugar. If it’s too thick, a tiny splash more milk or cream will fix it right up. I’ve also experimented with different extracts; while vanilla and almond are my favorites, a touch of lemon extract in the glaze is divine, especially in the spring. And remember, oven temperatures can vary! My oven runs a little hot, so sometimes I need to shave off a few degrees or a couple of minutes. Trust your instincts and the look of the bars – golden edges and a set center are your best indicators. Lastly, for that perfect clean slice, a sharp, thin knife is your best friend. Wiping it clean between cuts prevents the glaze from getting messy.
Storing and Reheating Tips
These sugar cookie bars are pretty resilient when it comes to storage. If you’ve glazed them, you can usually leave them at room temperature for about 2-3 days, provided your kitchen isn’t too warm. Just keep them in an airtight container to maintain freshness. If they’re unfrosted or just dusted with powdered sugar, they’ll keep nicely at room temperature for up to 5 days. For longer storage, they do well in the refrigerator. Place them in an airtight container, and they should stay good for about a week. I usually put a piece of parchment paper between layers if I’m stacking them to prevent the glaze from sticking. If you want to freeze them, which is a great idea because they’re so easy to grab when a craving strikes, make sure the glaze is fully set. Wrap the cooled, cut bars tightly in plastic wrap, then transfer them to a freezer-safe bag or container. They’ll last for up to 3 months in the freezer. To thaw, simply leave them at room temperature for a bit. If you plan to freeze unfrosted bars, they’ll last even longer, up to 2 months. For reheating, I rarely do it as they’re delicious at room temp or slightly chilled, but if you prefer a warm bar, you can gently warm them in a toaster oven or microwave for just a few seconds. Be careful not to overheat, though, as they can become tough!
Frequently Asked Questions
Final Thoughts
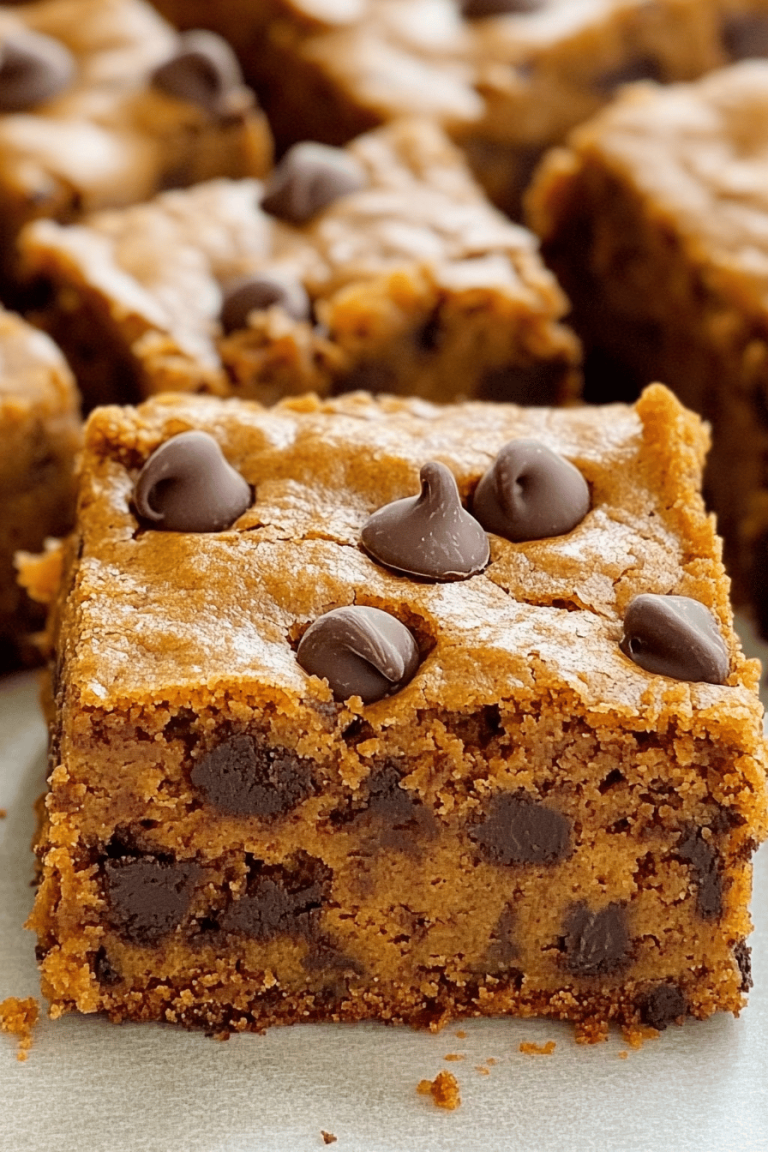
So there you have it – my absolute favorite sugar cookie bars recipe! It’s the kind of recipe that brings smiles, makes memories, and is just plain fun to bake and eat. They’re proof that sometimes, the simplest things are the most rewarding. If you love these, you might also enjoy my Classic Chocolate Chip Cookies or my Soft & Chewy Oatmeal Raisin Cookies. They offer that same comforting, homemade goodness that just makes life a little sweeter. I truly hope you give these sugar cookie bars a try. I can’t wait to hear how they turn out for you, and I’d absolutely love to see your creations! Don’t hesitate to leave a comment below with your thoughts or any fun variations you come up with. Happy baking, everyone!
Sugar Cookie Bars
Ingredients
Cookie Base
- 0.5 cup Unsalted Butter softened
- 1 cup Granulated Sugar
- 1 large Egg
- 1 teaspoon Vanilla Extract
- 2 cups All-Purpose Flour
- 0.5 teaspoon Baking Powder
- 0.25 teaspoon Salt
Vanilla Frosting
- 0.5 cup Unsalted Butter softened
- 2 cups Powdered Sugar
- 2 tablespoon Milk
- 0.5 teaspoon Vanilla Extract
Instructions
Cookie Preparation
- Preheat oven to 350°F (175°C). Grease and flour a 9x13 inch baking pan.
- In a large bowl, cream together softened butter and granulated sugar until light and fluffy.
- Beat in the egg and vanilla extract until well combined.
- In a separate bowl, whisk together the flour, baking powder, and salt.
- Gradually add the dry ingredients to the wet ingredients, mixing until just combined. Do not overmix.
- Spread the dough evenly into the prepared baking pan.
- Bake for 20-25 minutes, or until the edges are golden brown and a toothpick inserted into the center comes out clean.
- Let the bars cool completely in the pan on a wire rack.
Frosting Preparation
- While the bars are cooling, prepare the frosting. In a medium bowl, beat softened butter until creamy.
- Gradually add the powdered sugar, alternating with the milk, until smooth and creamy.
- Stir in the vanilla extract.
- Once the cookie bars have completely cooled, spread the frosting evenly over the top.
- Cut into squares and serve.