You know those dishes that just feel like home? The ones that instantly transport you back to a cozy evening, or bring a smile to everyone’s face when you bring it to the table? For me, that’s this Taco Chili recipe. It’s the kind of comfort food that doesn’t ask for much but gives back so much, a true lifesaver on busy weeknights, and honestly, it’s what my kids ask for year-round, even when it’s scorching hot outside! It’s like a warm hug in a bowl, and it has that perfect blend of savory, a little bit spicy, and oh-so-satisfying. If you’ve ever loved a hearty beef chili, or craved the vibrant flavors of tacos but wanted something a little more comforting and soul-warming, this is your new best friend. It’s simpler than you might think, and the aroma alone is enough to get the whole family excited.

What is Taco Chili?
So, what exactly *is* this magical Taco Chili? Think of it as the best of both worlds colliding in the most delicious way possible. It’s essentially a hearty, flavorful chili that’s infused with all the zesty, savory, and slightly spicy notes you’d find in your favorite taco filling. Instead of just plain Ground Beef and beans, we’re talking about building layers of flavor with taco seasonings, maybe a touch of cumin, chili powder, and even some salsa or Rotel for that extra kick. It’s a stew-like concoction that’s rich, satisfying, and packed with all those familiar taco vibes. It’s not just a chili with a taco flavor thrown in; it’s a thoughtful combination that makes perfect sense. It’s the kind of dish that’s hearty enough for a cold day but bright enough in flavor to be enjoyed anytime. It’s my answer to “What’s for dinner?” when I want something comforting but also exciting.
Why you’ll love this recipe?
Honestly, there are so many reasons why this Taco Chili recipe has become a staple in my kitchen. First and foremost, the FLAVOR! It’s just incredible. You get that deep, savory richness from the beef, the warmth of the chili spices, and then that unmistakable taco zest that just makes your taste buds sing. It’s got a perfect balance of savory and a hint of spice that isn’t overwhelming, making it a hit with everyone, from my pickiest eaters to my spice-loving husband. And then there’s the SIMPLICITY. This isn’t some complicated, multi-day affair. It comes together surprisingly quickly, especially if you’re using some pre-chopped ingredients. It’s one of those recipes that feels fancy but is secretly so easy to whip up, making it perfect for weeknights when you’re pressed for time but still want something homemade and delicious. What I love most about this is how COST-EFFECTIVE it is. The ingredients are all pantry staples or easily found at any grocery store, and you get a huge batch that can feed a crowd or provide plenty of leftovers. Plus, it’s incredibly VERSATILE. You can serve it over rice, with cornbread, or load it up with your favorite taco toppings like shredded cheese, sour cream, avocado, and crushed tortilla chips. It’s like a build-your-own taco bar meets a cozy chili experience, and who wouldn’t love that? Compared to a basic beef chili, the added taco elements really elevate it and make it something special. It’s become my go-to for potlucks and casual get-togethers because it’s always a guaranteed crowd-pleaser.
How do I make Taco Chili?
Quick Overview
Making this Taco Chili is a straightforward process that involves browning some ground meat, sautéing aromatics, adding a medley of flavorful ingredients, and letting it all simmer to perfection. The beauty of this recipe is its forgiving nature; it’s hard to mess up! You basically brown your meat, toss in your veggies and spices, add liquids, and let it do its thing. It’s designed to be relatively hands-off once it gets going, giving you time to relax or prep your favorite toppings. What makes my method stand out is the careful layering of flavors from the start, ensuring every bite is packed with deliciousness. It’s comfort food at its finest, made easy.
Ingredients
For the Main Body of the Chili:
1.5 pounds ground beef (80/20 is my go-to for flavor, but lean works too!)
1 large onion, chopped (Yellow or white work best)
2 cloves garlic, minced (Fresh garlic is key here!)
1 bell pepper (any color), chopped (Adds a nice sweetness and texture)
1 (15 ounce) can diced tomatoes, undrained (Fire-roasted if you can find them for extra depth!)
1 (15 ounce) can kidney beans, rinsed and drained (For that classic chili feel)
1 (15 ounce) can black beans, rinsed and drained (Adds a different texture and nutty flavor)
1 (10 ounce) can Rotel (diced tomatoes and green chilies), undrained (This is a flavor bomb, don’t skip it!)
1 cup beef broth (or chicken broth if that’s what you have)
2 tablespoons chili powder (Adjust to your spice preference!)
1 tablespoon cumin
1 teaspoon smoked paprika (Adds a wonderful smoky note)
1/2 teaspoon dried oregano
Salt and freshly ground Black Pepper to taste
1 tablespoon olive oil or vegetable oil (for sautéing)
For That Taco Kick:
1 packet taco seasoning (This is the shortcut that makes it *taco* chili! Use your favorite brand.)
Optional: A pinch of cayenne pepper for extra heat
For Serving (the best part!):
Shredded cheddar cheese
Sour cream or Greek yogurt
Chopped fresh cilantro
Diced red onion or green onions
Crushed tortilla chips or Fritos
Avocado slices or guacamole
Step-by-Step Instructions
Step 1: Preheat & Prep Pan
Grab a large pot or Dutch oven – the bigger, the better for this deliciousness. Place it over medium-high heat. Add about a tablespoon of olive oil. You want it nice and hot, but not smoking. This is where we start building our flavor foundation!
Step 2: Mix Dry Ingredients
While the pot heats up, grab a small bowl. Measure out your chili powder, cumin, smoked paprika, oregano, and if you’re feeling brave, that pinch of cayenne pepper. Stir them all together. I like to do this now so they’re ready to go when we need them. This step ensures all those spices are ready to bloom and meld together perfectly.
Step 3: Mix Wet Ingredients
This is more about getting your cans ready! Open up your diced tomatoes, your Rotel, and your rinsed and drained beans. Having them open and ready means you can just dump them in when the time comes, keeping the cooking process smooth and uninterrupted.
Step 4: Combine
Add the Ground Beef to the hot pot. Break it up with a spoon and let it brown. Once it’s mostly browned, drain off any excess grease. Then, toss in your chopped onion and bell pepper. Cook for about 5-7 minutes, until the veggies start to soften. Stir in your minced garlic and cook for another minute until fragrant. Now, add your pre-mixed dry spices and the packet of taco seasoning. Stir everything really well to coat the meat and veggies. This is where the magic starts to happen – your kitchen will start to smell amazing!
Step 5: Prepare Filling
Now for the liquid and bean goodness! Pour in the undrained diced tomatoes and the undrained Rotel. Add your rinsed and drained kidney beans and black beans. Pour in the beef broth. Stir everything together, making sure to scrape up any browned bits from the bottom of the pot – that’s pure flavor! Bring the mixture to a gentle simmer.
Step 6: Layer & Swirl
This isn’t really a layering or swirling step like a cake, but rather letting all those wonderful flavors meld together. Once it’s simmering, reduce the heat to low, cover the pot, and let it cook for at least 30 minutes. Honestly, the longer it simmers, the better it gets. I often let mine go for an hour or even two if I have the time. Stir it occasionally to make sure nothing is sticking to the bottom.
Step 7: Bake
We’re not actually baking this chili in an oven! The ‘bake’ here is just the simmering process on the stovetop. So, after your 30 minutes to an hour (or more!) of simmering, give it a final stir. Taste it and adjust salt and pepper as needed. If it seems too thick, you can add a splash more broth. If it’s too thin for your liking, just let it simmer uncovered for a bit longer.
Step 8: Cool & Glaze
The ‘glaze’ for this recipe is all about the toppings! Once your chili is ready and has simmered to perfection, ladle it into bowls. Then comes the fun part: topping it all off! You don’t need a specific glaze like you would for a cake; the toppings *are* your glaze. Let it cool just enough so you don’t burn your mouth, but honestly, it’s best served piping hot!
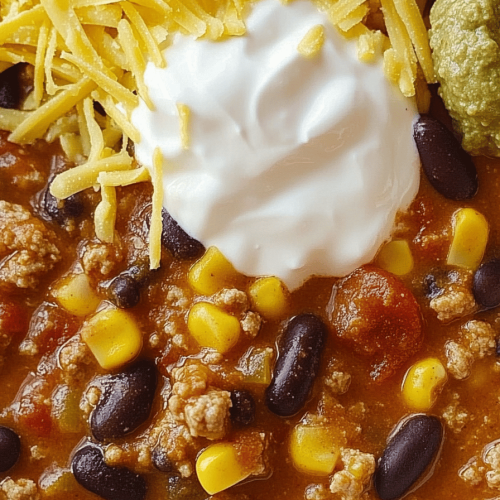
Step 9: Slice & Serve
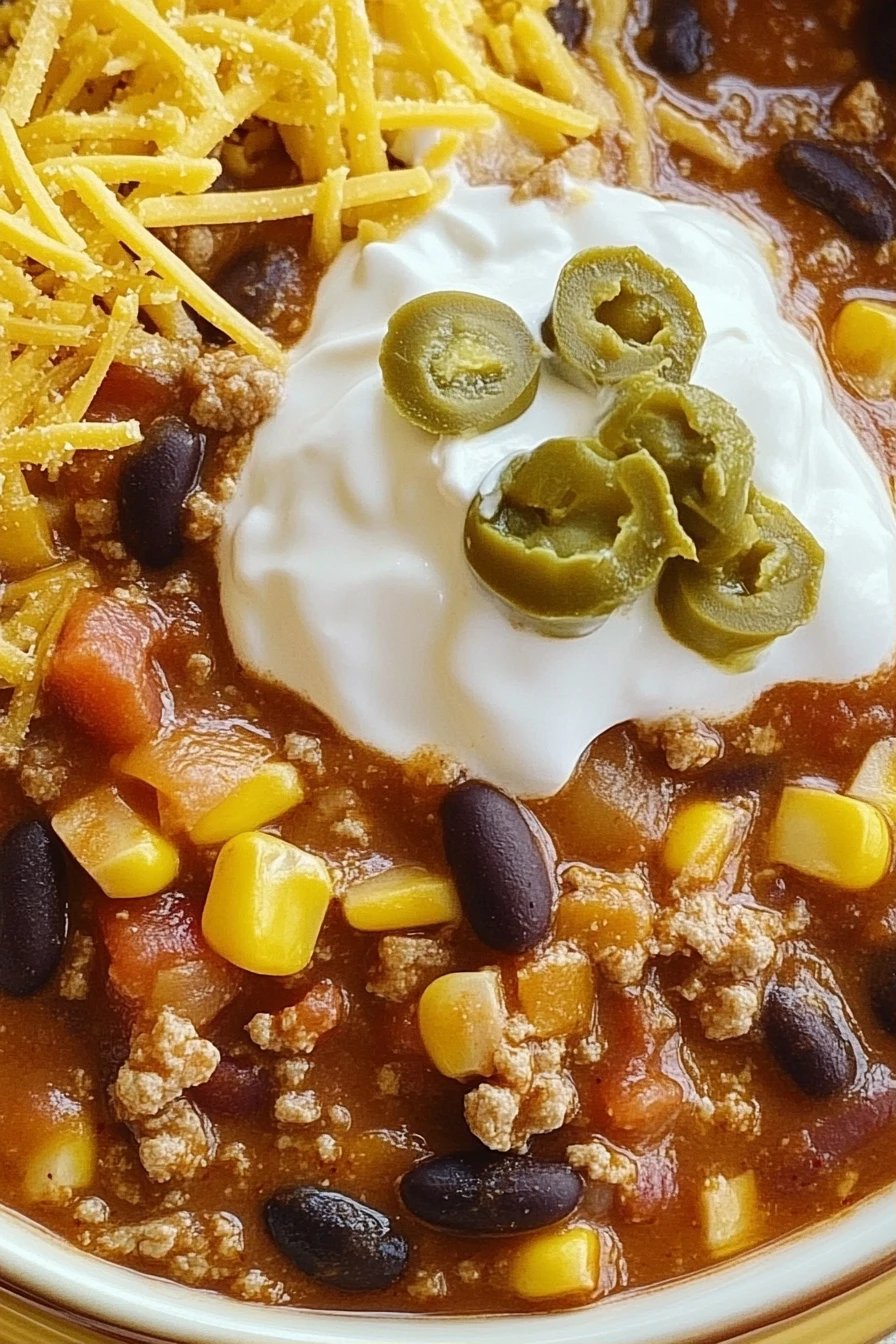
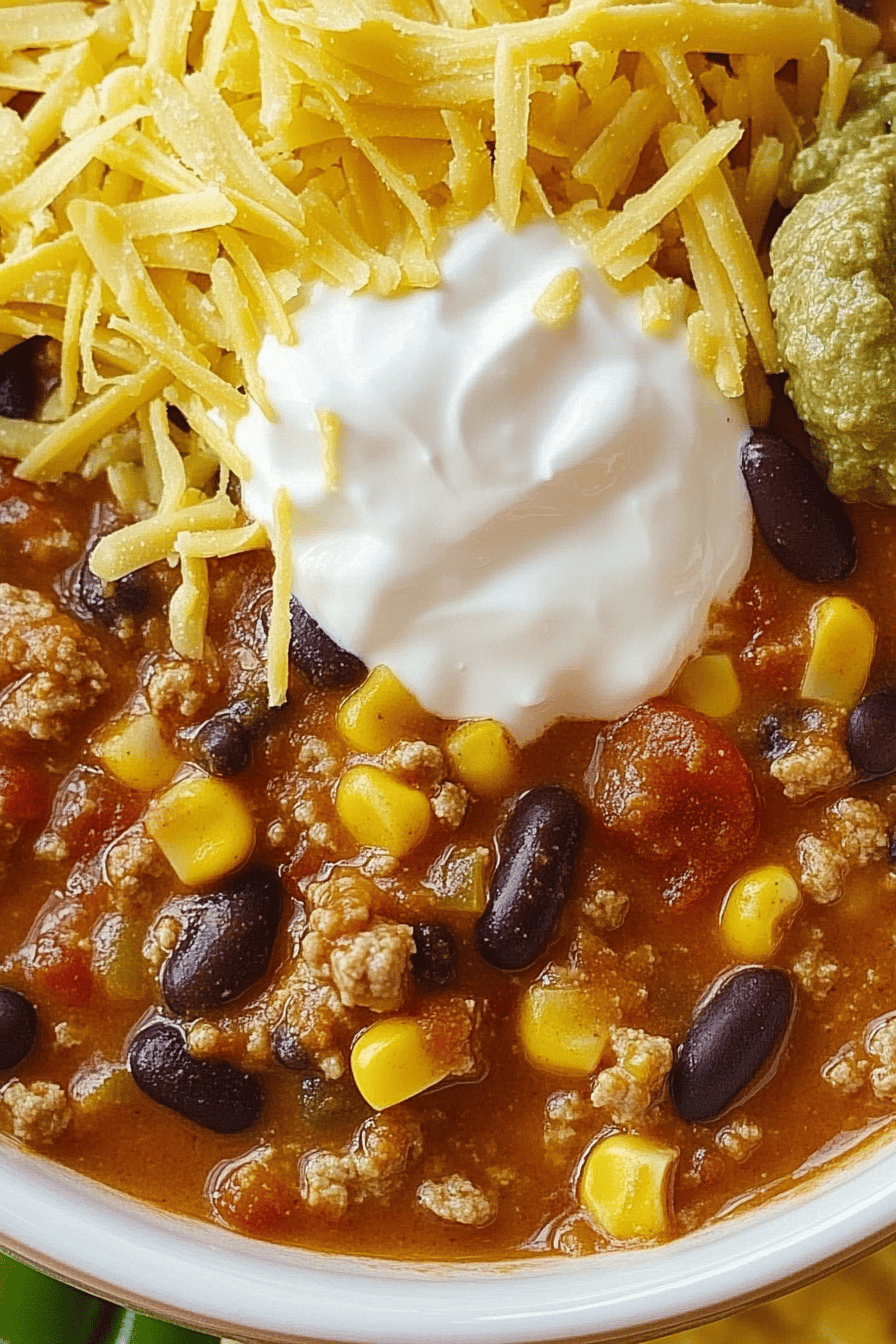
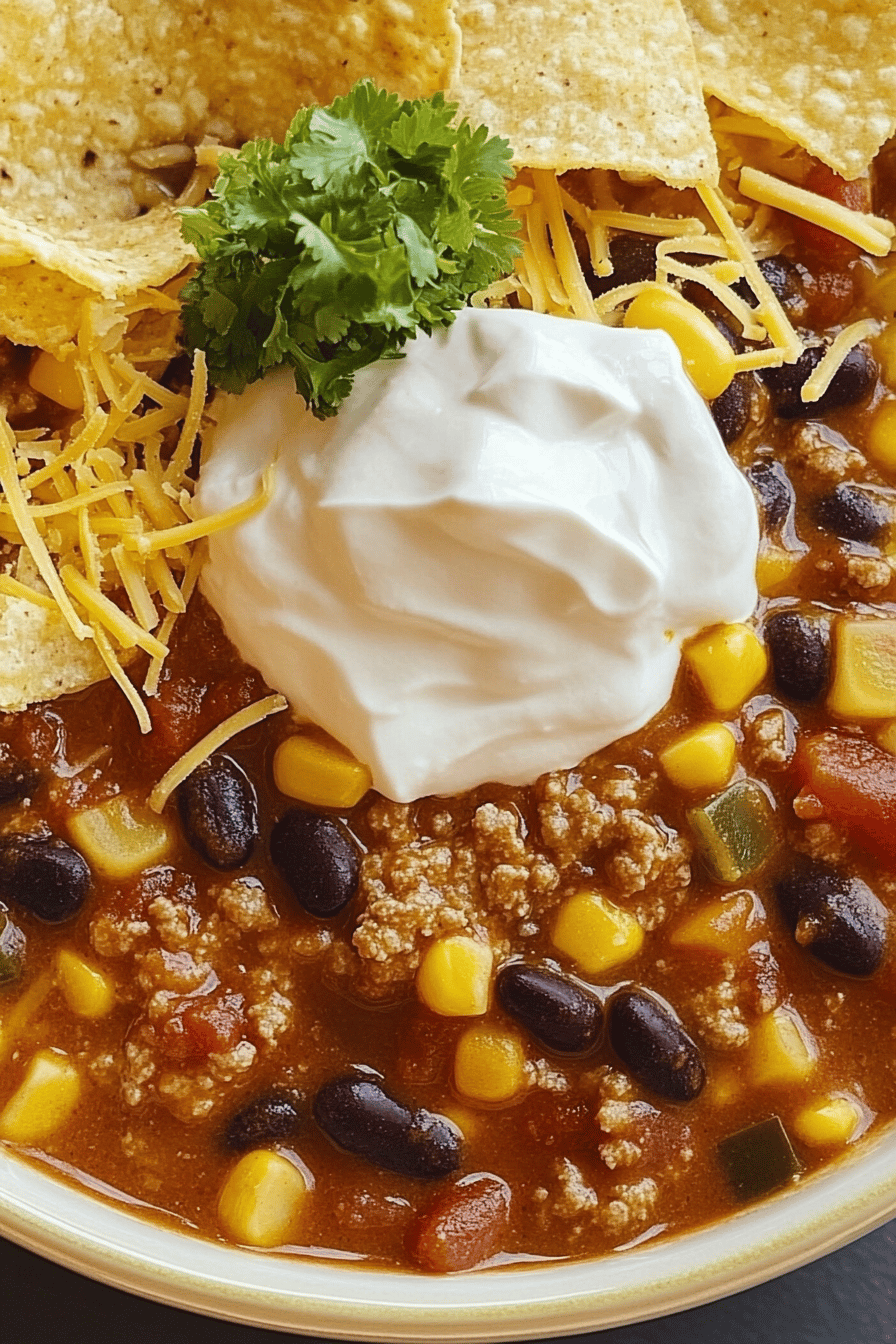
No slicing needed for chili! Just serve it up hot in bowls. Garnish generously with your favorite toppings: shredded cheddar cheese, a dollop of sour cream, fresh cilantro, a sprinkle of red onion, and definitely some crushed tortilla chips for that essential crunch. It’s a complete meal in a bowl!
What to Serve It With
This Taco Chili is so hearty and flavorful on its own, but the accompaniments can really elevate the experience. For a satisfying BREAKFAST, I love serving a smaller portion topped with a fried egg and a sprinkle of cotija cheese – it’s a hearty and delicious way to start the day! For BRUNCH, think about a more elegant presentation. Serve it in small ramekins and offer a side of fluffy cornbread or warm tortillas. A glass of chilled sangria or a mimosa would be perfect. AS DESSERT? Well, this is definitely a savory dish, but if you’re craving something sweet after this chili, a light and fruity sorbet or a simple chocolate mousse would be a lovely contrast. But where this chili truly shines is as a COZY SNACK or a full meal. I always have a batch ready for unexpected guests or a comforting meal after a long day. My family loves it served with just a big bowl of Fritos and a mountain of cheese. Another favorite is serving it over a baked potato or even as a filling for loaded baked sweet potatoes. We also often have a side of simple cilantro-lime rice to soak up all those amazing flavors. It’s so versatile; it truly fits any occasion.
Top Tips for Perfecting Your Taco Chili
Over the years, I’ve made this Taco Chili more times than I can count, and I’ve picked up a few tricks that I think make a big difference. First, ZUCCHINI PREP isn’t really a thing for this chili, as it doesn’t typically include zucchini, but if you ever wanted to add some shredded zucchini for extra veggies, I’d recommend squeezing out as much moisture as possible to avoid a watery chili. For MIXING ADVICE, the biggest tip I can give you is not to rush the browning of the beef. Getting a nice sear on it adds so much depth of flavor. Also, when you add the spices, let them toast for a minute in the residual heat of the pot before adding liquid; this really wakes up their flavors. SWIRL CUSTOMIZATION is also not really applicable here, but if you were making something like a enchilada casserole, you’d want to distribute your sauce evenly. For INGREDIENT SWAPS, if you don’t have kidney beans, pinto beans work beautifully. If you’re out of beef broth, chicken broth is a fine substitute. And if you’re feeling adventurous and want to add a different flavor profile, a splash of dark beer can add a wonderful richness. BAKING TIPS: For stovetop simmering, ensure your heat is low enough to maintain a gentle simmer, not a rolling boil, which can break down the ingredients too much. Covering the pot is crucial for trapping moisture and allowing the flavors to meld. If you find your chili is getting too thick, just add a little more broth or water, a quarter cup at a time. For GLAZE VARIATIONS, as I mentioned, the “glaze” here is all about toppings! Get creative! Some people love adding a dollop of salsa verde for a different kind of tang, or a sprinkle of pickled jalapeños for extra heat and brine. I’ve even seen people top it with crumbled cornbread! The possibilities are endless, and that’s part of what makes this recipe so much fun.
Storing and Reheating Tips
One of the best things about this Taco Chili is how well it stores and reheats. At ROOM TEMPERATURE, I wouldn’t leave it out for more than two hours, just to be safe. It’s best to get it into storage relatively quickly after it’s cooled down a bit. For REFRIGERATOR STORAGE, I usually transfer any leftovers into an airtight container. It stays delicious in the fridge for about 3 to 4 days. The flavors actually tend to deepen and meld even more overnight, which is fantastic! For FREEZER INSTRUCTIONS, this chili freezes like a dream. I usually portion it out into freezer-safe bags or containers. It will keep well in the freezer for up to 3 months. To thaw, just transfer it to the refrigerator overnight and then reheat. When REHEATING, I usually do it gently on the stovetop over low heat, stirring occasionally. You might need to add a splash of broth or water if it seems a bit thick after refrigeration or freezing. If you’re in a real hurry, you can reheat individual portions in the microwave. The GLAZE TIMING ADVICE is simple: add your toppings just before serving. If you’re planning on freezing chili without toppings, that’s perfect. If you’re storing it in the fridge for a day or two, you can add toppings right before you eat it, or even let people add their own. The chili itself is the star, and it holds up beautifully.
Frequently Asked Questions
Final Thoughts
So there you have it – my beloved Taco Chili recipe! It’s more than just a meal; it’s a comfort, a memory, and a guaranteed way to bring smiles to the table. I truly hope you give this a try and find as much joy in making and eating it as I do. It’s the perfect blend of familiar and exciting, simple yet deeply satisfying. If you’re a fan of this recipe, you might also enjoy my Slow Cooker Pulled Pork or my Sheet Pan Fajitas for more easy weeknight wins! Please let me know in the comments below how yours turned out, and don’t be shy about sharing any of your own creative twists or favorite topping combinations! I love hearing from you all. Happy cooking!
Taco Chili Recipe
Ingredients
Main Ingredients
- 1.5 lb ground beef
- 1 cup chopped onion
- 2 cloves minced garlic
- 1 can diced tomatoes undrained, 14.5 oz
- 1 can kidney beans drained and rinsed, 15 oz
- 1 can black beans drained and rinsed, 15 oz
- 1 packet taco seasoning mix 1 oz
- 1 cup beef broth
Instructions
Preparation Steps
- In a large pot or Dutch oven, cook the ground beef over medium-high heat until browned. Drain off any excess grease.
- Add the chopped onion and minced garlic to the pot. Cook until the onion is softened, about 5-7 minutes.
- Stir in the diced tomatoes (undrained), kidney beans, black beans, taco seasoning mix, and beef broth.
- Bring the mixture to a boil, then reduce heat to low, cover, and simmer for at least 30 minutes, stirring occasionally. For deeper flavor, simmer longer.
- Serve hot, with your favorite taco toppings such as shredded cheese, sour cream, avocado, or crushed tortilla chips.