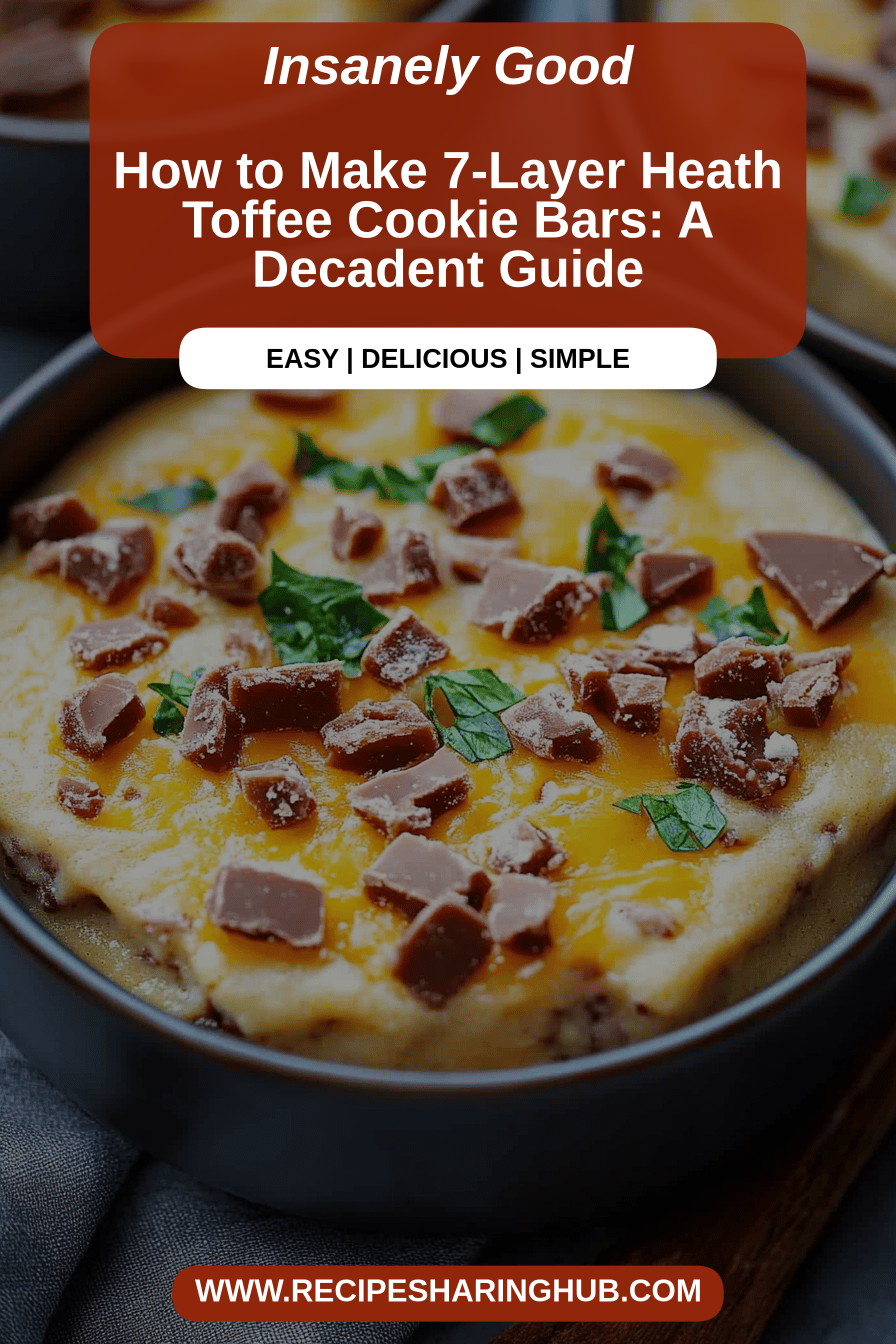
You know those recipes that just *sing* when you pull them out of the oven? The ones that make your whole kitchen smell like pure happiness and disappear faster than you can say “seconds, please”? Well, this is one of those recipes for me. My 7-Layer Heath Toffee Cookie Bars are an absolute showstopper, and honestly, they’re ridiculously easy for how fancy they look and taste. Think of them as a much more exciting, textural cousin to a classic blondie, with that addictive crunch of Heath toffee and layers of chewy, caramel-y goodness. I first stumbled upon a version of this years ago, and it’s been a permanent fixture at every potluck, holiday gathering, and even just on a Tuesday when a serious sweet craving hits. They’re a lifesaver when I need to whip something up quickly that still feels special. Forget complicated cake decorating; these bars are all about building incredible flavor and texture, one delicious layer at a time.
What are 7-layer Heath Toffee Cookie bars?
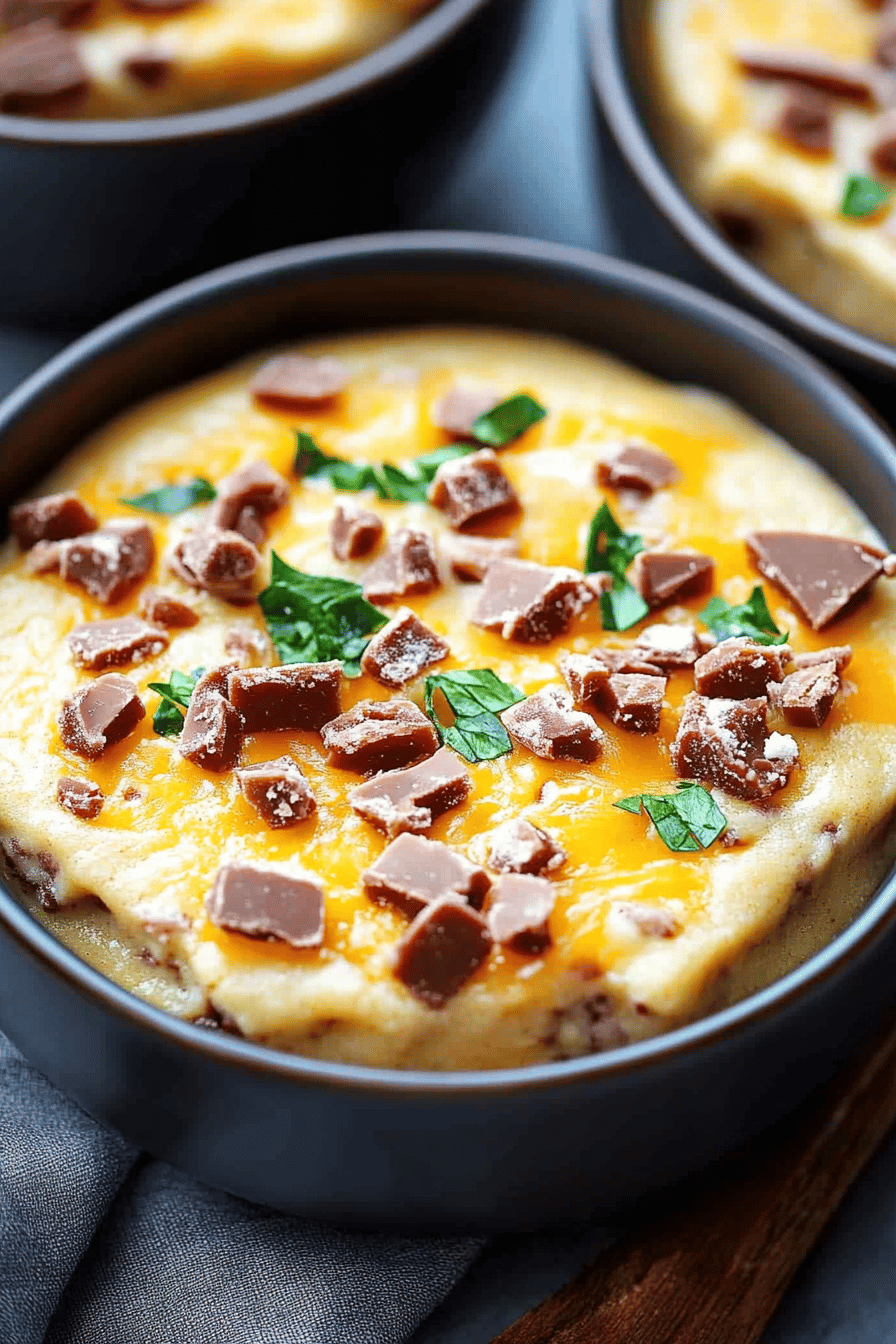
So, what exactly are these magical 7-Layer Heath Toffee Cookie Bars? At their heart, they’re a no-bake or semi-bake dessert bar that lives up to its name with a glorious symphony of textures and flavors. The “seven layers” is more of a nod to the distinct components that come together, rather than a rigid count. You’ve got a buttery, crumbly cookie base, followed by a rich, gooey filling that’s usually a mix of melted caramels and chocolate chips. Then, the star of the show: the crushed Heath toffee bars, which add that incredible, satisfying crunch and buttery caramel notes. Sometimes there’s a sprinkle of nuts, a drizzle of chocolate, or even a sweet glaze on top. It’s essentially a bar that captures all the best parts of a cookie, a candy bar, and a decadent dessert, all in one bite. It’s the kind of treat that makes people stop and ask, “What is this amazing thing?!”
Why you’ll love this recipe?
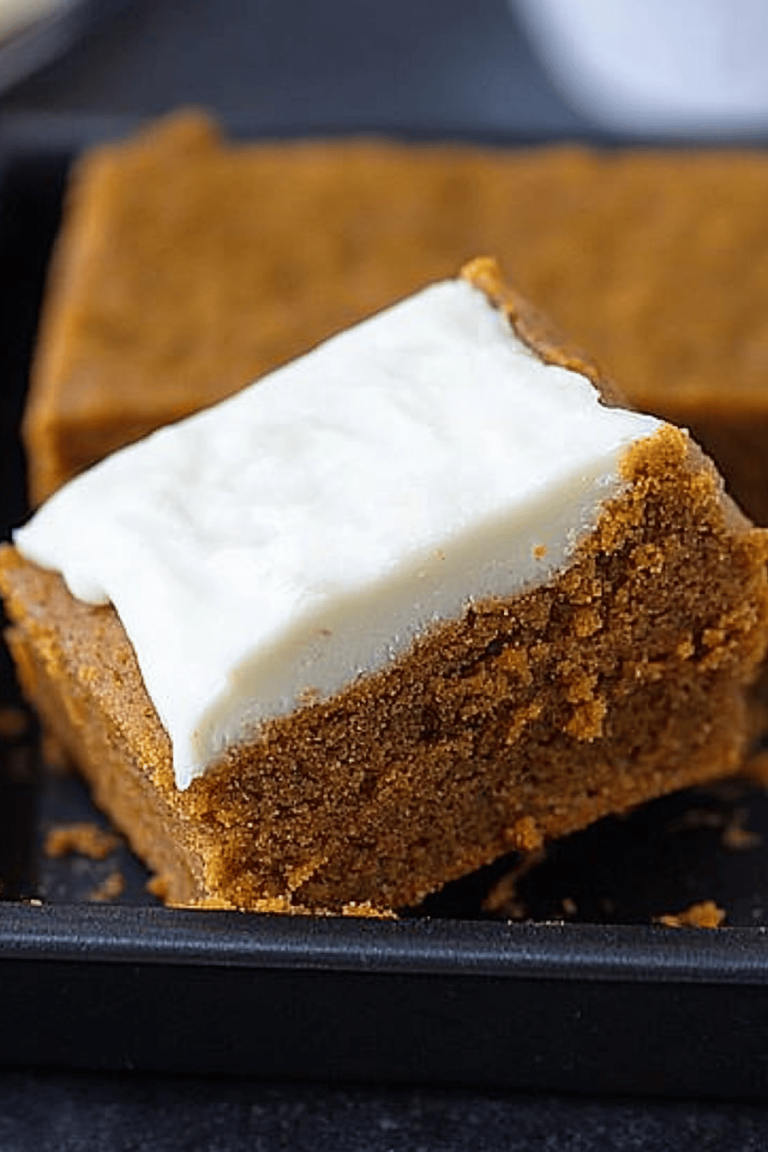
Honestly, there are so many reasons I keep coming back to these 7-Layer Heath Toffee Cookie Bars, and I just know you’re going to feel the same way. First off, the flavor profile is just *chef’s kiss*. You get that classic sweet and buttery taste from the cookie base, which is then elevated by the rich, melted caramel and the intense, crunchy toffee bits. It’s sweet, but it’s not cloying; the toffee really balances it out beautifully. And the texture? Oh my goodness, the texture is where it’s at! You have the soft, chewy cookie, the gooey, melted caramel, and then that delightful, unexpected crunch from the Heath toffee. It’s a party in your mouth!
Beyond the incredible taste, the simplicity is a huge win. Most of the magic happens in one pan, and a lot of it is just layering and a brief bake or even no-bake depending on the variation you go for. They’re surprisingly budget-friendly too. The ingredients are staples you likely already have or can grab without breaking the bank. And versatility? These bars are champs! They’re perfect for picnics, bake sales, birthdays, holidays, or just an after-dinner treat with a cup of coffee. They’re so much easier than a full-blown cake or pie, but they deliver that same “wow” factor. I find myself reaching for this recipe whenever I need a guaranteed hit. It’s much more satisfying than just a plain cookie, and I’ve found that my friends’ kids, and my own, absolutely adore them. They’re a definite crowd-pleaser, and that’s what it’s all about, right?
How do I make 7-Layer Heath Toffee Cookie Bars?
Quick Overview
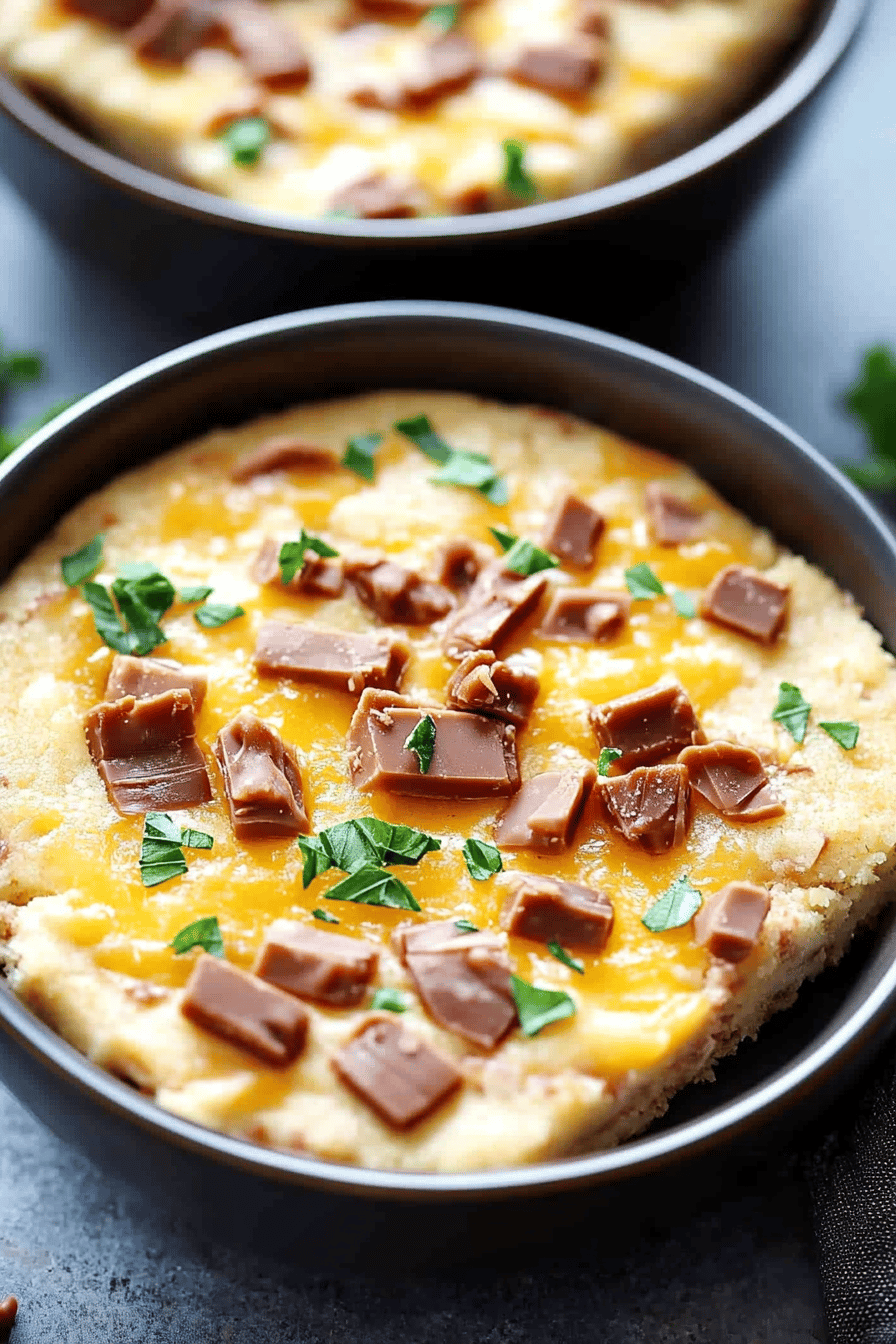
Making these 7-Layer Heath Toffee Cookie Bars is pretty straightforward, even with all those delicious layers. You’ll start by pressing a simple, buttery Cookie Dough into the bottom of your baking pan. Then, we’ll layer on a gooey mixture, often made with melted caramels and chocolate chips. The real magic comes with sprinkling crushed Heath toffee bars generously over the top, sometimes followed by a final drizzle or glaze. It’s mostly about assembly and a short bake to let everything meld together perfectly. The best part? You can whip these up relatively quickly, and they’re always a massive hit, no matter who you serve them to. It’s a no-fuss way to make something truly special.
Ingredients
For the Main Batter:
- 2 cups all-purpose flour
- 1 teaspoon baking soda
- 1/2 teaspoon salt
- 1 cup (2 sticks) unsalted butter, softened
- 3/4 cup packed light brown sugar
- 1/2 cup granulated sugar
- 2 large eggs
- 1 teaspoon vanilla extract
A quick tip for the butter: Make sure it’s softened, not melted! This helps create that lovely, tender cookie texture that forms the perfect base. If you accidentally melt it, let it firm up a bit before creaming it with the sugars.
For the Filling:
- 1 bag (11 ounces) Kraft caramels, unwrapped
- 2 tablespoons milk or half-and-half
- 1 cup semi-sweet chocolate chips
For the caramels, I like to unwrap them ahead of time to make the melting process quicker. If you don’t have milk, a splash of heavy cream or even almond milk can work in a pinch – I tested it once when I was out of milk, and it made the filling even richer!
For the Topping:
- 2 to 3 Heath Toffee Bars (about 7.5 ounces total), crushed
- Optional: 1/4 cup chopped pecans or walnuts
Crushing the Heath bars is key! I usually toss them in a Ziploc bag and give them a few good whacks with a rolling pin or the bottom of a heavy pan. Don’t go too fine; you want some good chunky bits for texture. If you’re adding nuts, toasting them lightly beforehand really amps up their flavor.
Step-by-Step Instructions
Step 1: Preheat & Prep Pan
First things first, get your oven preheating to 350 degrees Fahrenheit (175 degrees Celsius). Grab a 9×13 inch baking pan. I like to grease it really well with butter or non-stick spray, and then I often line it with parchment paper, leaving a little overhang on the sides. This makes lifting the bars out SO much easier later on, trust me on this one! It’s a little trick I learned after wrestling with sticky bars for years.
Step 2: Mix Dry Ingredients
In a medium bowl, whisk together your flour, baking soda, and salt. Just a quick whisk to make sure everything is evenly distributed. This helps ensure your bars rise evenly and have a consistent texture. Set this bowl aside for now.
Step 3: Mix Wet Ingredients
In a large bowl, cream together the softened butter, packed brown sugar, and granulated sugar until light and fluffy. This usually takes about 2-3 minutes with an electric mixer. Then, beat in the eggs one at a time, making sure each is fully incorporated before adding the next. Finally, stir in the vanilla extract. The mixture should look smooth and slightly creamy.
Step 4: Combine
Gradually add the dry ingredients to the wet ingredients, mixing on low speed (or by hand with a spatula) until just combined. Be careful not to overmix here! Overmixing can lead to tough bars, and we want these to be wonderfully tender and chewy. Stop mixing as soon as you don’t see any more streaks of flour.
Step 5: Prepare Filling
Now for the gooey middle! In a microwave-safe bowl, combine the unwrapped caramels and the milk or half-and-half. Microwave in 30-second intervals, stirring well after each interval, until the caramels are completely melted and smooth. Be patient here; you don’t want to scorch them. Once smooth, stir in the semi-sweet chocolate chips. Let them sit for a minute to start melting, then stir until the chocolate is also melted and incorporated, creating a luscious, smooth mixture.
Step 6: Layer & Swirl
Press about two-thirds of your cookie dough evenly into the bottom of your prepared baking pan. Don’t worry if it’s not perfectly smooth; it’s a cookie base! Then, carefully spread the melted caramel-chocolate mixture evenly over the cookie dough. Don’t go all the way to the edges; leave a small border so the filling doesn’t ooze out too much. Next, sprinkle the crushed Heath toffee bars (and nuts, if using) evenly over the caramel layer. Finally, dollop the remaining one-third of cookie dough over the toffee. You can use your fingers or a spatula to gently spread it out, but it’s okay if there are gaps – this creates a rustic, delicious look.
Step 7: Bake
Bake in your preheated oven for about 25-30 minutes, or until the edges are golden brown and the top cookie layer is set. The center might still look a little soft, and that’s okay – it will firm up as it cools. I usually do the “toothpick test” around the edges; if it comes out with moist crumbs, it’s ready. Be careful not to overbake, or they’ll become dry and crumbly.
Step 8: Cool & Glaze
This is perhaps the hardest part: letting them cool! Let the bars cool completely in the pan on a wire rack. This is crucial for them to set properly. Once they’re mostly cool, you can optionally drizzle them with a little melted chocolate or a simple glaze made from powdered sugar and milk. I love a simple drizzle; it adds an extra touch of sweetness and visual appeal. Let the glaze set completely before cutting.
Step 9: Slice & Serve
Once completely cool, use the parchment paper overhang to lift the entire slab out of the pan. Place it on a cutting board and slice into squares. I like to use a sharp knife and wipe it clean between cuts for nice, neat edges. Serve them at room temperature for the best texture. Enjoy the explosion of flavors and textures!
What to Serve It With
These 7-Layer Heath Toffee Cookie Bars are incredibly versatile, making them perfect for all sorts of occasions. For a cozy breakfast, I love to pair them with a strong cup of coffee or a steaming mug of hot chocolate. They have that comforting, baked-good vibe that just makes mornings feel a little more special, even if it’s just a casual bite. On a brunch table, they add a touch of indulgence without being overly fussy. I often serve them cut into smaller, bite-sized squares alongside fruit salads or lighter pastries.
As a dessert, they’re simply unbeatable. They’re a fantastic alternative to a slice of cake or pie, especially if you’re serving a crowd with diverse tastes. Imagine serving them after a hearty dinner; they’re rich and satisfying, with that perfect blend of sweet and crunchy. I sometimes serve them with a small scoop of vanilla bean ice cream or a dollop of whipped cream for an extra layer of decadence. And for those moments when you just need a really good snack? These bars are your best friend. They’re the ultimate comfort food, perfect with a cold glass of milk. My family tradition is to have these after a movie night, cut into generous squares. They’re always a winner!
Top Tips for Perfecting Your 7-Layer Heath Toffee Cookie Bars
Over the years, I’ve picked up a few tricks that really elevate these 7-Layer Heath Toffee Cookie Bars from good to absolutely spectacular. For the base, the key is really creaming the butter and sugars properly. Don’t rush this step! You want it light and fluffy because that incorporates air, which is what gives the cookie layer its tender texture. And remember, no overmixing after you add the flour! Just mix until it’s combined. That’s probably the most common mistake people make, and it leads to tough bars.
When it comes to the caramel filling, patience is your friend. Melting caramels can sometimes be tricky, but low and slow in the microwave, or even a double boiler, works best. Stir frequently! If you try to rush it, you risk scorching, and burnt caramel is not a good flavor. I’ve experimented with different types of chocolate chips too; while semi-sweet is classic, milk chocolate chips make the filling a bit sweeter and creamier, while dark chocolate chips add a nice depth. For the Heath toffee, crushing them to a medium texture is crucial. You want those delightful little chunks that provide crunch and a burst of toffee flavor in every bite, not just dust. If they’re too finely crushed, they can melt into the bars and you lose that textural contrast. I also find that adding a sprinkle of flaky sea salt on top right after they come out of the oven can be a game-changer – it really highlights the sweetness and the toffee flavor!
Ingredient swaps are fun too! If you don’t have Heath bars, other toffee bits can work, but Heath has that unique butter crunch. For the nuts, if you’re not a fan, feel free to leave them out, or swap pecans for walnuts or even slivered almonds. Some people love adding a sprinkle of cinnamon to the cookie base for a little warmth, which I think is a lovely touch, especially around the holidays. Just a quarter teaspoon is usually enough to add depth without overpowering the other flavors. And about the bake time: ovens can be quirky! I always recommend starting to check around the 25-minute mark. You want the edges to be golden brown and the center to look mostly set. If they’re still quite jiggly, give them a few more minutes. It’s better to slightly underbake and have them be super fudgy than to overbake and end up with dry, crumbly bars. Cool them completely before slicing; I know it’s torture, but it’s essential for clean cuts and for the bars to firm up properly.
Storing and Reheating Tips
One of the things I love most about these 7-Layer Heath Toffee Cookie Bars is how well they keep. If you have any leftovers (which is rare in my house!), you can store them at room temperature in an airtight container for up to 3 days. I usually just place them back in the original 9×13 pan and cover it tightly with plastic wrap or foil. They maintain their lovely chewy texture quite well this way.
If you want them to last a bit longer, or if your kitchen is particularly warm, the refrigerator is your best bet. Store them in an airtight container in the fridge for up to a week. I find that they actually get a little chewier and more fudgy when they’ve been chilled. When you’re ready to enjoy them from the fridge, I recommend letting them sit out at room temperature for about 15-20 minutes, or gently warming them in the microwave for just 10-15 seconds if you like them a bit gooey again. For longer storage, you can absolutely freeze these bars. Wrap them tightly in plastic wrap, then in aluminum foil, and place them in a freezer-safe bag or container. They’ll keep well for up to 2-3 months. To thaw, simply unwrap them and let them come to room temperature, or thaw overnight in the refrigerator. If you choose to glaze or drizzle them, it’s usually best to do that *after* they’ve been thawed and are ready to be served, especially if you’re freezing them plain.
Frequently Asked Questions
Final Thoughts
So there you have it – my absolute favorite 7-Layer Heath Toffee Cookie Bars! This recipe has truly stood the test of time in my kitchen, always bringing smiles and happy sighs. It’s the perfect blend of textures and flavors, from the chewy cookie base to the gooey caramel and that irresistible crunch of Heath toffee. It’s one of those recipes that feels special enough for a holiday but is simple enough for a weeknight treat. I really hope you give these a try; they’re a guaranteed hit that never fails to impress. If you’re a fan of rich, decadent, and incredibly satisfying desserts, these bars are definitely for you!
If you love this recipe, you might also enjoy my No-Bake Peanut Butter Bars or my Classic Chocolate Chip Cookie Bars – they’re in a similar vein of easy, crowd-pleasing bar desserts. Let me know in the comments below if you make these 7-Layer Heath Toffee Cookie Bars and how they turn out for you! I’d love to hear about your favorite variations or any personal twists you add. Happy baking, and enjoy every delicious bite!

7-Layer Heath Toffee Cookie Bars
Ingredients
Cookie Base
- 0.5 cup butter, melted
- 1 cup graham cracker crumbs
- 0.5 cup granulated sugar
Middle Layers
- 1 cup chocolate chips
- 1 cup butterscotch chips
- 1.5 cup Heath bar, chopped
Top Layer
- 1 cup sweetened condensed milk
Instructions
Preparation Steps
- Preheat oven to 350°F (175°C). Line an 8x8 inch baking pan with parchment paper, leaving an overhang on the sides.
- In a medium bowl, combine the melted butter, graham cracker crumbs, and granulated sugar. Press this mixture evenly into the bottom of the prepared baking pan.
- Sprinkle the chocolate chips, butterscotch chips, and chopped Heath bar evenly over the cookie base.
- Pour the sweetened condensed milk evenly over the chip and toffee layers.
- Bake for 25-30 minutes, or until the edges are golden brown and the condensed milk is bubbly.
- Let the bars cool completely in the pan before cutting into squares.