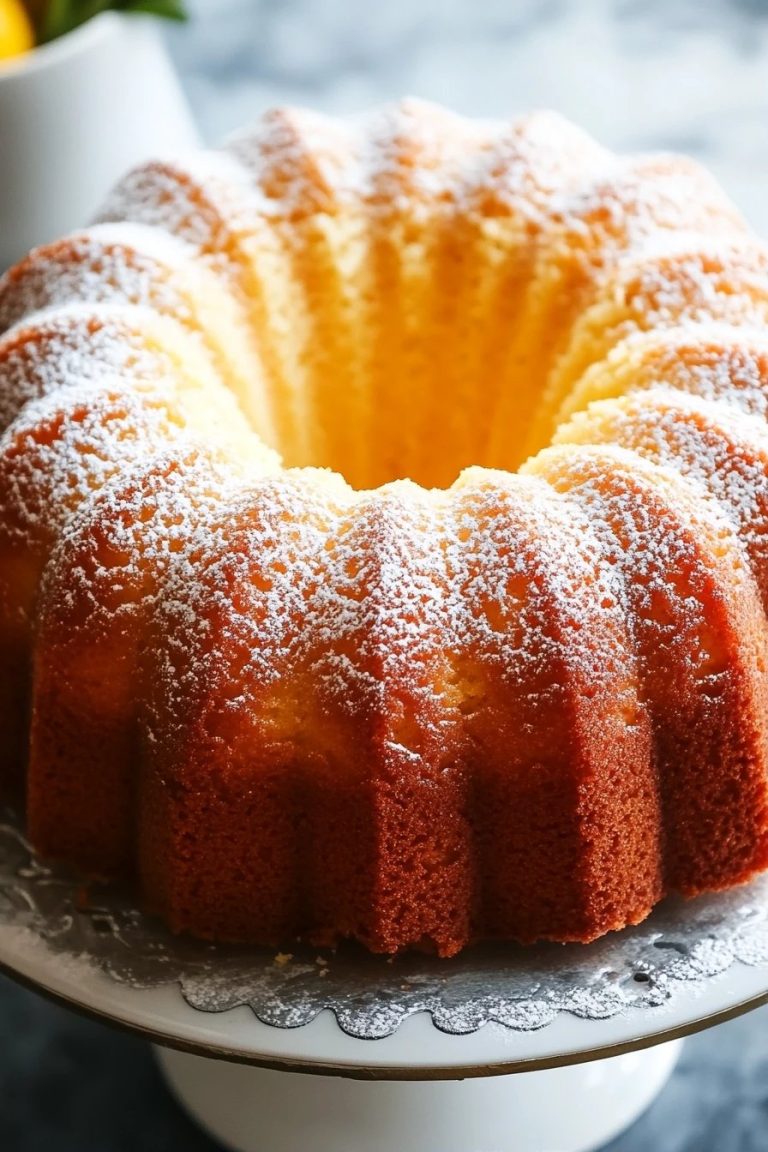
There are some recipes that just feel like a warm hug, aren’t there? This upside down cake is definitely one of those for me. It’s not just a dessert; it’s a memory. I can still picture my grandma, flour dusting her apron, humming a little tune as she pulled a glistening, caramel-kissed creation from the oven. This particular upside down Cake Recipe is a bit of a hybrid, inspired by her classic, but with a few tweaks I’ve picked up over the years that just make it sing. You know how sometimes you just crave something that’s sweet but not *too* sweet, with a little bit of tang and a whole lot of comfort? That’s this cake. It’s like a hug in cake form, and honestly, it’s the best way to use up those slightly sad-looking apples or pears from the fruit bowl. It’s my go-to when I want to impress without stressing, or when the weather turns a bit chilly and all I want is a slice of something delicious with my afternoon tea. It’s certainly a step up from a basic apple crumble, offering that beautiful caramelized top that’s just… chef’s kiss!
What is an upside down cake?
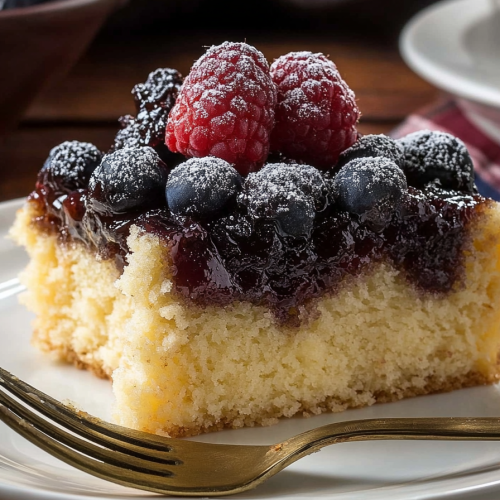
So, what exactly *is* this magic we’re talking about? An upside down cake, at its heart, is exactly what it sounds like: you bake it with the fruit and caramel topping on the bottom of the pan, and then you flip it over onto a plate once it’s baked. Think of it as a little surprise party for your taste buds! The traditional versions often feature pineapple, cherries, or apples, all cooked down in butter and sugar until they’re lusciously tender and deeply flavored. The Cake Batter then bakes right on top of this glorious fruity layer. When you invert the pan, that beautiful, sticky, caramelized fruit becomes the crown jewel of the cake. It’s essentially a beautiful marriage of fruit, caramel, and fluffy cake, all in one glorious package. The name itself is such a fun little hint at the reveal – you never quite know *exactly* how it’s going to look until that final flip, which is part of the charm!
Why you’ll love this recipe?
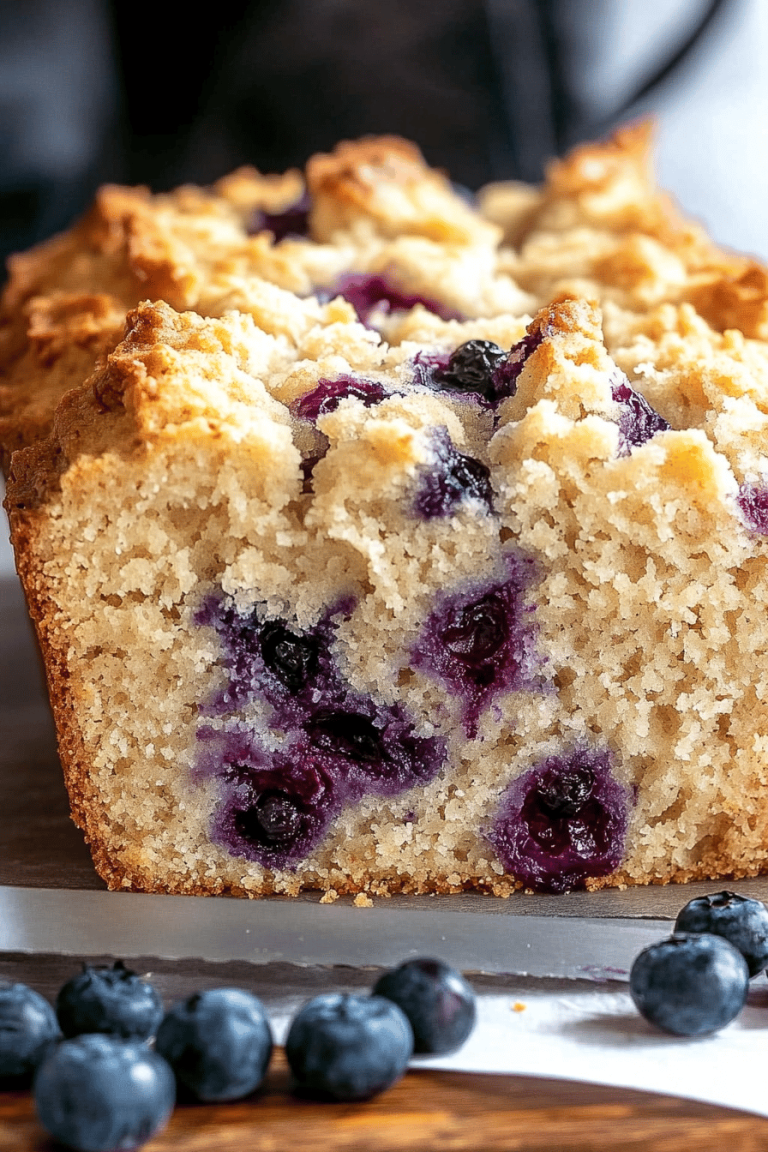
Honestly, I could go on all day about why this upside down cake is my absolute favorite, but let me try and boil it down to the essentials. First off, the flavor! That caramelization is just unreal. It’s rich, buttery, and has this depth that you just can’t get with a regular cake frosting. The fruit becomes so tender and sweet, soaking up all those glorious caramel notes. And the cake itself? It’s light, moist, and has just the right amount of sweetness to complement the topping. It’s never cloying. Secondly, and this is a big one for me, it’s surprisingly simple to make. Don’t let the fancy flip fool you; the steps are straightforward, and even if you’re a baking novice, you can totally nail this. It feels fancy, but it’s totally doable on a weeknight. Plus, it’s budget-friendly! You likely have most of the ingredients in your pantry already, and fruit is usually pretty accessible. I also love its versatility. While I’m sharing my favorite apple and pear version today, you can totally swap out the fruit for whatever is in season or whatever you have on hand – peaches, plums, even a mix of berries can be divine. What I love most about this particular upside down cake is that it bridges the gap between a simple weeknight treat and something special enough for company. It always looks impressive, and the reactions when you flip it over? Priceless!
How do I make an upside down cake?
Quick Overview
This upside down cake is a delightful process that starts with creating a luscious caramel topping right in your baking pan. We’ll then top that with a simple, fluffy cake batter and bake it until golden. The grand finale is flipping it all out onto a serving plate to reveal that stunning, caramelized fruit layer. It’s a straightforward, one-pan wonder that’s always a crowd-pleaser and surprisingly easy to get right, even for beginners.
Ingredients
For the Main Batter
- 2 cups all-purpose flour
- 1 teaspoon baking soda
- 1/2 teaspoon salt
- 1 teaspoon ground cinnamon
- 1/4 teaspoon ground nutmeg (optional, but lovely!)
- 1 cup (2 sticks) unsalted butter, softened
- 1 1/2 cups granulated sugar
- 2 large eggs
- 1 teaspoon vanilla extract
- 1 cup buttermilk (or 1 cup milk with 1 tablespoon lemon juice or vinegar, let sit for 5 minutes)
For the Filling:
- 1/2 cup (1 stick) unsalted butter
- 3/4 cup packed light brown sugar
- 3-4 medium apples or pears, peeled, cored, and sliced about 1/4-inch thick. (I love a mix of Honeycrisp apples and Bosc pears for this!)
Step-by-Step Instructions
Step 1: Preheat & Prep Pan
First things first, get that oven preheating to 350°F (175°C). This is super important so your cake bakes evenly from the get-go. Now, grab a 9-inch round cake pan or an 8×8 inch square pan. You can use a springform pan if you’re worried about sticking, but I’ve found a well-greased regular pan works beautifully. Melt the 1/2 cup of butter for the filling directly in the pan over low heat on the stovetop, or pop it in a small saucepan to melt. Once melted, sprinkle the brown sugar evenly over the melted butter. This is going to form our gorgeous caramel layer. Give the pan a gentle swirl to make sure the butter and sugar are distributed evenly. Don’t overcook this part; you just want it melted and combined.
Step 2: Mix Dry Ingredients
In a medium bowl, whisk together the all-purpose flour, baking soda, salt, cinnamon, and nutmeg (if you’re using it). Whisking them together now ensures everything is evenly distributed, so you don’t end up with little pockets of baking soda or spice. This helps create a consistently fluffy cake. Set this bowl aside for now.
Step 3: Mix Wet Ingredients
In a separate, larger bowl, cream together the softened 1 cup of butter and 1 1/2 cups of granulated sugar until light and fluffy. This usually takes a good few minutes with an electric mixer, or a bit longer by hand. Don’t rush this step; it incorporates air which contributes to a lighter cake texture. Beat in the eggs one at a time, making sure each is fully incorporated before adding the next. Then, stir in the vanilla extract.
Step 4: Combine
Now it’s time to bring it all together. Add about half of the dry ingredients to the wet ingredients and mix on low speed (or gently by hand) until just combined. Then, pour in about half of the buttermilk and mix again until just incorporated. Repeat with the remaining dry ingredients and the remaining buttermilk, mixing only until everything is *just* combined. Seriously, do NOT overmix here! Overmixing develops the gluten in the flour, which can lead to a tough, dense cake. A few little streaks of flour are okay; they’ll disappear as you pour the batter.
Step 5: Prepare Filling
While your batter is waiting, let’s get the fruit ready. Make sure your apples or pears are peeled, cored, and sliced about 1/4-inch thick. If they’re too thin, they can get mushy; too thick, and they might not cook through. Arrange these slices in your prepared pan, on top of the brown sugar and butter mixture. You can do a pretty pattern if you like – concentric circles are always elegant – or just layer them on. Don’t be afraid to pack them in a bit; they’ll shrink down as they bake.
Step 6: Layer & Swirl
Gently spoon the cake batter over the arranged fruit layer. Try to spread it evenly using an offset spatula or the back of a spoon, being careful not to disturb the fruit too much. You want a nice, even layer of batter all the way across. Don’t worry if it doesn’t look perfectly smooth; it will bake into a beautiful cake. The key here is that the batter covers the fruit completely.
Step 7: Bake
Pop the pan into your preheated oven. Bake for 40-50 minutes, or until a wooden skewer or toothpick inserted into the center of the cake comes out clean. The top should be golden brown and the edges should be pulling away slightly from the sides of the pan. Baking times can vary depending on your oven, so start checking around the 40-minute mark. If the top is browning too quickly but the inside isn’t done, you can loosely tent it with aluminum foil.
Step 8: Cool & Glaze
This is the most crucial part for that perfect flip! Let the cake cool in the pan on a wire rack for about 10-15 minutes. This is just enough time for the caramel to set slightly but not so long that it hardens and glues the cake to the pan. While it’s still warm, carefully place your serving plate upside down over the cake pan. Holding both the pan and the plate firmly together, quickly and confidently flip them over. Lift the pan off *slowly*. If any fruit pieces stick to the pan, just gently coax them off and place them back on the cake. The glaze will naturally cascade down the sides, creating that beautiful, glossy finish.
Step 9: Slice & Serve
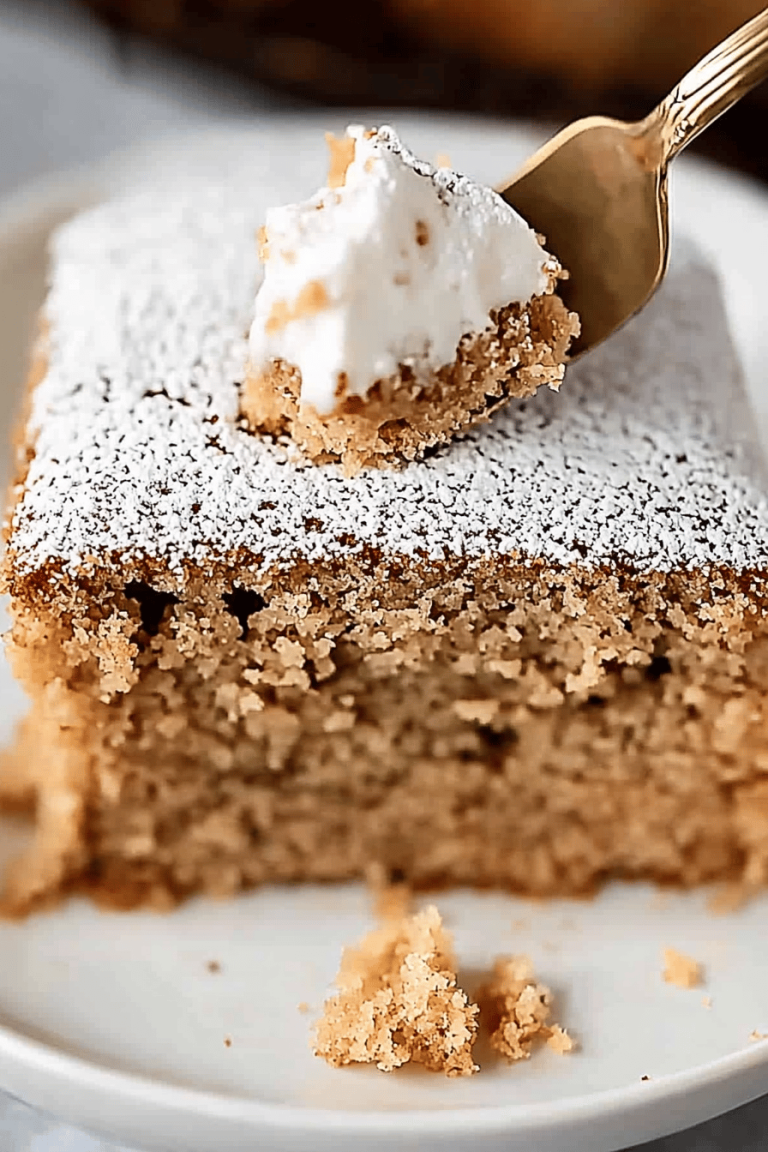
Let the cake cool a little more before slicing, or serve it warm. It’s absolutely divine served just as it is, but a dollop of whipped cream or a scoop of vanilla bean Ice Cream takes it to another level entirely. Slice it into wedges, making sure each piece gets a good amount of that glorious caramelized fruit topping. The contrast between the tender fruit, the sticky caramel, and the tender cake is just pure perfection.
What to Serve It With
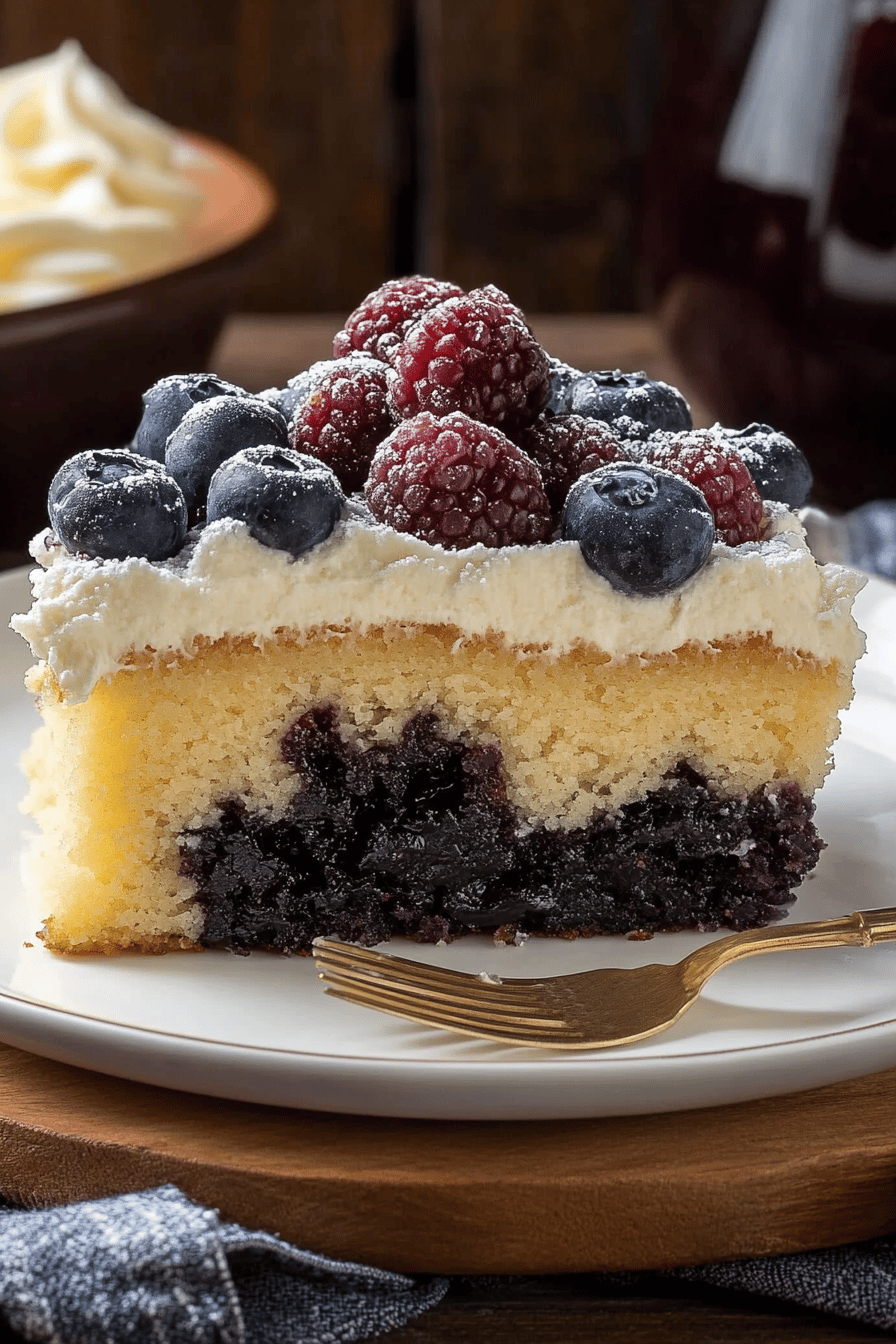
This upside down cake is so wonderfully versatile, it really shines in so many different settings. For a cozy breakfast or a weekend brunch, I love serving a warm slice with a strong cup of coffee. The caramel notes pair beautifully with the richness of coffee, and it just feels like such a decadent way to start the day. For a more elegant brunch spread, I’ll serve it alongside some fresh berries and maybe a small cheese board. A light dusting of powdered sugar can make it look extra special. As a dessert, it’s a winner every single time. It stands perfectly on its own, but adding a scoop of good quality vanilla bean ice cream or some freshly whipped cream is pure bliss. The cool creaminess contrasts so nicely with the warm, sticky cake. And for those cozy, quiet moments, maybe a chilly evening when you just need a sweet pick-me-up? This cake is your answer. Serve a generous slice with a glass of milk or a cup of herbal tea. My kids absolutely adore it this way, and it disappears faster than any other treat I make. We also have a family tradition of making this with peaches in the summer and having it at our backyard barbecues – it’s always a hit!
Top Tips for Perfecting Your Upside Down Cake
Over the years, I’ve learned a few little tricks that make this upside down cake consistently amazing. First, when it comes to prepping the fruit – whether it’s apples, pears, or even pineapple – make sure it’s sliced relatively evenly. If you have super thick chunks and super thin ones, the thin ones might turn to mush while the thick ones are still a bit firm. I find slicing them around 1/4 inch thick is usually the sweet spot. And don’t be afraid to pack that fruit layer in; it looks like a lot, but it will cook down beautifully. For the batter, the number one rule I live by is: do NOT overmix. Seriously, once you start seeing flour streaks disappear, stop. A few lumps are way better than a tough cake. Overmixing develops gluten, and we want a tender, moist crumb here, not something chewy. When you’re creaming the butter and sugar, make sure that butter is truly softened, not melted. Softened butter whips up with the sugar to create tiny air pockets, which makes the cake light and fluffy. If it’s melted, you skip that crucial aeration step. For the caramel layer, resist the urge to stir the butter and brown sugar too vigorously once it’s in the pan. Just a gentle swirl is usually enough to distribute it evenly. If you’re using a springform pan, make sure the foil is wrapped tightly around the bottom to prevent any caramel leakage. When it comes to baking, ovens can be so finicky. Trust your toothpick test! If it comes out clean, it’s done. If it has wet batter, it needs more time. If it has a few moist crumbs, that’s usually okay, especially for an upside down cake as the bottom is already moist from the caramel. And for the flip – this is where confidence is key! Make sure you let it cool for that 10-15 minutes in the pan. Too soon and it’ll fall apart, too late and it might stick. Then, take a deep breath, place your plate firmly on top, and flip with conviction! If a few fruit pieces stick, don’t panic; they’re easily rescued and re-placed. Finally, for ingredient swaps, I’ve had success using a dairy-free butter and almond milk for the batter if needed, and it still turns out wonderfully creamy. Just remember that variations can slightly alter baking time, so always test for doneness.
Storing and Reheating Tips
This upside down cake is fantastic on day two, and sometimes I think it’s even better once the flavors have had a chance to meld. If you have any leftovers (which is rare in my house!), storing it is super simple. For room temperature storage, you can keep it covered loosely with plastic wrap or foil for up to 2 days, provided your kitchen isn’t too warm. I usually find it’s best to eat it within the first day or two at room temperature for optimal texture. If you need to store it for longer, the refrigerator is your best bet. Wrap the cake tightly in plastic wrap, or place it in an airtight container. It will keep well in the fridge for about 4-5 days. The texture might become a bit firmer, but it’s still delicious. When you want to reheat it, I recommend warming up individual slices gently. You can do this in a low oven (around 300°F or 150°C) for about 5-10 minutes, or in the microwave for about 20-30 seconds, just until it’s warmed through and that lovely caramel topping is gooey again. Be careful not to overheat it in the microwave, as it can become rubbery. I generally prefer to add the glaze *after* the cake has been flipped and has cooled slightly, especially if I plan to refrigerate it. If you’re going to eat it all in one sitting, you can certainly glaze it while it’s still warm. For freezing, it’s best to freeze the cake *before* glazing. Wrap it very tightly in a double layer of plastic wrap, then a layer of aluminum foil. It can be stored in the freezer for up to 2-3 months. To thaw, unwrap it and let it sit at room temperature for a few hours, then proceed with glazing. The quality is best if eaten within the first month.
Frequently Asked Questions
Final Thoughts
So there you have it, my beloved upside down Cake Recipe! I truly hope you give this one a try. It’s more than just a recipe; it’s a little slice of comfort, a guaranteed way to brighten any day, and a testament to how simple ingredients can create something truly spectacular. The way the fruit caramelizes to perfection, creating that gorgeous topping, is just something special. It’s the kind of cake that feels both wonderfully nostalgic and excitingly new with every bite. If you’re a fan of cozy bakes and rich, comforting flavors, this is definitely for you. I’d love to hear how yours turns out! Please feel free to leave a comment below with your thoughts, any questions you have, or even your own fruit variations. And if you take a picture, be sure to share it – I’m always eager to see your culinary creations! Happy baking, friends!
Classic Pineapple Upside-Down Cake
Ingredients
Topping
- 0.5 cup Butter melted
- 1 cup Brown Sugar packed
- 8 slices Pineapple Rings canned, drained
- 8 each Maraschino Cherries optional
Cake
- 1.5 cup All-purpose Flour
- 1 cup Granulated Sugar
- 2 teaspoon Baking Powder
- 0.5 teaspoon Salt
- 0.5 cup Butter unsalted, softened
- 2 large Eggs
- 0.5 cup Milk
- 1 teaspoon Vanilla Extract
Instructions
Preparation Steps
- Preheat your oven to 350°F (175°C). Grease and flour a 9-inch round cake pan.
- For the topping: Melt 0.5 cup of butter in a small saucepan and pour it into the prepared cake pan. Sprinkle evenly with 1 cup of packed brown sugar. Arrange the drained pineapple rings over the brown sugar mixture. Place a maraschino cherry in the center of each pineapple ring, if desired.
- For the cake: In a large bowl, whisk together 1.5 cups of all-purpose flour, 1 cup of granulated sugar, 2 teaspoons of baking powder, and 0.5 teaspoon of salt.
- In a separate bowl, cream 0.5 cup of softened butter until light and fluffy. Beat in the 2 large eggs one at a time, then stir in 1 teaspoon of vanilla extract.
- Gradually add the dry ingredients to the wet ingredients, alternating with 0.5 cup of milk, beginning and ending with the dry ingredients. Mix until just combined. Do not overmix.
- Gently spread the cake batter evenly over the pineapple and brown sugar topping in the prepared pan.
- Bake for 40-45 minutes, or until a wooden skewer inserted into the center of the cake comes out clean.
- Let the cake cool in the pan for about 10 minutes before inverting it onto a serving platter. Serve warm.