Oh, where do I even begin with royal icing? It feels like just yesterday I was a little kid, watching my grandma meticulously pipe tiny flowers onto gingerbread cookies, her brow furrowed in concentration, but with a little smile playing on her lips. That magical transformation of simple powdered sugar and egg whites into something so smooth, so adaptable, and so utterly gorgeous always fascinated me. It’s more than just a frosting; it’s the artist’s medium for bakers, isn’t it? This isn’t just *any* royal icing recipe; this is the one that’s been a lifesaver for me through countless holiday cookie marathons and birthday cake emergencies. It’s the foundation for so many of my sweetest memories, and I’m so excited to finally share my tried-and-true, incredibly reliable royal icing recipe with you. If you’ve ever felt intimidated by piping perfect lines or creating those delicate, lacelike patterns, trust me, this version is going to make you feel like a pro. It’s far less fussy than you might think, and the results are just… wow!
What is royal icing?
So, what exactly *is* this wondrous stuff we call royal icing? At its heart, it’s a simple mixture of egg whites (or a meringue powder substitute, which is my go-to for safety and consistency!), confectioners’ sugar, and a touch of liquid, like water or lemon juice, sometimes with a hint of vanilla or almond extract for extra flavor. Think of it as edible artistry glue and paint rolled into one! It dries hard and smooth, which is why it’s absolutely perfect for decorating cookies, cakes, and all sorts of baked goodies. Unlike buttercream, which stays soft, royal icing provides that satisfying crispness and acts as a sturdy base for intricate designs. It’s the unsung hero of elaborate wedding cakes and whimsical holiday cookies, giving them that polished, professional finish that makes them look almost too good to eat… almost!
Why you’ll love this recipe?
Honestly, there are so many reasons why this royal icing recipe has become my absolute favorite, and I think you’ll fall in love with it too. First off, the flavor is wonderfully neutral. It’s sweet, yes, but it doesn’t overpower whatever delicious cookie or cake you’re decorating. This makes it incredibly versatile – it’s the perfect canvas! But what I really adore is its simplicity and reliability. You don’t need fancy ingredients or a culinary degree. My secret? I always opt for meringue powder. It’s a game-changer for a few reasons: it’s shelf-stable, it eliminates any worry about raw eggs, and it creates a consistently smooth texture every single time. I’ve had too many batches of traditional royal icing go awry because of humidity or a slight change in egg white consistency, and meringue powder just takes all that guesswork out. Plus, it’s surprisingly cost-effective! A little bit of meringue powder and a lot of powdered sugar go a long way, meaning you can create beautiful decorations without breaking the bank. And the versatility! You can thin it down for flooding cookies, keep it thicker for outlining, and color it to create any design imaginable. It’s the foundation for everything from simple Sugar Cookies to elaborate edible masterpieces. What I love most is how forgiving it is; even if you’re a beginner, you’ll get beautiful results. It truly is the easiest way to elevate your baking!
How do I make royal icing?
Quick Overview
Making this royal icing is surprisingly straightforward. You’ll basically combine your dry ingredients, add your liquid, and beat until it’s smooth and luscious. The key is getting the consistency just right for whatever you’re decorating. We’ll whip it up until it forms soft peaks, which means it’s ready for most piping tasks. If you need it thinner for flooding, a tiny bit more liquid does the trick. It’s all about small adjustments! This method ensures a beautiful, stable icing that dries perfectly without being chalky or too brittle. You’ll be amazed at how quickly you can go from basic ingredients to a piping bag full of potential!
Ingredients
For the Main Icing:
3 tablespoons meringue powder (this is my secret weapon for consistency and safety!)
4 cups confectioners’ sugar (also known as powdered sugar or icing sugar), sifted (sifting is non-negotiable, trust me!)
1/4 cup lukewarm water (you might need a tiny bit more or less, it depends on your meringue powder and humidity)
For Flavor (Optional but Recommended!):
1/2 teaspoon vanilla extract or 1/4 teaspoon almond extract (almond extract adds a lovely, subtle fragrance)
For Coloring:
Gel food coloring (liquid food coloring can add too much moisture, which we want to avoid for best results)
Step-by-Step Instructions
Step 1: Prepare Your Workspace
This isn’t really a “preheat” step like baking, but it’s crucial! Make sure your mixing bowl, whisk attachment, and any spatulas you’ll use are spotlessly clean and completely dry. Even a tiny bit of grease or moisture can affect how your icing whips up. I like to gather all my ingredients and have my food coloring ready to go, as once the icing is made, it’s best to use it relatively quickly or store it properly.
Step 2: Combine Dry Ingredients
In your clean, dry mixing bowl, add the sifted confectioners’ sugar and the meringue powder. Give them a quick whisk together to ensure they’re evenly distributed. This step helps prevent lumps from forming later on. Don’t skip the sifting; it makes such a difference to the smoothness!
Step 3: Add Wet Ingredients
Pour the lukewarm water into the bowl with the dry ingredients. If you’re adding extract for flavor, add that now too. Start by adding the water amount as listed; you can always add a *tiny* bit more if needed. Too much water and you’ll have a runny mess!
Step 4: Whip Until Smooth and Glossy
Using your electric mixer (a stand mixer is ideal, but a hand mixer works too!), start beating the mixture on low speed for about a minute, just until everything is incorporated and there are no dry spots. Then, increase the speed to medium-high and beat for 5-7 minutes. You’re looking for a thick, glossy, and smooth consistency. It should hold its shape and form soft peaks when you lift the whisk. If it seems too stiff, add water, just a teaspoon at a time, beating after each addition until you reach the desired consistency.
Step 5: Adjust Consistency for Your Needs
This is where the magic happens. For piping outlines and details, the consistency from Step 4 is usually perfect. If you want to flood cookies, you’ll need a thinner consistency. Add water, just a *tiny* bit at a time (1/2 teaspoon is a good starting point), mixing well after each addition, until the icing flows off the whisk in a slow, steady stream, like lava or honey. It should take about 15-20 seconds for the stream to disappear back into the bowl when you drizzle it. For thicker detail work, you might even want it a touch stiffer than the initial soft peaks. Practice makes perfect!
Step 6: Color Your Icing
If you’re using multiple colors, divide your icing into separate bowls. Add a small amount of gel food coloring to each bowl and mix gently until the color is evenly distributed. Remember that gel colors are very concentrated, so start with a tiny amount and add more until you achieve your desired shade. It’s always easier to add more color than to take it away!
Step 7: Prepare for Piping
Transfer your colored icing into piping bags fitted with the tips of your choice. If you’re not using it immediately, cover the surface of the icing directly with plastic wrap to prevent a skin from forming. This is super important!
Step 8: Decorate!
Now for the fun part! Pipe your outlines, flood your cookies, create beautiful patterns, and let your creativity run wild. For flooding, fill in the outlined areas with the thinner icing. You can use a scribe or toothpick to gently spread the icing and pop any air bubbles. Let the flood icing set slightly before adding any details on top.
Step 9: Drying and Finishing
Allow your decorated items to dry completely. This can take anywhere from a few hours to overnight, depending on humidity and how thickly the icing was applied. Once dry, the icing will be hard and smooth. You can then stack or package your treats without them sticking!
What to Serve It With
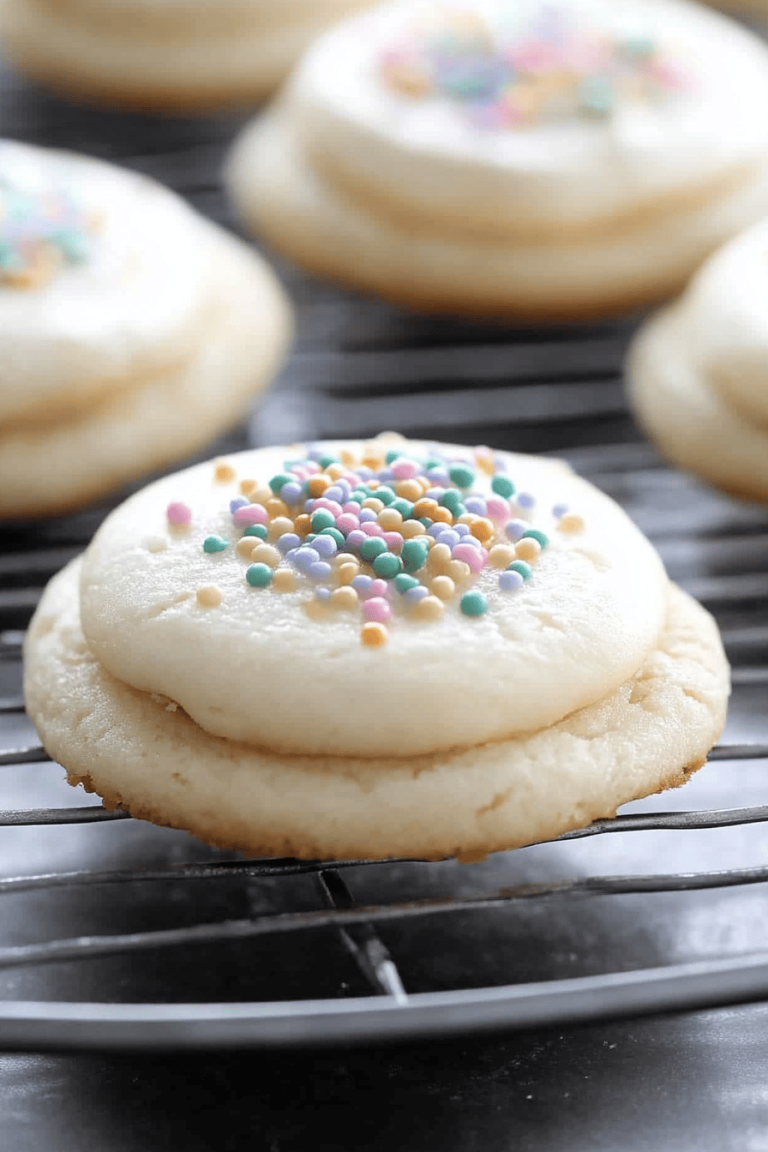
Oh, the possibilities are endless! Royal icing really shines when it’s decorating something delicious. For breakfast, imagine a simple sugar cookie, piped with a pretty pastel swirl, alongside your morning coffee. It’s a little treat that feels special without being over the top. For a more elegant brunch, think about elaborately decorated Sugar Cookies arranged on a tiered stand, perhaps paired with mimosas or a lovely fruit salad. They can double as edible décor!
As a dessert, this is where royal icing truly takes center stage. Decorate a batch of simple shortbread cookies with intricate lace patterns or beautiful floral designs to serve after dinner. They are a delightful alternative to a heavy cake and are always a conversation starter. My kids absolutely love it when I make Sugar Cookies shaped like their favorite animals and then let them go wild with the piping bags – they might not be perfect, but the joy on their faces is priceless! For cozy snacks, a simple iced cookie is the perfect companion to a cup of tea or hot chocolate on a chilly afternoon. I’ve even used thicker royal icing to “glue” gingerbread house pieces together – it dries super strong! Honestly, any baked good that benefits from a beautiful, smooth, and decorative finish is a perfect match.
Top Tips for Perfecting Your Royal Icing
I’ve learned a few things over the years, through trial and error (mostly error in the beginning!), and I’m happy to share them so you can get perfect results every time. These aren’t just arbitrary tips; they’re hard-won wisdom from my own kitchen!
Meringue Powder Matters: I cannot stress this enough – use a good quality meringue powder. It’s the backbone of this recipe, ensuring your icing whips up beautifully and dries rock-hard. Different brands can have slightly different absorption rates, so always start with the minimum water amount and add more cautiously if needed.
Sift, Sift, Sift! I know it’s tedious, but sifting your confectioners’ sugar is absolutely essential. It breaks up any tiny lumps that could clog your piping tips or leave your icing looking gritty. It makes a world of difference to the final texture.
Consistency is Key: This is probably the most important aspect of royal icing. Icing that’s too thin will run off your cookies, and icing that’s too thick will be impossible to pipe smoothly. Always test your consistency on a plain cookie first. For flooding, aim for a ribbon-like flow that smooths out in about 15-20 seconds. For outlines, it should hold its shape more firmly. You can always thin thicker icing with a *tiny* bit of water, or thicken thinner icing by beating in more sifted confectioners’ sugar, but it’s best to get it right from the start!
Work in Batches for Colors: If you’re using multiple colors, only mix and color the amount of icing you think you’ll need for that particular project. Royal icing dries out quickly, so keeping the unused portions covered and sealed is crucial. I also like to transfer colored icing into airtight containers or piping bags as soon as possible.
Avoid Overmixing Once Flourish: After you’ve achieved the right consistency, try not to overmix your icing. Especially when adding color, gentle folding or mixing is best to avoid incorporating too much air, which can lead to air bubbles in your piping.
Humidity is the Enemy: Royal icing is sensitive to humidity. On a very humid day, it can take much longer to dry, and sometimes it might not get quite as hard. Try to make your icing on a drier day if possible, and always ensure good ventilation when drying your decorated items.
Invest in Good Piping Tips: Having a variety of piping tips, especially a small round tip (like a Wilton #1 or #2) for fine details and outlines, makes a huge difference. Clean your tips thoroughly after each use!
Troubleshooting Air Bubbles: If you notice air bubbles forming, gently tap your piping bag on the counter. You can also use a scribe tool or a toothpick to gently pop any bubbles on the surface of flooded cookies before the icing sets.
Ingredient Swaps: While meringue powder is my preferred method, if you absolutely must use egg whites, ensure they are pasteurized for safety. You’ll typically need about 2-3 large egg whites for this recipe. Be aware that fresh egg whites can vary in consistency, making results less predictable. For a dairy-free option, the meringue powder base is already dairy-free! Just ensure your sugar and any extracts are too.
Storing and Reheating Tips
Storing royal icing properly is key to keeping it usable and preventing it from drying out into a useless brick! It’s pretty straightforward, but a few tricks make all the difference.
Room Temperature: If you’re using the icing within a few hours, you can cover it directly in its mixing bowl with plastic wrap, pressing the wrap firmly onto the surface of the icing to create a seal. This prevents a skin from forming. Once in piping bags, try to use them within a few hours as well, or store them in an airtight container. If the icing starts to stiffen, you can usually revive it by kneading the bag or adding a tiny drop of water and mixing gently.
Refrigerator Storage: For longer storage, transfer the icing to an airtight container. Again, press plastic wrap directly onto the surface of the icing before sealing the container lid. It can last in the refrigerator for about a week. Before using, let it come to room temperature and then whip it again for a minute or two to restore its smooth consistency. You might need to adjust the consistency slightly with a touch more water if it’s too stiff.
Freezer Instructions: Yes, you can freeze royal icing! This is a great way to make a big batch and save it for later. Store it in an airtight container (again, plastic wrap directly on the surface first!). It can be frozen for up to 2 months. Thaw it in the refrigerator overnight, then let it come to room temperature and re-whip it thoroughly to regain its texture. It might take a few minutes of whipping to get it perfectly smooth again.
Glaze Timing Advice: If you’re decorating cookies that will be stacked or packaged, the most important thing is ensuring the royal icing is completely dry. This can take anywhere from 12 hours to 24 hours, or even longer in humid conditions. Never stack or seal decorated items until the icing is fully hardened, or you risk them sticking together and the decorations smudging. For items that won’t be stacked, you can get away with a slightly softer icing, but complete drying is always best for longevity.
Frequently Asked Questions
Final Thoughts
So there you have it – my go-to, foolproof recipe for royal icing! It’s honestly one of those foundational recipes that just makes baking more fun and the results so much more impressive. Whether you’re a seasoned baker or just starting out, this recipe is designed to give you beautiful, professional-looking results with minimal fuss. I love how adaptable it is, and how it can transform even the simplest cookie into a work of art. It’s been a joy sharing this piece of my baking heart with you. If you give this royal icing recipe a try, please let me know how it turns out in the comments below! I’d love to see what you create, and maybe you’ll even have some tips of your own to share. Happy baking!
Royal Icing Recipe
Ingredients
Main Ingredients
- 3 cups powdered sugar
- 2 tablespoons meringue powder
- 0.375 cup warm water plus more as needed
- 0.5 teaspoon vanilla extract optional
Instructions
Preparation Steps
- In a large bowl, whisk together the powdered sugar and meringue powder.
- Add the warm water and vanilla extract (if using).
- Using an electric mixer on low speed, beat the ingredients until combined and no dry lumps remain.
- Increase the mixer speed to medium-high and beat for 5-7 minutes, until the icing is glossy and forms stiff peaks. If the icing is too thick, add more warm water a teaspoon at a time until desired consistency is reached. If it's too thin, add more powdered sugar a tablespoon at a time.
- Transfer the icing to a piping bag or container and use immediately, or cover tightly with plastic wrap to prevent drying.