You know those days when you just need a hug in dessert form? The kind of day where the air gets a little crisper, the leaves start to turn, and all you want is something warm, spiced, and utterly comforting? That’s exactly when I reach for this pumpkin cheesecake. It’s not just a dessert; it’s an experience. Honestly, it’s become my go-to whenever autumn rolls around, and my family practically demands it. I remember the first time I made it, a little nervous because cheesecake always felt so fancy, but this version? It’s surprisingly straightforward. Think of it as the love child of a perfect Pumpkin Pie and a ridiculously smooth, decadent cheesecake, all rolled into one. If you’re looking for a showstopper that’s more approachable than it looks, you’ve found your match. This pumpkin cheesecake is seriously a game-changer!
What is pumpkin cheesecake?
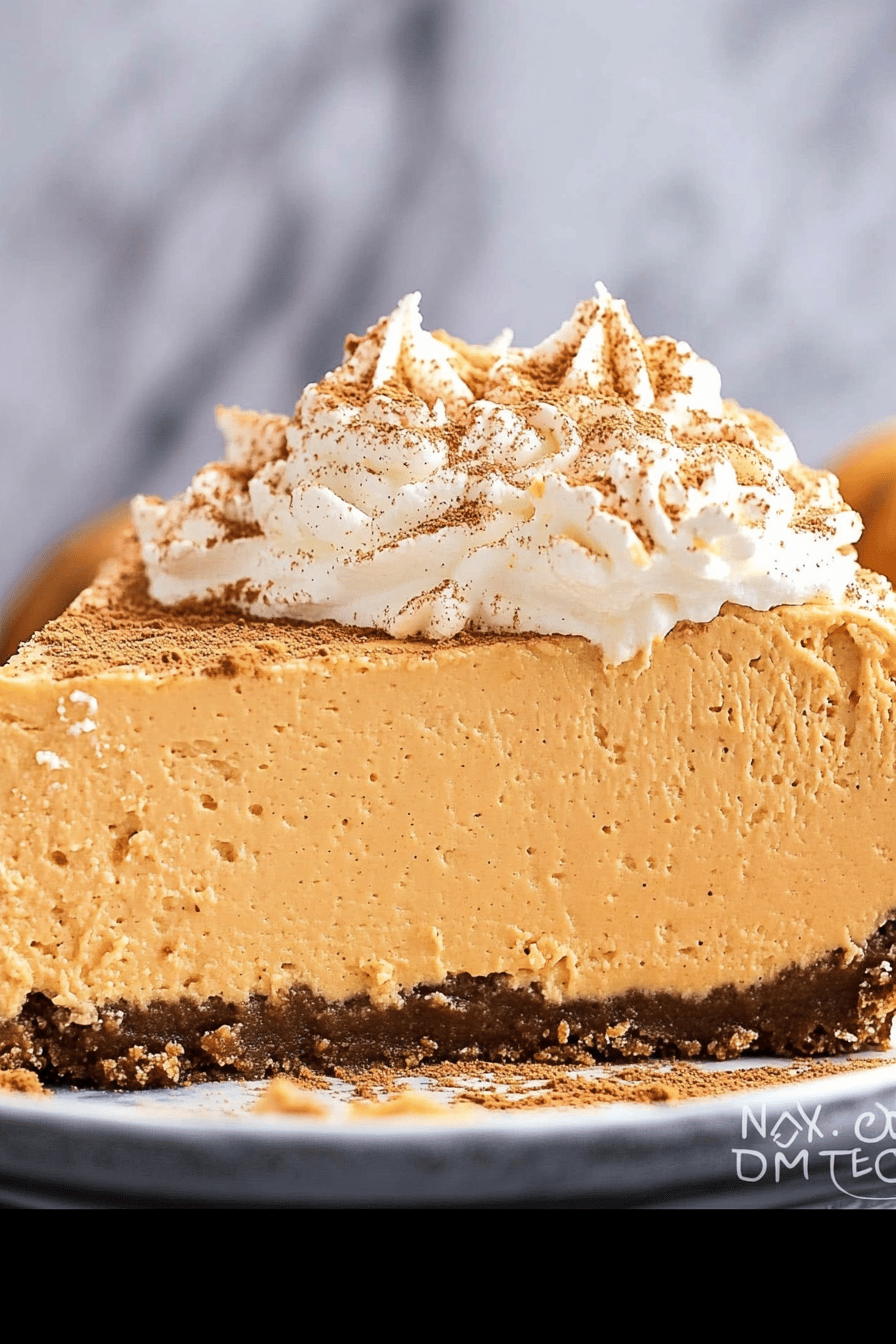
So, what exactly *is* pumpkin cheesecake? Well, it’s exactly what it sounds like, but so much more! Imagine the rich, creamy tang of a classic cheesecake, but infused with the warm, comforting spices of pumpkin pie – think cinnamon, nutmeg, ginger, and cloves. We’re talking about a velvety smooth filling, made with CREAM CHEESE, sugar, eggs, and of course, plenty of pureed pumpkin, all nestled on a crunchy, spiced graham cracker crust. It’s essentially all the best parts of fall in one glorious dessert. It’s not overly sweet, which I love; the pumpkin flavor really shines through, and those spices just make you want to curl up by a fire with a slice. It’s a truly iconic fall treat, and this version makes it totally doable for any home baker.
Why you’ll love this recipe?
Let me tell you, there are so many reasons why this pumpkin Cheesecake Recipe has earned a permanent spot in my recipe binder. First and foremost, the flavor! It’s an absolute symphony of fall spices and creamy pumpkin goodness. It’s like a cozy blanket for your taste buds. The texture is unbelievably smooth and rich; it melts in your mouth. But what I love just as much is how surprisingly simple it is. I used to think cheesecakes were only for the brave, but this one is genuinely forgiving. You don’t need a water bath (thank goodness!), and the steps are really logical. Plus, it’s incredibly cost-effective. Most of the ingredients are pantry staples, especially during the fall season. You can also adapt it so easily! I’ve served it plain, with a dollop of whipped cream, or drizzled with caramel. It’s perfect for a Thanksgiving dessert, a holiday gathering, or just because you deserve a treat. What truly sets this apart for me, though, is that comforting, nostalgic feeling it evokes. Every bite reminds me of crisp autumn days and family gatherings, and that’s priceless.
How do you make a pumpkin cheesecake?
Quick Overview
Making this pumpkin cheesecake is a straightforward process that yields incredible results. We’ll start by creating a spiced graham cracker crust, then whip up a luscious pumpkin-spiced cream cheese filling, and finally, bake it to golden perfection. The key is not overmixing and allowing it to cool properly, which ensures that signature creamy texture. It’s a recipe that feels special but is truly achievable for anyone, even if you’re new to cheesecakes.
Ingredients
For the Graham Cracker Crust:
2 cups graham cracker crumbs (about 14-16 full crackers) – I always crush mine in a zip-top bag with a rolling pin; it’s oddly satisfying! Make sure they’re fine crumbs.
1/4 cup granulated sugar – Just a touch to sweeten the crust.
1/2 teaspoon ground cinnamon – For that extra warmth.
1/2 cup unsalted butter, melted – This binds everything together beautifully.
For the Pumpkin Cheesecake Filling:
3 (8-ounce) packages cream cheese, softened to room temperature – This is crucial for a smooth, lump-free filling. Take them out at least an hour before you plan to start.
1 1/2 cups granulated sugar – Adjust to your sweetness preference, but this amount is perfect for balancing the pumpkin.
1 (15-ounce) can pure pumpkin puree (not pumpkin pie filling) – Make sure it’s 100% pumpkin for the best flavor.
4 large eggs, at room temperature – Room temperature eggs incorporate better and prevent curdling.
1/4 cup heavy cream – Adds that extra lusciousness.
1 tablespoon cornstarch – Helps prevent cracking and gives it a stable texture.
2 teaspoons ground cinnamon – More of that lovely spice!
1 teaspoon ground ginger – A little zing.
1/2 teaspoon ground nutmeg – The quintessential fall spice.
1/4 teaspoon ground cloves – Just a tiny bit for depth.
1 teaspoon vanilla extract – Enhances all the other flavors.
For the Optional Maple Glaze:
1 cup powdered sugar – Sifted for smoothness.
2 tablespoons pure maple syrup – Use the good stuff; it makes a difference!
1-2 tablespoons milk or heavy cream – To get the right drizzling consistency.
Step-by-Step Instructions
Step 1: Preheat & Prep Pan
First things first, preheat your oven to 350°F (175°C). Grab a 9-inch springform pan. This pan is a lifesaver for cheesecakes because it makes removing them so easy. Lightly grease the bottom and sides of the pan. I usually just use a bit of butter or cooking spray. This prevents the crust from sticking.
Step 2: Mix Dry Ingredients
In a medium bowl, combine the graham cracker crumbs, 1/4 cup granulated sugar, and 1/2 teaspoon cinnamon. Stir them together really well until everything is evenly distributed. This is where you build the foundation of flavor for your crust.
Step 3: Mix Wet Ingredients
Pour the melted butter over the dry crumb mixture. Stir with a fork or your hands until all the crumbs are moistened and the mixture resembles wet sand. It should hold together when you squeeze a bit in your hand. This is the magic binding step!
Step 4: Form the Crust
Pour the graham cracker mixture into your prepared springform pan. Use the bottom of a glass or a measuring cup to press the crumbs firmly and evenly onto the bottom and about halfway up the sides of the pan. Really press it down to create a compact crust that won’t crumble when you slice into it. You can also bake the crust for about 8-10 minutes at this point to make it a little firmer, but it’s optional and I often skip this step for simplicity.
Step 5: Prepare Filling
In a large bowl (or the bowl of your stand mixer), beat the softened cream cheese on medium speed until it’s perfectly smooth and creamy. This usually takes a couple of minutes. You don’t want any lumps! Gradually add the 1 1/2 cups granulated sugar and beat until well combined and fluffy. Scrape down the sides of the bowl often. This ensures everything is incorporated.
Step 6: Combine Wet and Dry Filling Components
Add the pure pumpkin puree to the cream cheese mixture. Beat on low speed until just combined. Now, add the eggs, one at a time, beating on low speed after each addition until *just* incorporated. Don’t overbeat the eggs; this can lead to cracking. In a separate small bowl, whisk together the heavy cream and cornstarch until smooth. Then, add this mixture to the main filling, along with the cinnamon, ginger, nutmeg, cloves, and vanilla extract. Beat on low speed until everything is smooth and uniformly colored. Scrape down the sides and bottom of the bowl one last time to make sure there are no pockets of unmixed ingredients. The batter should be thick and gloriously orange.
Step 7: Layer and Swirl (Optional but Recommended!)
Pour the pumpkin cheesecake filling over the prepared crust. If you want to get fancy, you can reserve a small portion of plain cheesecake batter (mix some cream cheese, sugar, and an egg yolk) and swirl it into the pumpkin mixture for a marbled effect. I usually skip this for simplicity, but it looks beautiful! Gently tap the pan on the counter a few times to release any large air bubbles.
Step 8: Bake
Bake at 350°F (175°C) for 50-65 minutes. The edges should be set, and the center should still be slightly jiggly, like Jell-O. This jiggle is important; it means it will continue to cook as it cools and won’t overbake. If the top starts to brown too much before the center is set, you can loosely tent it with aluminum foil. Once done, turn off the oven, crack the oven door open slightly, and let the cheesecake cool in the oven for about an hour. This slow cooling process is key to preventing cracks!
Step 9: Cool and Glaze
After cooling in the oven, remove the cheesecake from the oven and let it cool completely on a wire rack. Once at room temperature, cover the cheesecake loosely with plastic wrap (don’t let the plastic touch the top) and refrigerate for at least 4-6 hours, or preferably overnight. This chilling time is essential for the cheesecake to fully set and for the flavors to meld. If you’re using the glaze, whisk together the powdered sugar, maple syrup, and 1 tablespoon of milk or cream until smooth. Add more milk, a teaspoon at a time, until you reach a thick but pourable consistency. Drizzle it over the chilled cheesecake just before serving.
Step 10: Slice and Serve
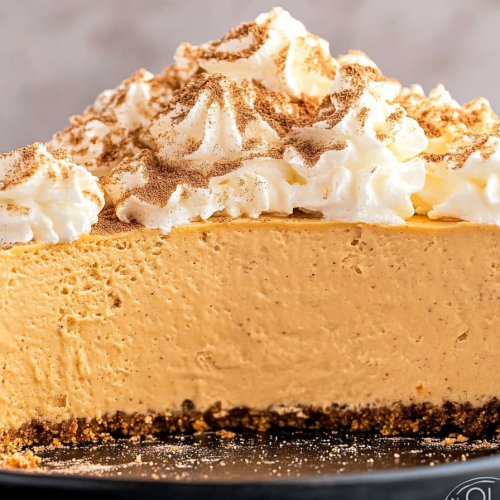
To slice, run a thin, sharp knife under hot water, wipe it dry, and then slice. Repeat for each cut. This gives you clean, beautiful slices. Serve chilled or at room temperature. A little dollop of whipped cream or a sprinkle of cinnamon is always a welcome addition!
What to Serve It With
This pumpkin cheesecake is practically a meal in itself, but here are some of my favorite ways to serve it depending on the occasion. For a cozy breakfast treat, a simple slice with a hot cup of coffee is pure bliss. The spices in the cheesecake complement the coffee perfectly, and it’s a decadent way to start the day, especially on a weekend. For brunch, I love to make it a centerpiece. I’ll serve it alongside some fresh fruit like berries or sliced apples, maybe with a side of my easy no-bake oatmeal cookies. A mimosa or a festive sparkling cider pairs wonderfully. As a dessert, it’s a classic for a reason! It stands beautifully on its own, but if you want to go the extra mile, a drizzle of caramel sauce, some toasted pecans, or even a scoop of vanilla bean Ice Cream makes it extra special. For those impromptu cozy snack cravings, a small slice with a mug of hot chocolate is my personal indulgence. The richness of the cheesecake and the warmth of the chocolate? Perfection. My kids especially love it with a tall glass of cold milk!
Top Tips for Perfecting Your Pumpkin Cheesecake
I’ve made this pumpkin cheesecake more times than I can count, and over the years, I’ve picked up a few tricks that make all the difference. First, for the graham cracker crust, make sure you crush your crackers very finely. Coarse crumbs can lead to a crumbly crust. And don’t skimp on pressing it down firmly into the pan; a solid crust is key. When it comes to the filling, the absolute most important thing is to ensure your cream cheese is truly at room temperature. If it’s even slightly cold, you’ll end up with lumps, and nobody wants a lumpy cheesecake! Beat the cream cheese until it’s *completely* smooth before you add anything else. Also, when you add the eggs, beat them on low speed and only until they’re just incorporated. Overbeating eggs can introduce too much air, which often leads to cracking during baking. I’ve learned this the hard way after being tempted to whip it more! For the swirl, if you’re going for that marbled effect, don’t over-swirl! Just a few gentle passes with a knife or skewer will create beautiful patterns. You want distinct swirls, not a muddy mess. For baking, trust the jiggle test. The center should still have a slight wobble. It will continue to cook as it cools, and that’s what gives you that signature creamy texture without being overbaked. If you’re worried about the top browning too quickly, tenting with foil is your best friend. And the cooling process is non-negotiable: oven off, door ajar, then counter, then fridge. Patience is a virtue here! For ingredient swaps, if you don’t have ginger or cloves, you can increase the cinnamon and nutmeg slightly, but the blend is really lovely. And if you’re out of cornstarch, a tablespoon of all-purpose flour can work in a pinch, though cornstarch gives a slightly silkier texture.
Storing and Reheating Tips
Proper storage is key to enjoying this delicious pumpkin cheesecake for days to come. At room temperature, it’s best to keep it covered loosely with plastic wrap or foil and enjoy it within 2-3 hours. It’s not ideal to leave it out for too long due to the dairy content. For refrigerator storage, this is my preferred method for keeping it fresh and delicious. Once completely cooled and chilled, cover the cheesecake tightly with plastic wrap or place it in an airtight container. It should stay wonderfully fresh in the fridge for up to 5 days. The flavors actually tend to deepen and meld overnight, making it even better on the second day! If you’re looking to store it for longer, freezing is a great option. You can freeze the entire cheesecake, or even individual slices. Wrap it very securely in a double layer of plastic wrap, then a layer of aluminum foil to prevent freezer burn. Properly wrapped, it can be kept in the freezer for up to 2-3 months. To thaw, transfer the cheesecake to the refrigerator overnight. If you’re freezing slices, you can thaw them at room temperature for about 30-60 minutes, or in the fridge for a few hours. For the glaze, I recommend waiting to drizzle it until just before serving. If you glaze a cheesecake that’s going into the fridge for a long time, the glaze can sometimes become a bit sticky or weep. So, either glaze right before serving, or store the glaze separately and drizzle it on when you’re ready to eat.
Frequently Asked Questions
Final Thoughts
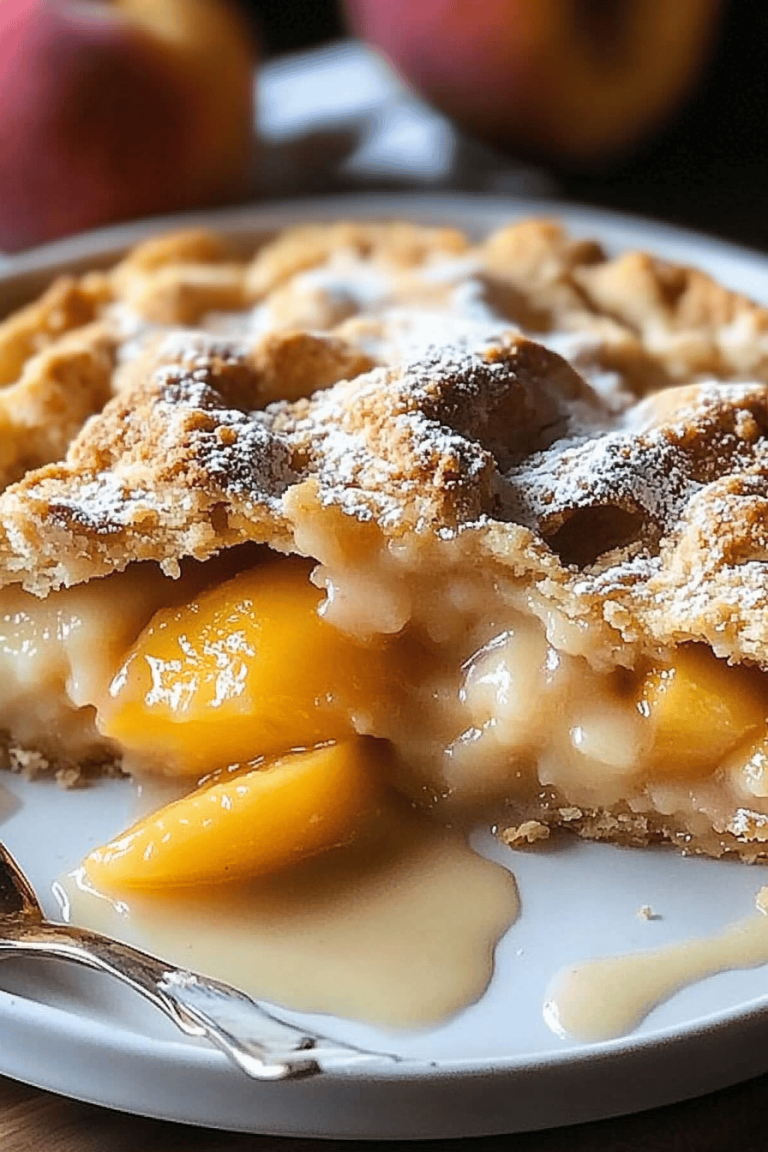
I truly hope you give this pumpkin cheesecake a try. It’s one of those recipes that feels like a special occasion but is so comforting and familiar. It brings together the best flavors of fall in a way that’s both elegant and incredibly satisfying. The creamy texture, the warm spices, and that perfect graham cracker crust are simply irresistible. It’s the kind of dessert that makes everyone gather around the table, oohing and aahing with every bite. If you love this recipe, you might also enjoy my Spiced Apple Crumble or my Easy Pumpkin Bread – they’re all part of that perfect cozy autumn flavor profile! I can’t wait to hear what you think when you make it, and I’d love to see your creations! Happy baking!
Pumpkin cheesecake
Ingredients
Crust
- 1.5 cups graham cracker crumbs
- 0.25 cups sugar
- 0.5 cup unsalted butter, melted
Filling
- 24 oz cream cheese, softened
- 1 cup granulated sugar
- 0.75 cup pumpkin puree
- 2 large eggs
- 1 teaspoon vanilla extract
- 1 teaspoon pumpkin pie spice
- 0.5 teaspoon cinnamon
- 0.25 teaspoon nutmeg
Instructions
Preparation Steps
- Preheat oven to 350°F (175°C). Grease a 9-inch springform pan.
- In a medium bowl, mix together graham cracker crumbs, sugar, and melted butter. Press mixture evenly into the bottom of the prepared springform pan.
- Bake crust for 10 minutes. Remove from oven and let cool slightly.
- In a large bowl, beat cream cheese and granulated sugar until smooth. Beat in pumpkin puree, eggs, and vanilla extract until just combined.
- Stir in pumpkin pie spice, cinnamon, and nutmeg.
- Pour filling over the cooled crust.
- Bake for 50-60 minutes, or until the edges are set and the center is slightly jiggly.
- Turn off the oven, crack the door open, and let the cheesecake cool in the oven for 1 hour. This helps prevent cracking.
- Remove from oven and let cool completely on a wire rack. Chill in the refrigerator for at least 4 hours, or preferably overnight.
- Run a knife around the edge of the pan before releasing the sides of the springform pan. Serve chilled.