Peanut Butter Paw Print Cookies
Delve into the delightful world of baking with these scrumptious peanut butter paw print cookies. Perfectly infused with the flavor of rich peanut butter, these cookies are not only adorable but also irresistibly delicious. With just a few simple ingredients, you’ll quickly see why these cookies become the talk of the town wherever they’re served.
Growing up, weekends were filled with the comforting aroma of baked treats wafting through our home, courtesy of my grandmother who had a knack for turning every recipe into magic. These peanut butter cookies were her specialty, and she would fondly call them her ‘lucky charms.’ Whenever we anticipated a family gathering, the unmistakable scent of cookies announced that grandma was hard at work in the kitchen, creating yet another batch of her legendary cookies. Today, I proudly carry on this tradition, adding a touch of nostalgia to every bite.
Why You’ll Love This Recipe
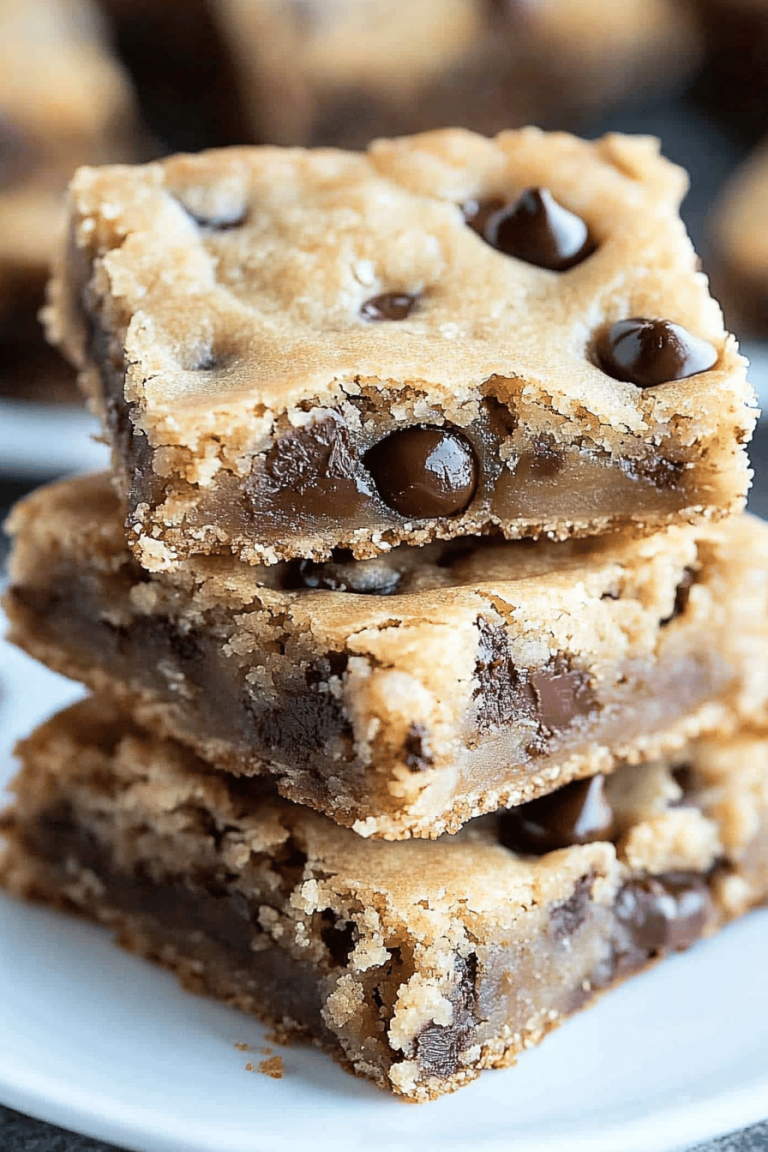
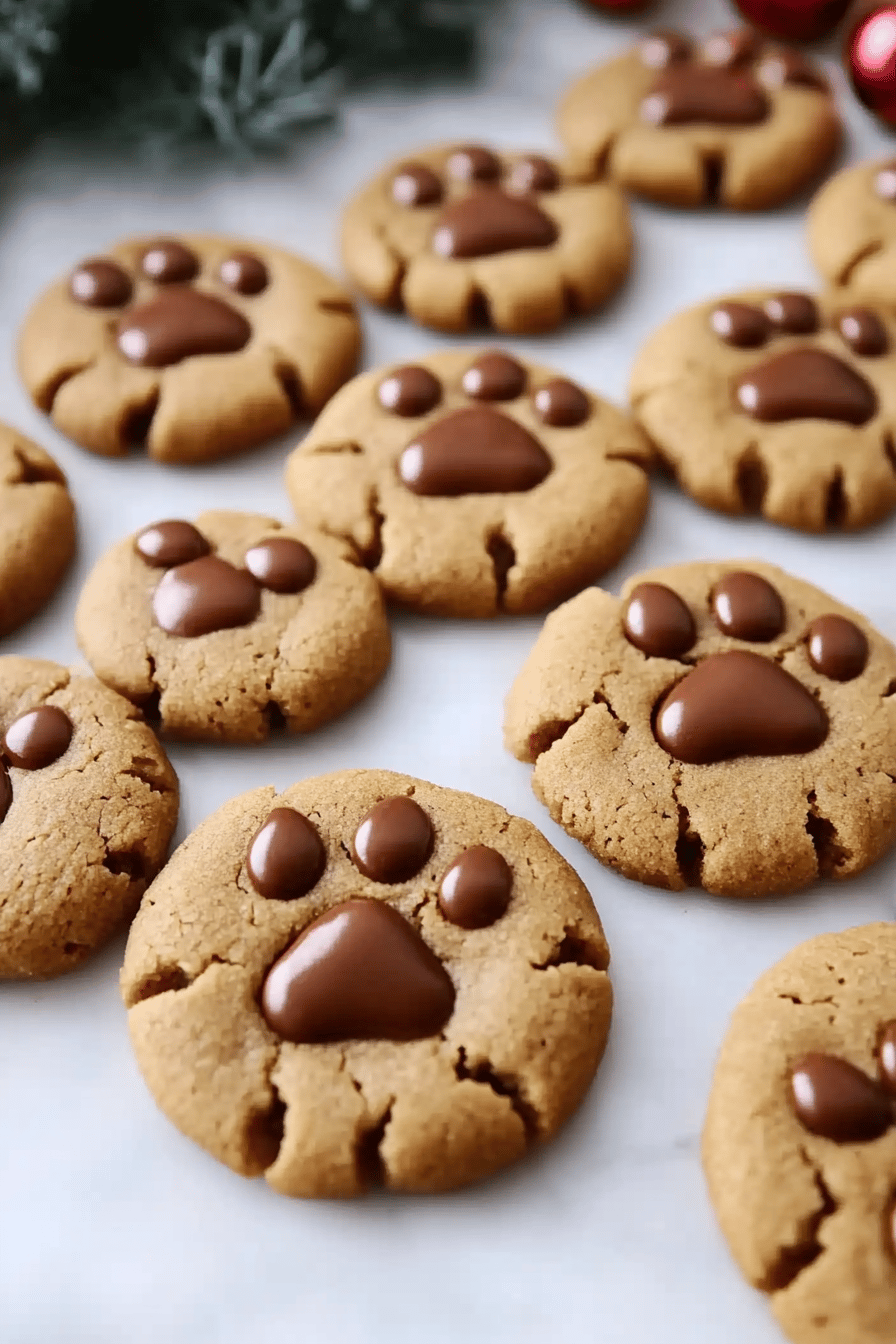
These cookies stand out for several reasons. First, they’re incredibly easy to prepare, requiring only a few pantry staples. Their unique ‘paw print’ design makes them a conversation starter at any gathering. Moreover, the combination of a soft, chewy center with a slightly crispy exterior creates a perfect texture medley. Whether you’re baking for a special occasion or a weekday treat, these cookies bring a sense of joy and homeliness.
Ingredients Notes
The beauty of this recipe lies in its simplicity. You’ll need creamy peanut butter, sugar, eggs, and a tad of baking soda. For a more robust flavor, feel free to use natural peanut butter. If you’re looking to shake things up, consider swapping half of the sugar with brown sugar for a deeper, caramel-like taste. Always ensure your ingredients are fresh for the best results.
Recipe Steps
Step 1
Preheat your oven to 350°F (175°C) and line a baking sheet with parchment paper. This ensures the cookies bake evenly and don’t stick to the pan.
Step 2
In a large mixing bowl, combine one cup of creamy peanut butter with one cup of sugar until smooth. This step is crucial for achieving the ideal cookie texture.
Step 3
Add one egg and one teaspoon of baking soda to the mixture. Stir until all ingredients are thoroughly incorporated.
Step 4
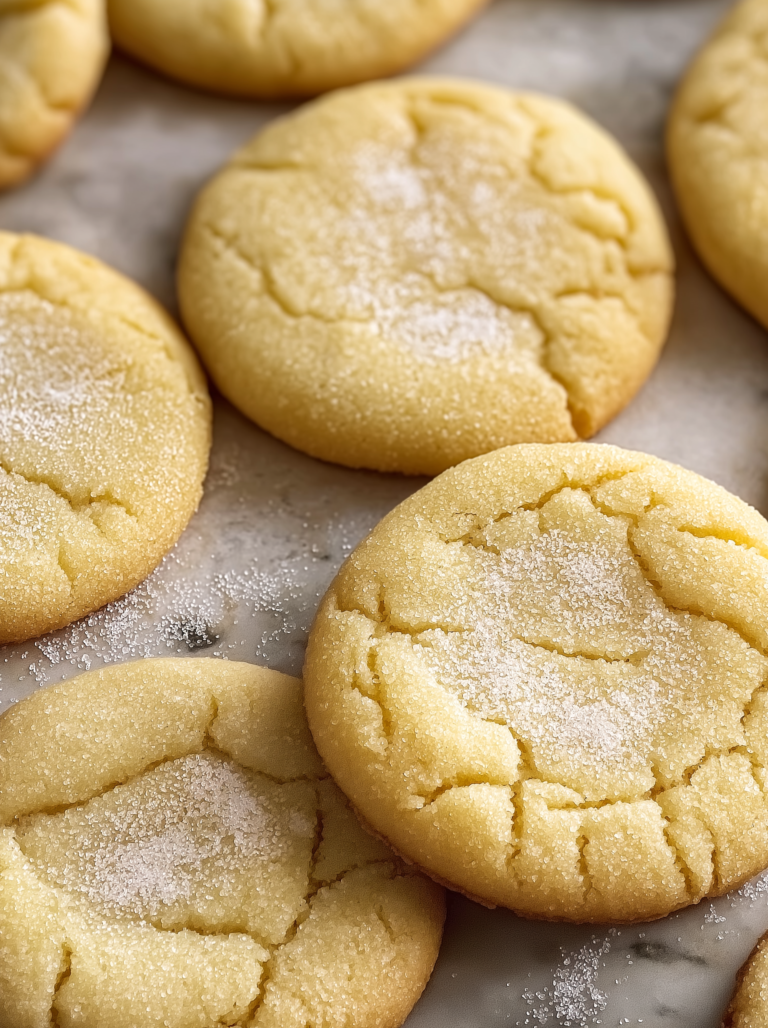
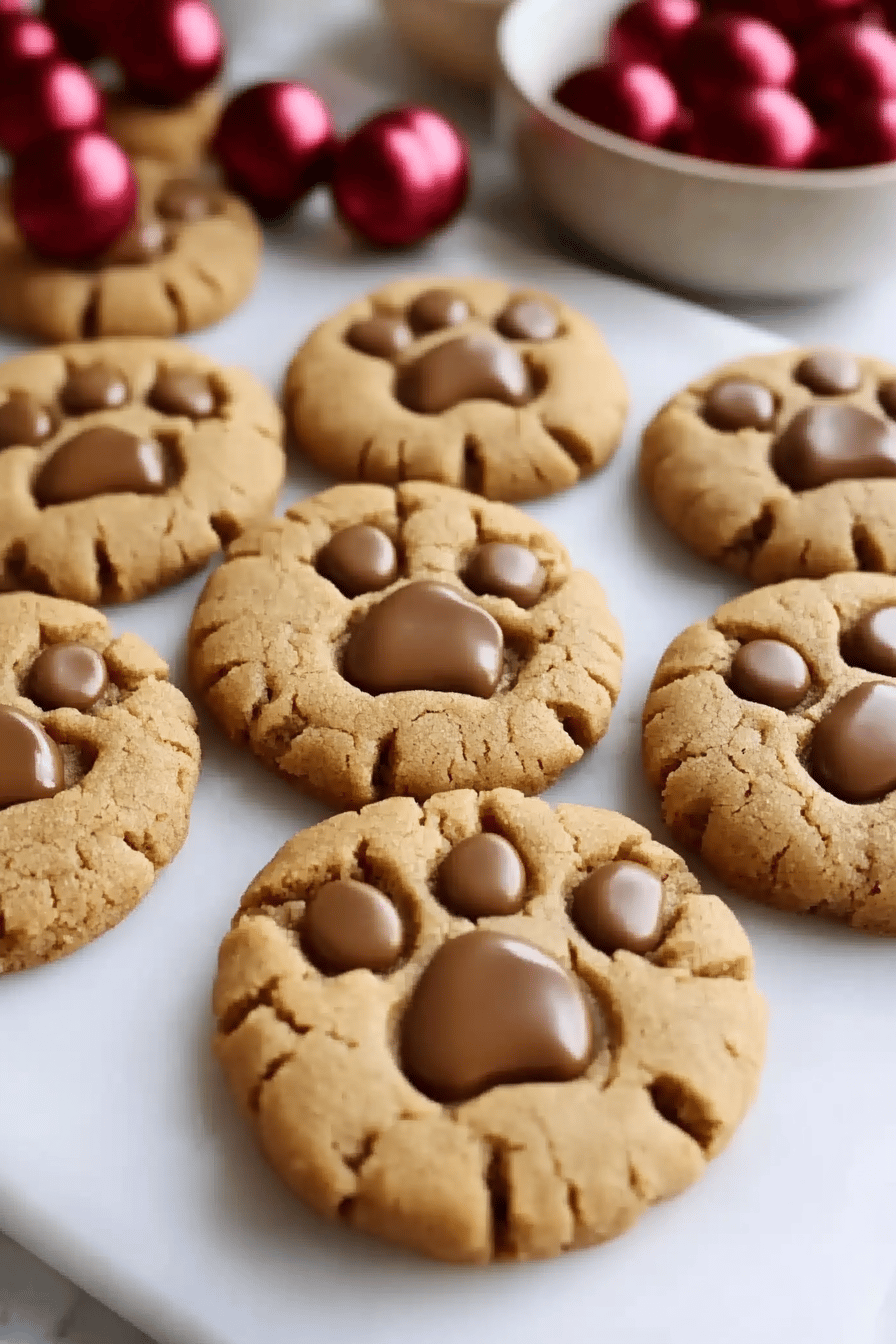
Roll the dough into 1-inch balls and place them on the prepared baking sheet. Gently press down on each ball with your thumb to create a ‘paw print’ shape.
Step 5
Bake in the preheated oven for 10–12 minutes or until golden brown. Allow the cookies to cool on a wire rack before serving.
Storage Options
Store any leftover cookies in an airtight container at room temperature for up to a week. If you’d like to keep them longer, place them in the freezer for up to three months. For best results, let them thaw at room temperature or reheat briefly in the oven for a freshly-baked taste.
Variations & Substitutions
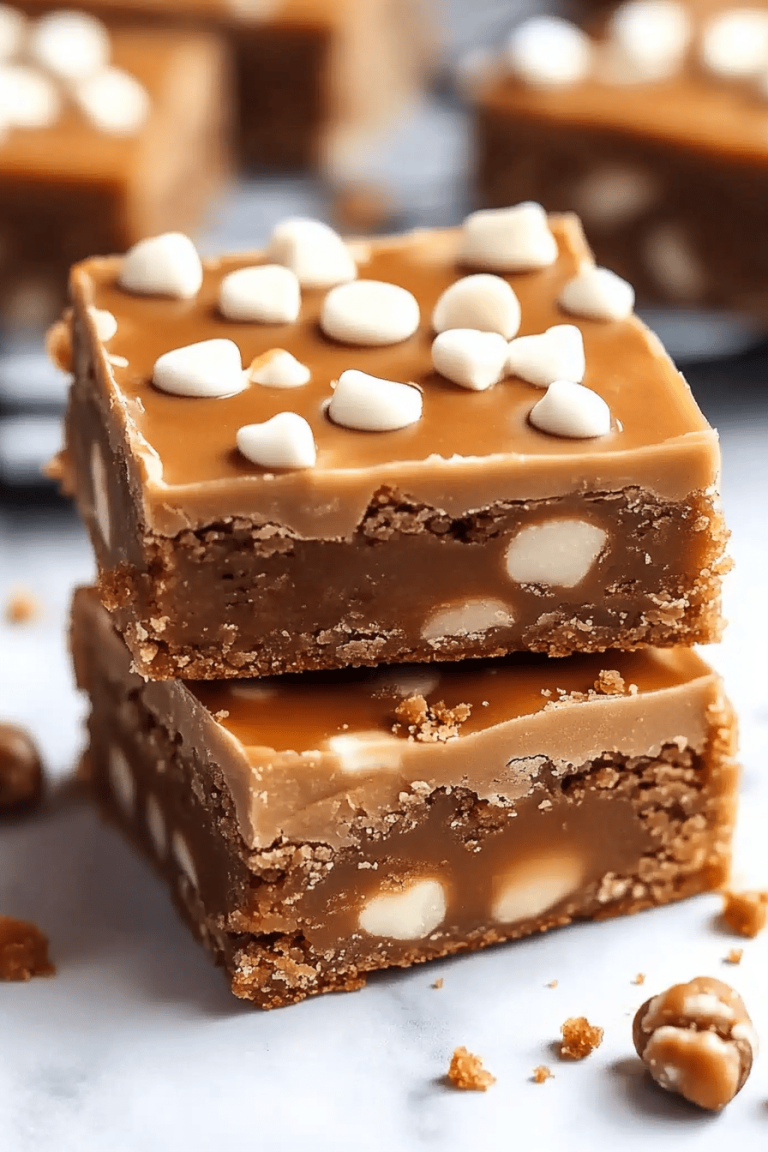
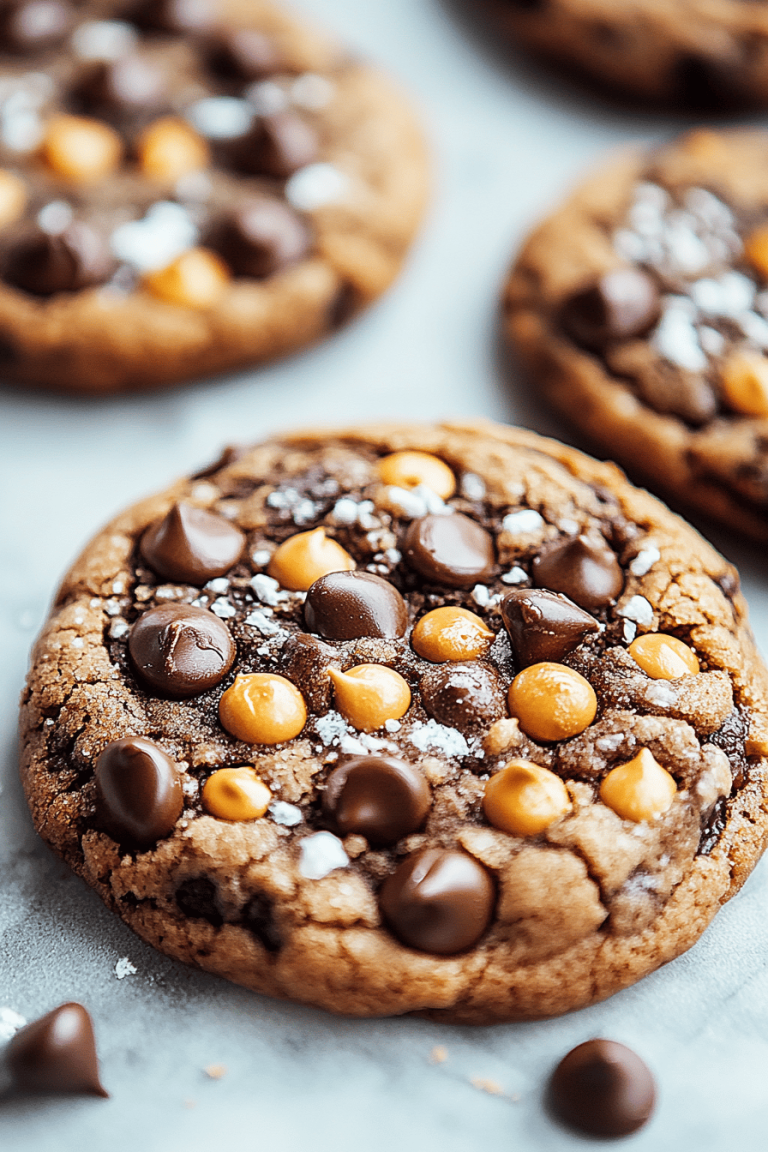
For a nut-free version, substitute the peanut butter with sunflower seed butter. To add a chocolatey twist, mix in half a cup of mini chocolate chips into the dough. You can also experiment with adding a pinch of cinnamon for a warm undertone.
Serving Suggestions
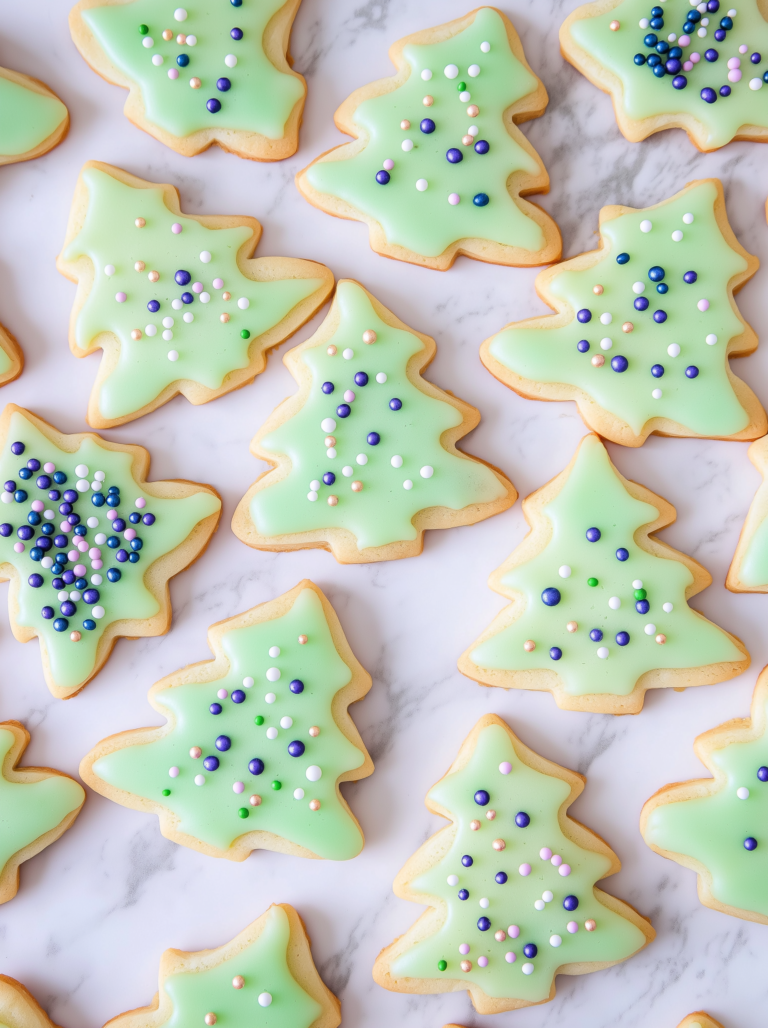
These cookies are perfect for afternoon snacks or as delightful treats during tea time. Pair them with a refreshing glass of milk, or serve them alongside hot cocoa for a cozy winter evening at home. They also make thoughtful gifts when wrapped beautifully in decorative boxes.
Frequently Asked Questions
Can I use crunchy peanut butter instead of creamy? Yes, crunchy peanut butter can certainly be used to give your cookies an added texture with nutty bits throughout. However, ensure the butter is well stirred to incorporate any settled oil.
Why are my cookies too dry? This usually happens if the dough is over-mixed or the baking time is exceeded. Make sure to monitor the baking closely and pull them out as soon as they begin to turn golden. If dryness persists, try reducing the baking time slightly or incorporating an extra egg yolk.
Are these cookies gluten-free? Yes, the standard recipe is naturally gluten-free as it contains no flour. Just ensure that your baking soda is certified gluten-free if this is a dietary concern.