Oh, friends, let me tell you about this No-Fuss Pie Crust. If you’re anything like me, sometimes the idea of baking from scratch can feel a little daunting, especially when you’re short on time or just craving something comforting without a huge fuss. I remember years ago, I used to dread making pie crust. It felt like a culinary puzzle with too many moving parts – chilling dough, rolling it out perfectly, avoiding tears. It was enough to make me reach for the store-bought kind more often than I’d like to admit. But then, a little magic happened in my kitchen, and this recipe was born. It’s the kind of recipe that changed everything for me, the one I turn to when I want that homemade taste and texture but don’t have hours to spare. It’s so ridiculously easy, yet the results are every bit as good, if not better, than any fancy recipe I’ve ever tried. Think of it as the warm hug of a classic pastry, but without all the stress. Honestly, it’s become my go-to, my secret weapon for last-minute dessert emergencies, and my kids ask for it all the time. If you’ve ever felt intimidated by baking, or even if you’re a seasoned pro looking for a simpler way, this No-Fuss Pie Crust is going to be your new best friend.
What is no fuss pie crust?
So, what exactly *is* this magical No-Fuss Pie Crust? Honestly, it’s exactly what it sounds like: a pie crust that’s designed to be incredibly simple to make, yielding fantastic results without any of the usual drama. The name came about because I was so tired of traditional recipes that involved multiple chilling periods, specific water temperatures, and delicate rolling techniques that always seemed to end in tears (mine, not the dough’s!). This version streamlines the whole process. It’s essentially a simplified, foolproof method that uses basic pantry staples to create a flaky, tender, and perfectly golden crust every single time. Think of it as a baker’s shortcut that doesn’t compromise on flavor or texture. It’s the kind of foundation that can hold up to any filling, from a sweet apple crumble to a savory quiche, and it bakes up beautifully. It’s my answer to the question, “Can I have delicious homemade pie without spending all afternoon in the kitchen?” And the answer is a resounding YES!
Why you’ll love this recipe?
I love this no-fuss pie crust recipe and I know you will too!flavor is just incredible. It has this subtle buttery richness and a wonderful crispness that just sings with whatever filling you pair it with. It’s not bland or blandly good; it has character! Then there’s the simplicity. This is where it truly shines. I’ve made this crust on a Tuesday night after a long day, and it’s ready to go into the oven in under 20 minutes. No joke. You don’t need special equipment or a pastry blender (though you can use one if you like!). My kids can even help with some of the steps, which always makes baking feel extra special. It’s also remarkably cost-efficient. You probably have most of the ingredients in your pantry right now. Flour, butter, a little salt, cold water – that’s it! Compared to the price of pre-made crusts, this saves you money and tastes a million times better. And the versatility! This isn’t just for sweet pies. I use this exact same dough for my quiches, my savory pot pies, and even little mini tarts. It’s a true workhorse. What I love most about this No-Fuss Pie Crust, though, is the peace of mind it brings. Knowing I can whip up a fantastic crust without the stress is a game-changer. It’s so much more approachable than other recipes, and it always turns out perfectly, which is such a confidence booster for any home baker. It’s the kind of recipe that makes you feel like a baking superstar, even if you’re just starting out.
How do I make a no-fuss pie crust?
Quick Overview
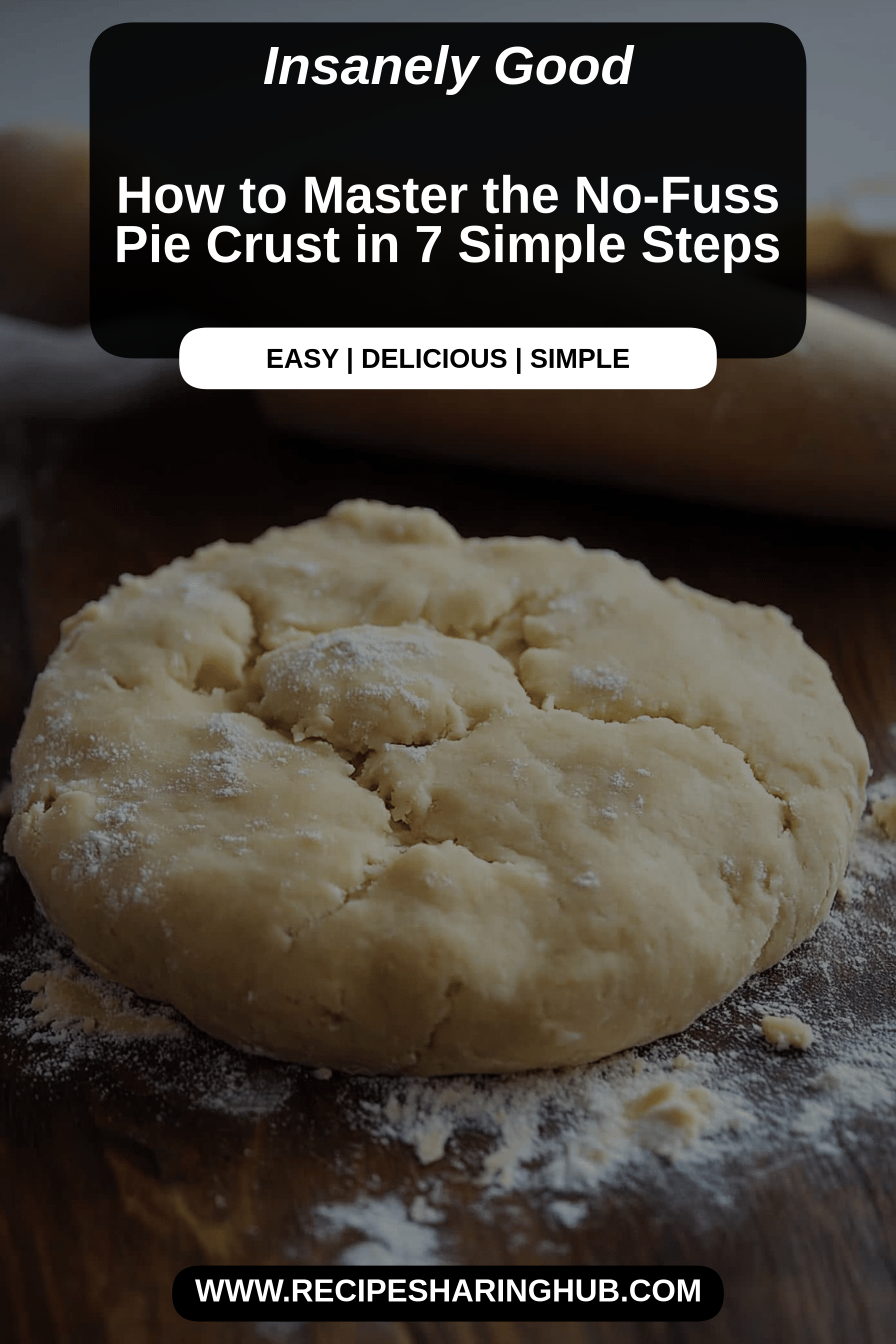
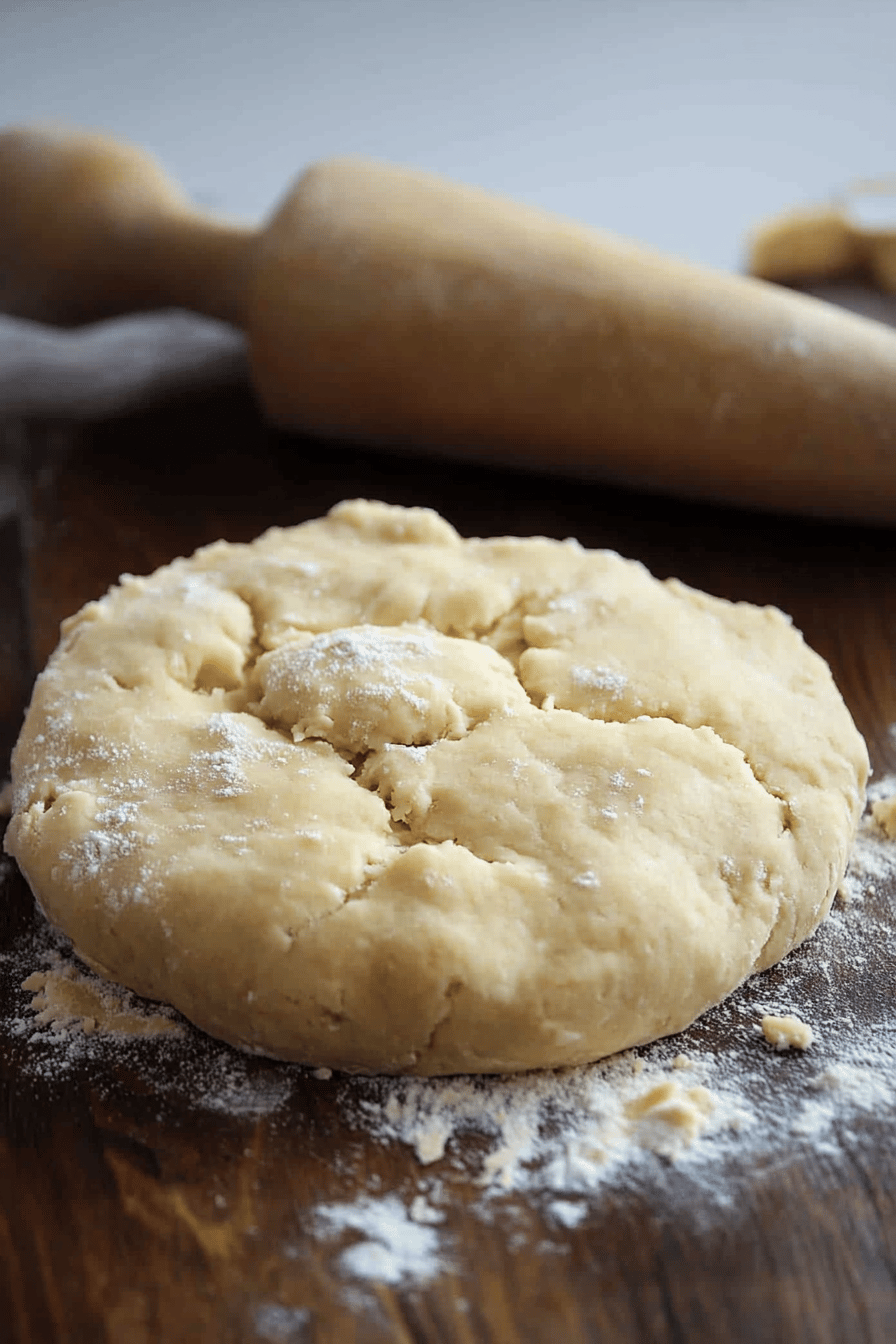
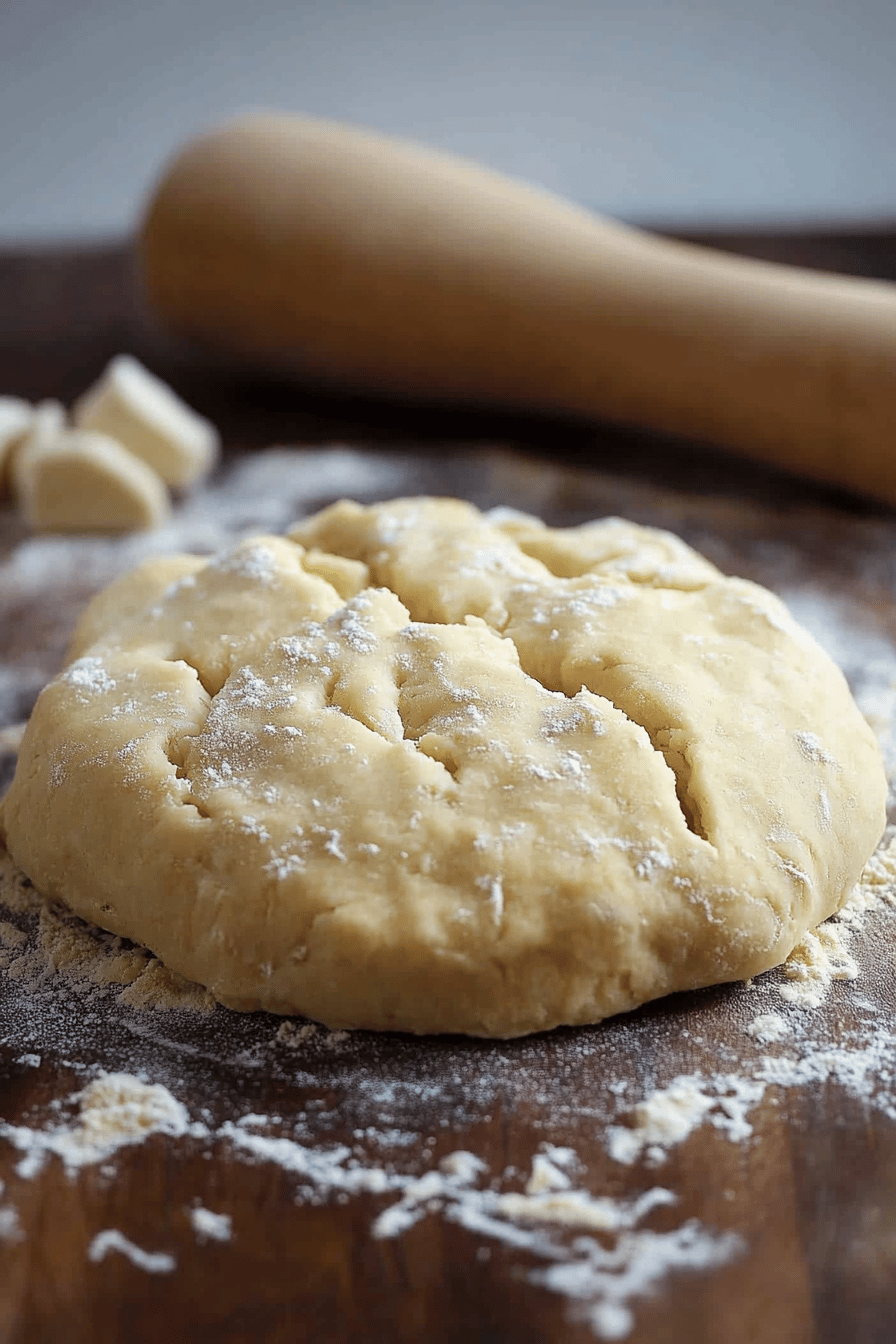
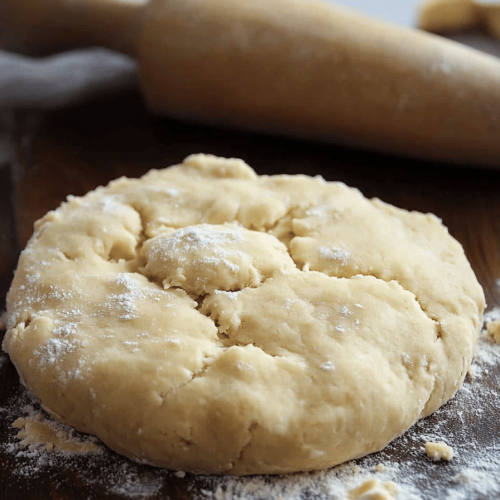
This No-Fuss Pie Crust is all about getting a delicious, flaky crust with minimal effort. You’ll whisk together your dry ingredients, cut in cold butter until it’s just pea-sized, then add cold water until it comes together. Seriously, that’s almost it! No rolling pin needed for the first step, just a fork or your fingers. This method ensures tenderness and flakiness without the fuss of traditional pastry. It’s the perfect foundation for any pie, tart, or quiche, and it bakes up beautifully golden and delicious every single time. It truly is a lifesaver on busy nights when you want that homemade touch without the baking marathon.
Ingredients
For the Main Batter:
2 ½ cups all-purpose flour, plus more for dusting: I always use a good quality all-purpose flour. Make sure it’s not self-rising! Measuring your flour correctly is key – spoon it into the cup and level it off, don’t scoop directly from the bag, as that can pack it in too much.
1 teaspoon granulated sugar: This little bit of sugar helps with browning and adds a whisper of sweetness that balances the savory aspects of some fillings.
1 teaspoon salt: Crucial for flavor! Don’t skip it. Use fine sea salt or regular table salt.
1 cup (2 sticks) unsalted butter, very cold, cut into ½-inch cubes: This is non-negotiable! The colder the butter, the flakier your crust will be. I like to cube it and then pop it back in the freezer for about 10-15 minutes before I start mixing. Unsalted butter lets you control the saltiness of the final product.
½ cup ice water, plus 1-2 tablespoons more if needed: Yes, ice water! Fill a measuring cup with water and add ice cubes. You want it seriously cold. Sometimes you might need a tiny bit more water, depending on the humidity in your kitchen, but start with ½ cup and add slowly.
For the Filling:
This recipe is for the crust itself. You can use this No-Fuss Pie Crust with any of your favorite fillings! Whether it’s a classic apple pie, a creamy pumpkin filling, a rich chocolate ganache, or a savory quiche, this crust is the perfect partner. Just prepare your chosen filling according to its recipe and pour it into the baked or blind-baked crust.
For the Glaze:
This recipe doesn’t include a glaze, as it’s a foundational pie crust recipe. However, for sweet pies, you can finish it with a simple egg wash (1 egg beaten with 1 tablespoon water) before baking for a beautiful sheen, or dust with powdered sugar after cooling. For savory pies, no glaze is usually needed!
Step-by-Step Instructions
Step 1: Preheat & Prep Pan
First things first, if you’re baking a pie right away, preheat your oven to 400°F (200°C). If you’re blind-baking the crust for a no-bake filling, you’ll still preheat the oven, but the baking time will be adjusted later. For now, just get that oven warming up. You’ll also want to have your pie plate ready. This recipe is designed for a standard 9-inch pie plate.
Step 2: Mix Dry Ingredients
In a large bowl, whisk together the 2 ½ cups of all-purpose flour, 1 teaspoon of sugar, and 1 teaspoon of salt. Give it a good whisk until everything is evenly distributed. This simple step ensures that your salt and sugar are incorporated throughout the dough, so you don’t end up with salty or sweet pockets. It just makes for a more consistent flavor.
Step 3: Mix Wet Ingredients
I usually have my ice water ready in a separate cup. I just fill a liquid measuring cup with water and toss in a handful of ice cubes. Let it sit for a few minutes while you’re doing the next step. We want this water to be as cold as possible, which is key to creating those flaky layers in our No-Fuss Pie Crust.
Step 4: Combine
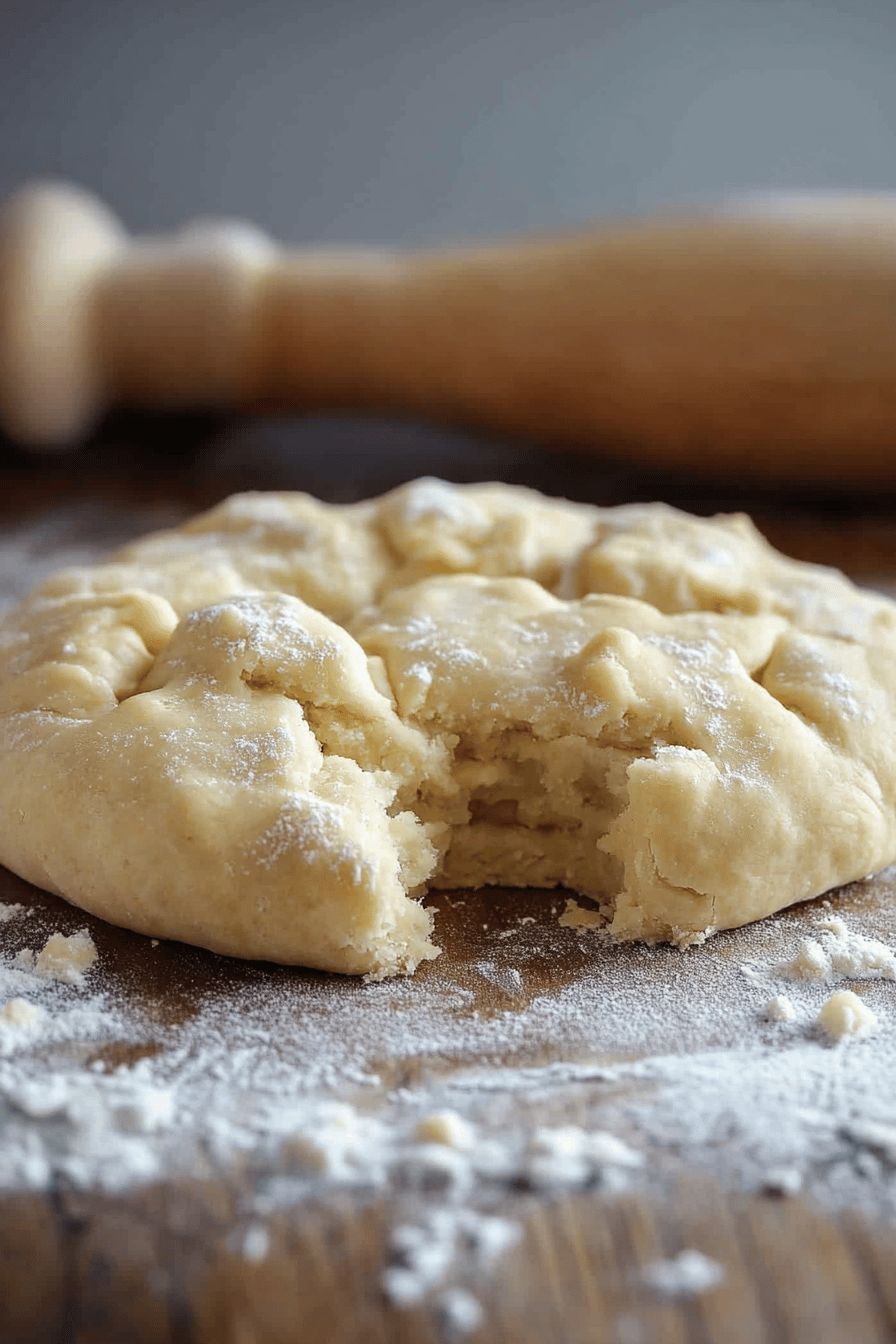
Now for the fun part! Add your very cold, cubed butter to the flour mixture. Using a pastry blender, a fork, or even your fingertips, cut the butter into the flour. You want to work quickly so the butter doesn’t melt. You’re looking for a consistency where the pieces of butter are about the size of peas, with some larger flaky bits mixed in. Don’t overwork it! Those little chunks of butter are what create steam and lift during baking, giving you that wonderful flaky texture. Now, gradually add the ice water, starting with ½ cup. Stir with a fork until the dough just begins to come together. It might seem a little shaggy, and that’s okay. Add another tablespoon or two of ice water only if needed to bring it together. Be careful not to add too much water, or your crust will be tough.
Step 5: Prepare Filling
At this stage, you’ll prepare your chosen pie filling. Whether it’s a sweet fruit filling, a creamy custard, or a savory mixture for a quiche, have it ready to go. This No-Fuss Pie Crust is incredibly versatile and will be the perfect base for whatever deliciousness you’ve created.
Step 6: Layer & Swirl
If you’re doing a double-crust pie, divide the dough in half. Roll one half out to fit your pie plate. Pour your filling over the bottom crust. Roll out the second half of the dough for the top crust. You can do a full top crust, cut vents, or cut it into strips for a lattice. Crimp the edges of both crusts together to seal. If you’re doing a single crust for a no-bake filling or a blind-baked crust, press the dough evenly into the bottom and up the sides of your pie plate. You can flute the edges decoratively or keep it simple.
Step 7: Bake
For a full pie (with filling), place the pie on a baking sheet (to catch any drips) and bake in the preheated 400°F (200°C) oven for 20-25 minutes, or until the crust is starting to turn golden. Then, reduce the oven temperature to 375°F (190°C) and continue baking for another 20-30 minutes, or until the filling is set and the crust is a beautiful golden brown. For a blind-baked crust (for no-bake fillings or quiches), prick the bottom all over with a fork. Line the crust with parchment paper or foil and fill with pie weights, dried beans, or rice. Bake for 15-20 minutes, then carefully remove the weights and lining. Continue baking for another 10-15 minutes, or until the crust is lightly golden. Keep an eye on it, as it can brown quickly!
Step 8: Cool & Glaze
Once baked, transfer the pie to a wire rack to cool completely. This is crucial for the filling to set properly. If you’re using a glaze (like an egg wash for shine on sweet pies), you’d typically apply it before baking. For a dusting of powdered sugar, wait until the pie is completely cool. Proper cooling ensures your slices are neat and your filling holds its shape beautifully.
Step 9: Slice & Serve
Once cooled (or when your filling is set), it’s time to slice and enjoy your delicious No-Fuss Pie Crust creation! A sharp knife or a pie server works best for clean cuts. Serve it slightly warm or at room temperature, depending on your filling. It’s always a hit!
What to Serve It With
This No-Fuss Pie Crust is so wonderfully versatile, it truly plays well with almost anything! For a cozy start to the day, I love serving a slice of quiche made with this crust alongside a steaming mug of strong black coffee. The savory crust and the rich, eggy filling are just perfect. For a more celebratory brunch spread, I’ll often make a fruit tart with a beautiful berry filling tucked into this golden crust. It looks so elegant, especially with a few fresh mint leaves scattered around the plate. It pairs wonderfully with mimosas or a light sparkling cider. As a dessert, well, the possibilities are endless! A classic apple pie or a rich pecan pie baked in this crust is always a crowd-pleaser. I like to serve it warm with a scoop of vanilla bean ice cream or a dollop of freshly whipped cream. It’s the ultimate comfort food! And for those spontaneous, craving-a-sweet-treat moments, this crust is perfect for a quick savory hand pie or even a small batch of sweet mini tarts. I’ll just slice off a small piece of dough, press it into a muffin tin, fill it with some jam or leftover fruit, and bake. It’s my go-to for a cozy snack when I don’t want to bake a whole cake. My family loves it when I whip up a simple lemon meringue pie using this crust, especially in the summer. It just feels light and refreshing!
Top Tips for Perfecting Your No-Fuss Pie Crust
I’ve made this No-Fuss Pie Crust more times than I can count, and over the years, I’ve picked up a few tricks that just make it even better. For the Zucchini Prep (if you were using zucchini in a pie, which isn’t this specific recipe, but a good general tip!), always wring out as much moisture as possible. Grating it and then squeezing it in a clean tea towel or cheesecloth is essential to avoid a soggy bottom. Freshness is key for any ingredient, really – use what you have that’s in good condition!
When it comes to Mixing Advice, the biggest thing is to avoid overmixing. Once you add the water, mix *just* until the dough comes together. A shaggy dough is perfectly fine! Overmixing develops the gluten too much, which leads to a tough crust. You want those little pockets of butter to remain intact; they’re the secret to flakiness. I’ve learned this the hard way over the years – patience in this step pays off!
For Swirl Customization, this really applies more to fillings, but for the crust itself, ensuring an even thickness when you press it into the pan or roll it out is important for even baking. A slightly thicker edge can create a beautiful rustic look.
Now, for Ingredient Swaps, I’ve experimented a bit! While the recipe calls for all-purpose flour, you *can* try a 1:1 gluten-free blend, though the texture might be a little different – often a bit more crumbly. For the butter, you can use vegetable shortening if you prefer, but the flavor won’t be quite as rich. I tried it once with all shortening, and it was fine, but butter just has that unbeatable taste. Some people like to use a mix of butter and shortening for a balance of flavor and flakiness. For the liquid, if you forget to make ice water, just use the coldest tap water you can get!
Baking Tips are crucial! Always bake your pie on a baking sheet. It catches any drips and makes it easier to move the pie in and out of the oven. If you find your crust edges are browning too quickly, you can loosely tent them with foil. Trust me on this one – it’s saved many a pie from burnt edges! Know your oven; some run hotter than others, so keep an eye on your pie as it bakes and adjust the time as needed.
And for Glaze Variations (though not strictly for this crust base), if you’re making a sweet pie and want a beautiful golden-brown finish, a simple egg wash (one egg beaten with a tablespoon of milk or water) brushed on before baking is fantastic. For a softer sheen, milk or cream works too. You can also just dust with powdered sugar once cooled for a simpler, elegant look.
Storing and Reheating Tips
One of the best things about this No-Fuss Pie Crust is how well it stores, whether it’s baked or unbaked. For Room Temperature Storage, if you have a baked crust that’s completely cooled and not yet filled, you can store it at room temperature, well-covered with plastic wrap or in an airtight container, for up to 2 days. However, for optimal freshness, especially in humid weather, it’s usually best to refrigerate it if not using within 24 hours.
Refrigerator Storage is where this crust really shines. A baked, unfilled crust will keep well in the refrigerator for up to 3-4 days. Just make sure it’s tightly wrapped. If you have a filled pie, store it covered in the fridge. Most fruit pies will last about 3-4 days, while custard or cream pies are best eaten within 2-3 days. Always use a good quality plastic wrap or an airtight container to prevent it from drying out or picking up odors.
If you’re thinking about Freezer Instructions, unbaked dough is your friend here! I often make a double batch of this dough and freeze one portion. Wrap the dough tightly in plastic wrap, then in a layer of aluminum foil. It will keep in the freezer for up to 2-3 months. To thaw, transfer the dough to the refrigerator overnight. For baked, unfilled crusts, wrap them very well in plastic wrap and then foil. They can be frozen for about 1-2 months. Thaw them at room temperature. Reheating a baked crust? You can pop it in a 350°F (175°C) oven for about 5-10 minutes to crisp it up again.
Regarding Glaze Timing Advice, if you’ve used an egg wash for shine on a sweet pie, it’s best to serve it fresh or refrigerate the pie. If you’re planning on freezing a baked pie with an egg wash, the glaze might become a bit dull upon thawing. For a powdered sugar dusting, it’s always best to apply that right before serving.
Frequently Asked Questions
Final Thoughts
So there you have it, my friends! This No-Fuss Pie Crust recipe is a labor of love, but in the best way possible – the love of simple, delicious food made accessible for everyone. It’s the kind of recipe that makes you feel capable and accomplished in the kitchen, even when life is hectic. The flaky texture, the golden bake, the way it perfectly complements any filling – it’s truly a winner. I hope you give it a try and that it becomes as much of a staple in your home as it is in mine. If you love this recipe, you might also enjoy my [Link to another simple recipe, e.g., “Easy Apple Crumble”] or my [Link to another versatile recipe, e.g., “Savory Tart Dough”], which also focus on deliciousness without the complexity. I can’t wait to hear how your No-Fuss Pie Crust turns out! Please leave a comment below with your thoughts, any variations you tried, or how you served it. And if you loved it, a rating would be fantastic! Happy baking, and enjoy every delicious bite!
No-Fuss Pie Crust
Ingredients
Main Ingredients
- 2.5 cups all-purpose flour
- 1 teaspoon salt
- 0.75 cup unsalted butter, chilled and cut into cubes
- 0.33 cup ice water
Instructions
Preparation Steps
- In a large bowl, whisk together the flour and salt.
- Add the chilled butter cubes to the flour mixture. Cut the butter into the flour using a pastry blender, two knives, or your fingertips until the mixture resembles coarse crumbs with some pea-sized pieces of butter remaining.
- Gradually add the ice water, one tablespoon at a time, mixing until the dough just comes together. Be careful not to overmix.
- Gather the dough into a ball, flatten it into a disc, wrap it in plastic wrap, and refrigerate for at least 30 minutes before rolling.