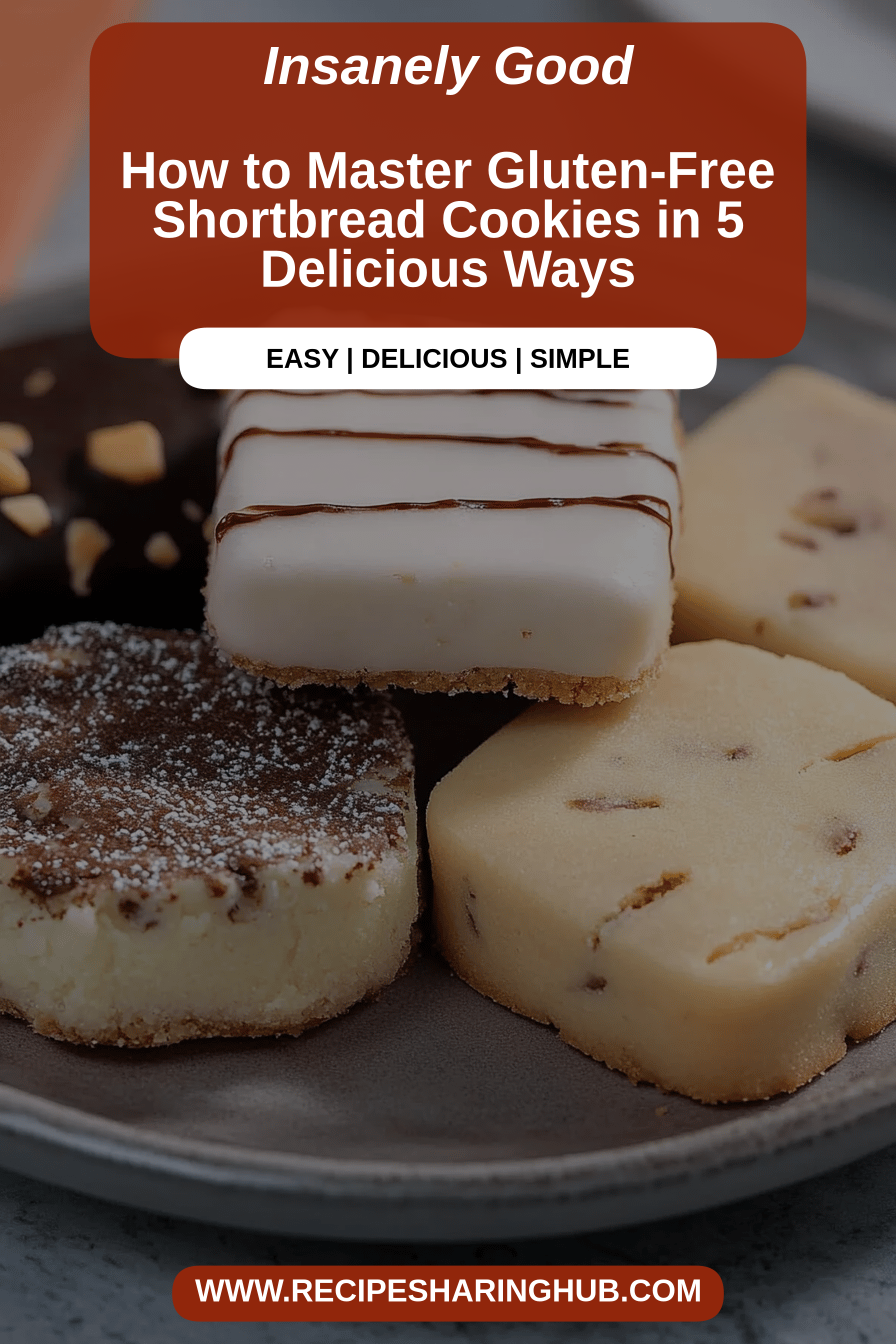
Oh, these gluten-free shortbread cookies! They’re the kind of treat that instantly transports me back to my grandmother’s kitchen. The air would be thick with the sweet, buttery aroma, and I’d be practically vibrating with anticipation. These aren’t your average crumbly, dry gluten-free attempts. Nope. These are tender, melt-in-your-mouth delightful little morsels that even my most discerning, gluten-loving family members can’t get enough of. If you’ve ever felt disappointed by gluten-free baking, prepare to be amazed. These cookies are genuinely the gold standard, a true lifesaver when a sweet craving hits and you want something utterly delicious without any fuss. They’re surprisingly simple, which is always a win in my book, especially on those busy weeknights when a full-blown dessert feels impossible.
What are gluten free shortbread cookies?
So, what exactly are we talking about when we say “gluten-free shortbread cookies”? At its heart, shortbread is a traditional biscuit hailing from Scotland. It’s famously simple, traditionally made with just three ingredients: butter, sugar, and flour. The “short” in shortbread refers to its crumbly texture, achieved by a high fat-to-flour ratio. Now, when we take that concept and make it gluten-free, we’re essentially replacing the wheat flour with a carefully chosen blend of gluten-free flours and starches. My version focuses on creating that signature buttery richness and delicate crumb, but without a trace of gluten. Think of it as the ultimate comfort cookie, elevated to be enjoyed by everyone, regardless of dietary needs. It’s that classic, no-nonsense, pure butter goodness you expect from shortbread, just made accessible for those avoiding gluten.
Why you’ll love this recipe?
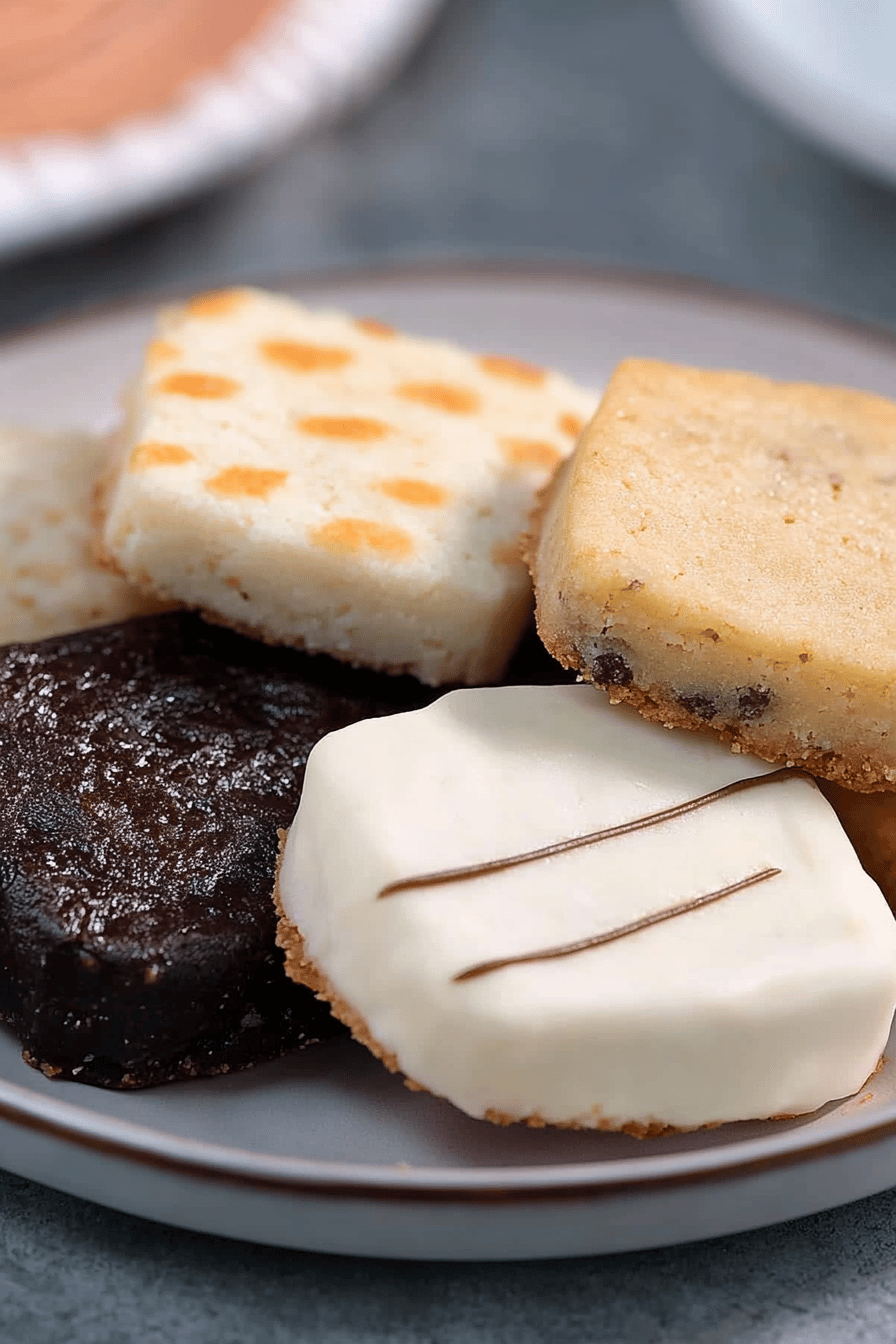
I love this gluten-free shortbread cookie recipe. I know you will too. Let’s talk about the recipe.flavor. It’s pure, unadulterated buttery bliss. The vanilla extract adds a subtle warmth, and if you use good quality butter, you can really taste the difference. It’s rich without being heavy, and just sweet enough to satisfy that craving. Then there’s the simplicity. I’m not kidding when I say this is easy. There’s no fancy equipment needed, no complicated steps. You can whip up a batch in no time, which is a lifesaver when unexpected guests pop over or you just need a little pick-me-up. Plus, it’s incredibly cost-efficient. The ingredients are standard pantry staples for most bakers, and you get a whole lot of delicious cookies for a relatively small investmentversatility! While they’re absolutely perfect on their own, you can dip them in chocolate, sandwich them with jam, or even crush them up for a Pie Crust. What I love most about this particular recipe is how forgiving it is. I’ve tested it with different gluten-free flour blends, and it always turns out beautifully. It’s the kind of recipe that makes gluten-free baking feel not just possible, but genuinely enjoyable and rewarding. It’s my go-to when I want something that feels indulgent but is remarkably straightforward to create.
How to Make Gluten-Free Shortbread Cookies
Quick Overview
This recipe is all about keeping things simple and delicious. You’ll essentially mix your dry ingredients, then cream the butter and sugar until light and fluffy, add your wet ingredients, and finally combine it all. The dough comes together quite quickly, and then it’s just a matter of shaping, chilling, and baking. The chilling step is crucial, so don’t skip it! It helps the cookies hold their shape and develop that signature tender crumb. It’s truly a straightforward process from start to finish, designed to give you maximum flavor with minimum effort.
Ingredients
For the Main Batter:
* Unsalted Butter: 1 cup (2 sticks), softened. Make sure it’s really softened, not melted. This is key for achieving that light, fluffy texture when you cream it with the sugar. I always use good quality butter; it really does make a difference in shortbread.
* Granulated Sugar: 1/2 cup. You can also use a superfine sugar if you have it, as it dissolves more easily.
* Vanilla Extract: 1 teaspoon. Pure vanilla extract, please! It adds a lovely depth of flavor that’s essential for classic shortbread.
* Gluten-Free All-Purpose Flour Blend: 2 cups. I’ve had the best results with a blend that contains a mix of rice flour, tapioca starch, and potato starch. Make sure your blend has xanthan gum in it, or add about 1/2 teaspoon if it doesn’t.
* Salt: 1/4 teaspoon. Just a pinch to balance out the sweetness and enhance the butter flavor.
For the Optional Chocolate Dip:
* Semi-Sweet Chocolate Chips: 1 cup. Or dark chocolate, whatever your preference!
* Coconut Oil: 1 teaspoon (optional, helps make the chocolate smoother and shinier).
For the Optional Sprinkles:
* Sprinkles: A colorful assortment for decoration. My kids love these!
Step-by-Step Instructions
Step 1: Preheat & Prep Pan
First things first, let’s get your oven ready. Preheat it to 325°F (160°C). While the oven is heating up, line a large baking sheet with parchment paper. This is crucial for preventing sticking and making cleanup a breeze. Trust me, no one wants to scrub baked-on cookie bits!
Step 2: Mix Dry Ingredients
In a medium bowl, whisk together your gluten-free all-purpose flour blend and the salt. Give it a good whisk to make sure everything is evenly distributed. This ensures every bite of your cookie has the perfect balance of flavor and texture.
Step 3: Mix Wet Ingredients
In a large bowl, cream together the softened butter and granulated sugar. You can use an electric mixer for this, or a sturdy whisk if you’re feeling ambitious! Beat them together until the mixture is pale and fluffy. This usually takes about 3-5 minutes. Then, stir in the vanilla extract. Make sure your butter is properly softened for this step; it’s the secret to that light, airy texture.
Step 4: Combine
Gradually add the dry ingredients to the wet ingredients. Mix on low speed (or stir gently with a spatula) until just combined. Be careful not to overmix! Overmixing can make gluten-free baked goods tough. The dough will be soft and a bit crumbly, but it should hold together when you press it. If it seems too dry, you can add a teaspoon of milk or water at a time, but usually, it’s just right.
Step 5: Prepare Filling
This step is for those who want to elevate their shortbread! If you’re keeping it classic, you can skip this. For a little something extra, you could prepare a simple jam filling or even a thin layer of chocolate ganache. Make sure any filling is cooled and not too liquidy so it doesn’t affect the Cookie Dough.
Step 6: Layer & Swirl
Turn the dough out onto a lightly floured surface (use your gluten-free flour blend here too!). Gently press the dough together to form a cohesive ball. You can either roll the dough out to about 1/2 inch thickness and cut out shapes with cookie cutters, or you can press it into a square baking pan (like an 8×8 inch pan) for cut squares. If you’re adding a swirl, spread a thin layer of your prepared filling over the dough before folding or rolling. Don’t overwork the dough here.
Step 7: Bake
Place the prepared cookies (or the pan of dough) onto the baking sheet. Bake for 18-22 minutes, or until the edges are lightly golden and the centers are set. The exact time will depend on the thickness of your cookies and your oven. Keep an eye on them towards the end; gluten-free cookies can go from perfect to browned quickly!
Step 8: Cool & Glaze
Let the cookies cool on the baking sheet for about 10 minutes before carefully transferring them to a wire rack to cool completely. This is important because they’re quite delicate when warm. Once they are fully cooled, you can dip them in melted chocolate (with a touch of coconut oil for shine if you like!) or just enjoy them as they are. Add sprinkles immediately after dipping in chocolate before it sets, for maximum visual appeal!
Step 9: Slice & Serve
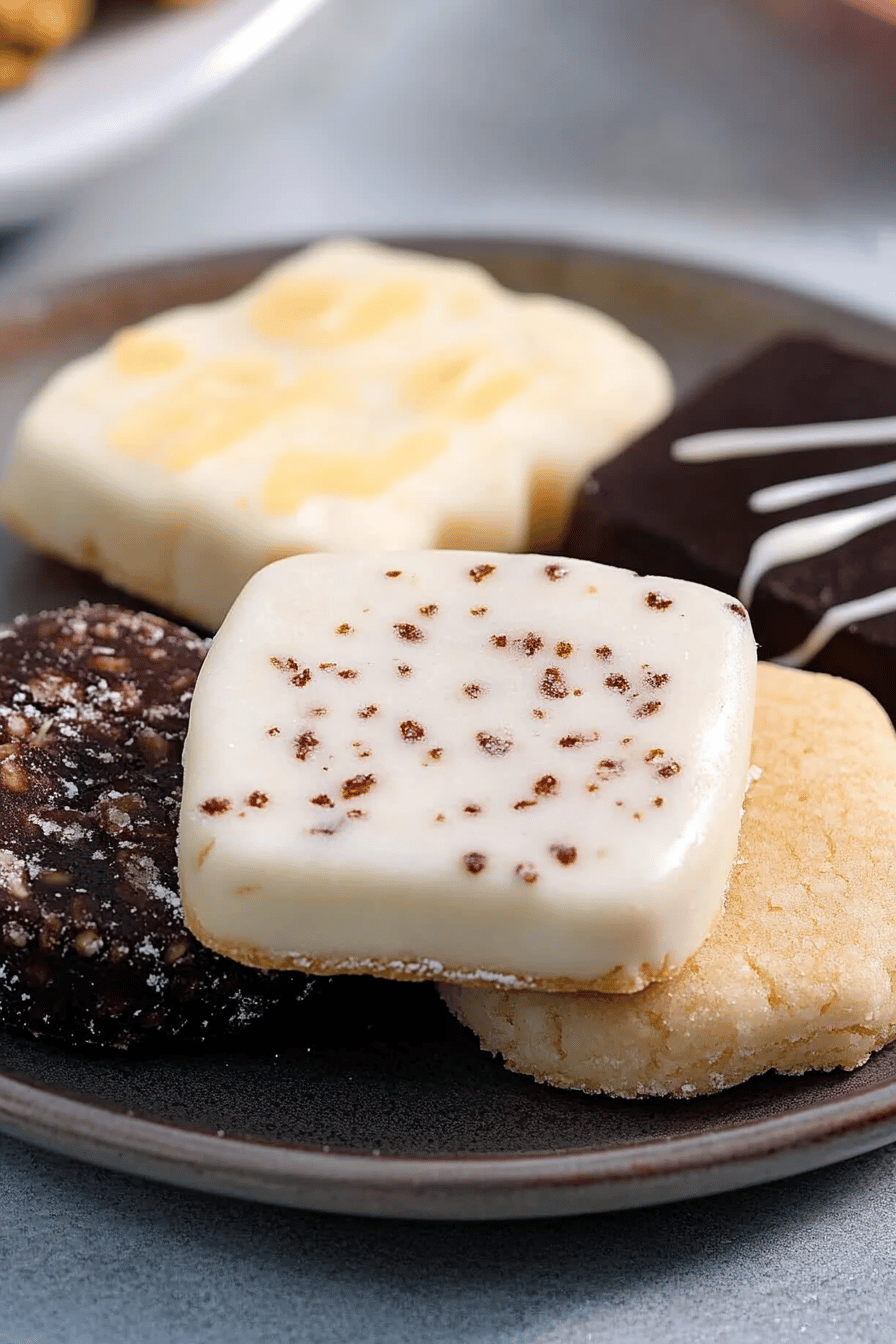
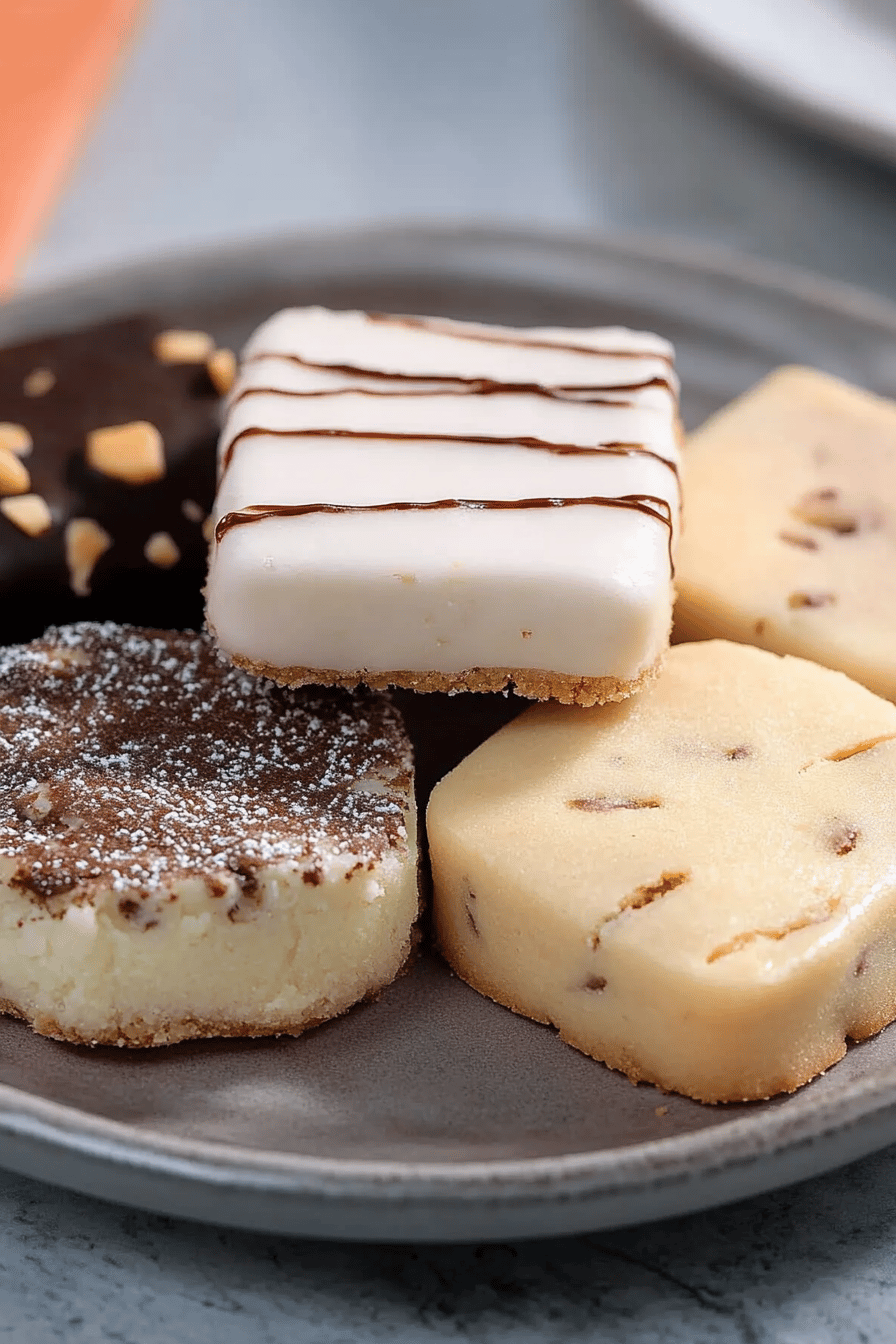
Once the chocolate (if using) has set, slice the cookies into your desired shapes or pieces. These are best enjoyed at room temperature, where you can really appreciate their tender, buttery texture. They look beautiful stacked on a plate, ready to be devoured!
What to Serve It With
These gluten-free shortbread cookies are so wonderfully versatile, they fit right in wherever you need a little bit of sweet joy. For breakfast, they’re an absolute dream alongside a hot cup of coffee or tea. They’re not overly sweet, so they don’t feel like a treat you shouldn’t have in the morning. Just a quick nibble with your caffeine boost is pure bliss. For brunch, they add an elegant touch. I like to arrange them artfully on a tiered stand with other pastries and fruits. They pair beautifully with mimosas or sparkling cider. As a simple yet satisfying dessert, they’re a winner. I often serve them with a small bowl of fresh berries or a dollop of whipped cream. They’re also fantastic dipped in chocolate, as I mentioned, which makes them feel a bit more decadent for after dinner. And for those spontaneous cozy snacks? These are perfect. They’re the kind of cookie that makes a rainy afternoon feel instantly better, especially with a glass of milk or a mug of hot chocolate. My family loves them after school, and they always disappear in minutes. They’re just universally loved!
Top Tips for Perfecting Your Gluten-Free Shortbread Cookies
Over the years, I’ve learned a few tricks that have helped me make these gluten-free shortbread cookies absolutely perfect every single time. First, Zucchini Prep isn’t relevant for this recipe, as there’s no zucchini involved! My apologies if you saw that in the ingredients. Let’s stick to the shortbread magic! My top tip for the shortbread itself is about the Mixing Advice: be gentle! Gluten-free flours can sometimes get tough if overmixed. You want to combine the wet and dry ingredients until *just* incorporated. The dough will be soft and crumbly, and that’s exactly what you want. Don’t be tempted to add more liquid unless it’s absolutely necessary. For Swirl Customization, if you choose to add a filling, remember to keep it quite thick and spread it evenly. Too much liquid will make the cookies spread too much. My personal favorite is a thin layer of raspberry jam – it adds a lovely tang! When it comes to Ingredient Swaps, always use a good quality gluten-free flour blend that contains xanthan gum. If your blend doesn’t have it, add about 1/2 teaspoon. For the sugar, you can experiment with coconut sugar, but it will change the color and flavor slightly. Baking Tips are crucial. Make sure your oven is fully preheated. I find that baking on the middle rack gives the most even results. If your cookies are browning too quickly on the bottom, you can try placing an empty baking sheet on the rack below. And for doneness, look for lightly golden edges and a set center. They’ll firm up more as they cool. Finally, for Glaze Variations, while chocolate is wonderful, a simple dusting of powdered sugar or a drizzle of royal icing can also be lovely. Just make sure the cookies are completely cool before applying any glaze!
Storing and Reheating Tips
Storing these lovely gluten-free shortbread cookies is pretty straightforward, but a few pointers will keep them tasting their best. If you’ve got any leftovers (which is rare in my house!), you can store them at Room Temperature for up to 3-4 days. Just make sure they are in an airtight container. I usually stack them with parchment paper in between layers to prevent them from sticking, especially if they’ve been dipped in chocolate. For Refrigerator Storage, they’ll last a bit longer, about a week. Again, an airtight container is your best friend. However, I find that refrigeration can sometimes slightly firm up the texture, so I prefer room temperature storage if possible. If you need them to last even longer, Freezer Instructions are your go-to. Wrap the cooled cookies tightly in plastic wrap, then place them in a freezer-safe bag or container. They can stay frozen for up to 3 months. To thaw, simply bring them out to room temperature for a few hours. For Glaze Timing Advice, if you plan to store them for more than a day or two, it’s often best to apply the glaze or chocolate dip just before serving. This helps prevent the glaze from cracking or becoming sticky during storage, especially if you’re refrigerating or freezing.
Frequently Asked Questions
Final Thoughts
I truly hope you give these gluten-free shortbread cookies a try. They’ve become such a staple in my kitchen, and I honestly believe they’re the best way to enjoy classic shortbread, no matter your dietary needs. They are a testament to how delicious gluten-free baking can be – rich, buttery, and utterly satisfying. They remind me that simple ingredients, handled with a little care, can create something truly magical. If you love this recipe, you might also enjoy my gluten-free sugar cookies or my classic chocolate chip cookies. I’d absolutely love to hear how yours turn out! Please leave a comment below with your thoughts, any variations you tried, or even just to say hello. Happy baking!
Gluten-Free Shortbread Cookies
Ingredients
Main Ingredients
- 2.5 cups all-purpose gluten-free flour blend
- 0.5 cup granulated sugar
- 1 cup unsalted butter, softened
- 0.5 teaspoon salt
- 1 teaspoon vanilla extract
Instructions
Preparation Steps
- In a large bowl, whisk together the gluten-free flour blend, granulated sugar, and salt.
- Add the softened unsalted butter and vanilla extract to the dry ingredients. Mix with a hand mixer or stand mixer on low speed until well combined and a dough forms. It will be crumbly at first, then come together.
- Turn the dough out onto a lightly floured surface and gently bring it together into a ball. Flatten the ball into a disc, wrap in plastic wrap, and refrigerate for at least 30 minutes.
- Preheat your oven to 325°F (160°C). Line baking sheets with parchment paper.
- On a lightly floured surface, roll out the chilled dough to about 0.5 inch thickness. Cut out desired shapes using cookie cutters. Alternatively, you can form the dough into a log, chill again, and then slice into rounds.
- Place the cookies on the prepared baking sheets, spacing them about 1 inch apart.
- Bake for 18-20 minutes, or until the edges are lightly golden brown. The centers should still be pale.
- Let the cookies cool on the baking sheets for a few minutes before transferring them to a wire rack to cool completely.