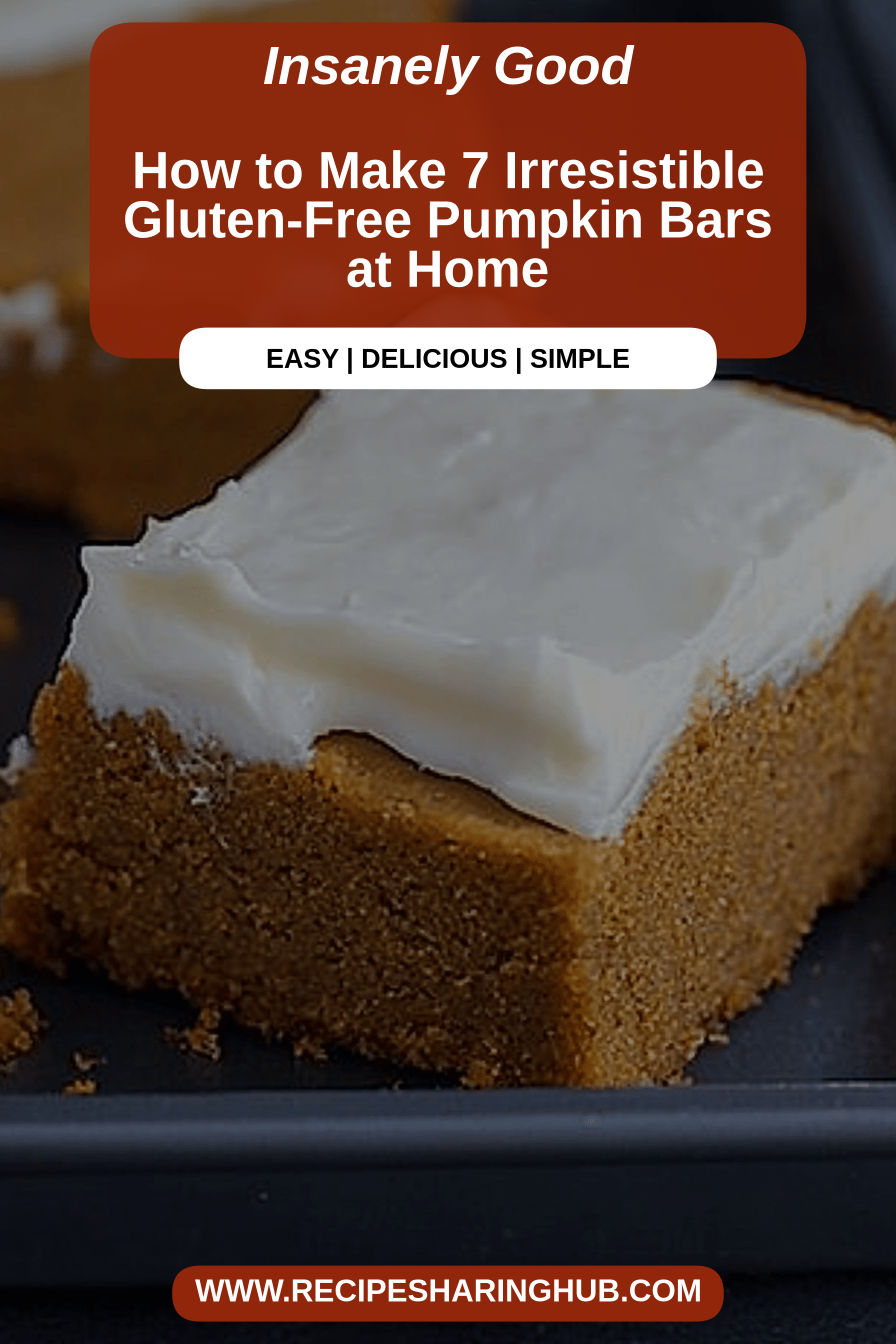
Oh, these gluten-free pumpkin bars. They’re like a warm hug on a chilly autumn afternoon, aren’t they? I swear, the moment I smell cinnamon and pumpkin wafting from the oven, I’m instantly transported back to my grandmother’s kitchen. She didn’t make them gluten-free, of course, but the aroma? Exactly the same. These are the kinds of bars that make you want to curl up with a good book and a cup of hot cider. They’re ridiculously moist, perfectly spiced, and topped with a dreamy CREAM CHEESE glaze that just melts in your mouth. Honestly, if you’re looking for a treat that screams “fall” without all the fuss of a traditional pie, you’ve found your golden ticket. They’re so much simpler than a pie, but they deliver all that cozy pumpkin goodness. I’ve tested these gluten-free pumpkin bars more times than I can count, tweaking them until they were just *right*, and let me tell you, they are pure magic. They’re already a huge hit with my family, and I have a feeling they’re going to become a staple in your kitchen too!
What are gluten free pumpkin bars?
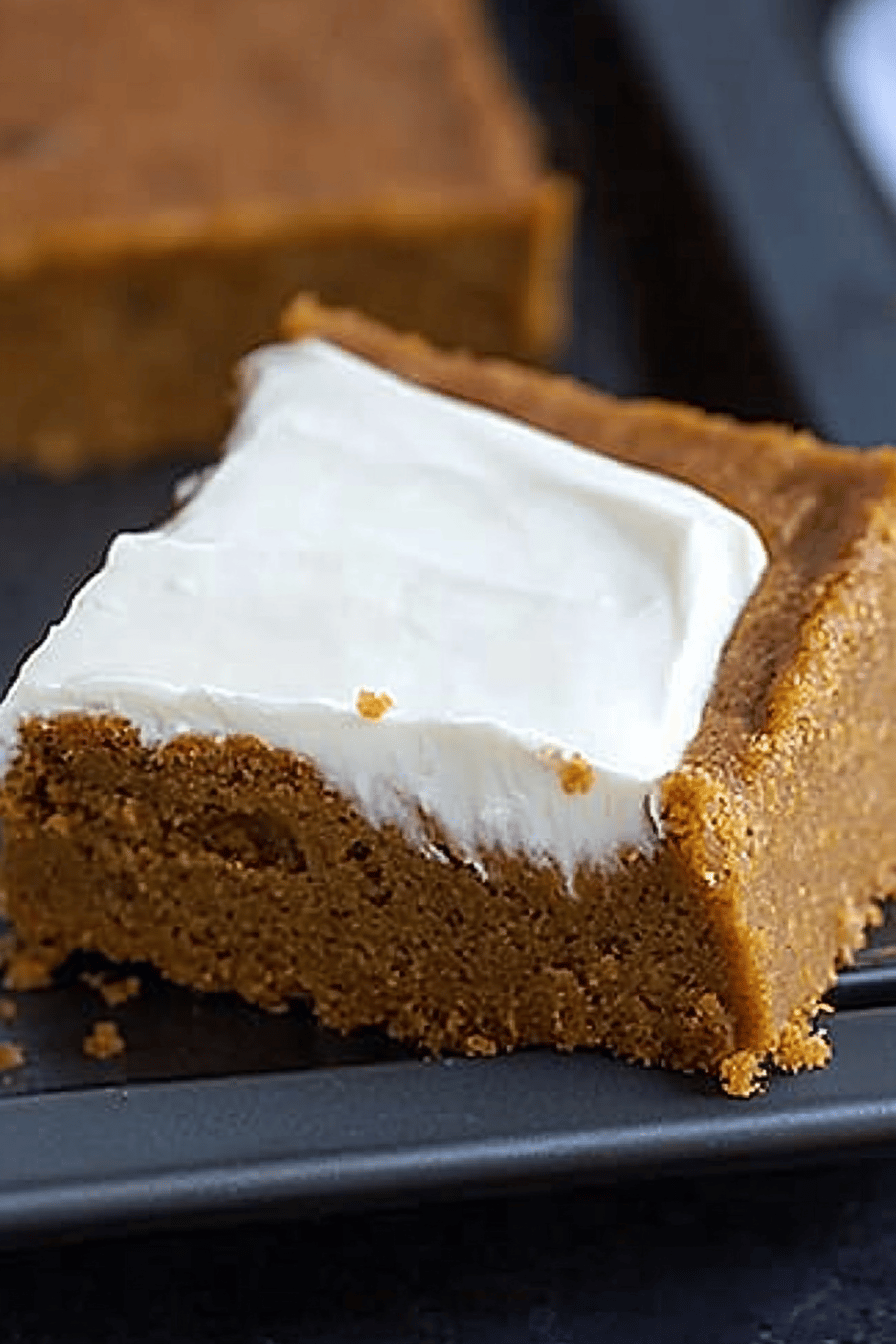
So, what exactly are these delightful little squares we’re talking about? Think of them as a super-moist, incredibly tender cake baked in a pan, then topped with a luscious, tangy cream cheese frosting. But here’s the special part – they’re made without any gluten! This means they’re perfect for anyone with celiac disease, gluten sensitivities, or just those folks who are looking to lighten things up a bit. We achieve that wonderful texture and flavor using a carefully selected blend of gluten-free flours, which work their magic to create a bar that’s every bit as satisfying as its traditional counterpart. It’s essentially all the best parts of pumpkin pie – the warm spices, the creamy sweetness – transformed into an easy-to-eat, sliceable bar. No fussing with crusts or tricky slicing here; just pure, unadulterated pumpkin bliss in every bite.
Why you’ll love this recipe?
There are so many reasons why I’m completely smitten with these gluten-free pumpkin bars, and I just know you will be too. First off, the flavor is out of this world. We’re talking about that classic fall combination of pumpkin puree and warm spices – cinnamon, nutmeg, ginger, cloves – all mingling together to create a truly comforting taste. It’s not overly sweet, letting the natural flavors of the pumpkin shine through. Then there’s the texture. Oh, the texture! They are unbelievably moist and tender, almost like a decadent brownie but with that distinct pumpkin richness. It’s a texture that’s hard to achieve in gluten-free baking, but this recipe nails it.
And let’s talk about simplicity. Seriously, this recipe is a lifesaver on busy nights or when unexpected guests pop over. You pretty much just mix everything together in a couple of bowls, spread it in the pan, and bake. The cream cheese glaze is just as easy to whip up, and it adds that perfect touch of creamy tanginess that balances the sweetness of the bars beautifully. Plus, they’re surprisingly cost-effective! Using pantry staples like pumpkin puree and a good gluten-free flour blend makes this a treat that won’t break the bank.
What I love most about these gluten-free pumpkin bars is their versatility. They’re fantastic for breakfast with a cup of coffee, perfect for a midday snack, and absolutely divine as a dessert. They’re a hit at potlucks and holiday gatherings because they cater to so many dietary needs without sacrificing taste. If you’ve ever loved my classic pumpkin bread or my spiced Apple Crumble bars, you’re going to adore these. They have that same comforting, homemade quality that just makes you feel good.
How do I make gluten-free pumpkin bars?
Quick Overview
This recipe is all about making delicious gluten-free pumpkin bars approachable for everyone. In essence, we’re combining a few simple, pantry-staple ingredients to create a wonderfully moist batter, which then gets a swirl of decadent filling before baking. The final touch is a luscious cream cheese glaze that brings it all together. It’s straightforward, requiring minimal fuss, and the result is consistently fantastic. You’ll be amazed at how quickly you can whip up these delightful gluten-free pumpkin bars. It’s truly a no-stress, high-reward baking project!
Ingredients
For the Main Batter:
You’ll need about 1 ½ cups of your favorite gluten-free all-purpose flour blend. Make sure it contains xanthan gum, or you might want to add about ½ teaspoon yourself. I’ve found that blends with rice flour and tapioca starch work beautifully here. You’ll also need 1 teaspoon of baking soda for lift, and then the cozy spices: 1 teaspoon of ground cinnamon, ½ teaspoon of ground nutmeg, ¼ teaspoon of ground ginger, and an eighth of a teaspoon of ground cloves. Don’t skip the spices; they are key to that quintessential pumpkin pie flavor! A pinch of salt, of course, to balance everything. For the wet ingredients, grab one cup of granulated sugar (or you can play with brown sugar for a deeper flavor, about ¾ cup brown and ¼ cup white), two large eggs, and ½ cup of vegetable oil or melted unsalted butter. And the star of the show: one 15-ounce can of pure pumpkin puree – make sure it’s not pumpkin pie filling, as that already has sweeteners and spices added.
For the Filling:
This is where we get that lovely cheesecake-like swirl. You’ll need 4 ounces of softened cream cheese, ¼ cup of granulated sugar, and one large egg. A splash of vanilla extract (about ½ teaspoon) always makes things better. A little lemon juice, just a tablespoon, can add a nice brightness if you like, though it’s totally optional.
For the Glaze:
This is the crowning glory! You’ll need 4 ounces of softened cream cheese, ½ cup of powdered sugar (you can adjust this depending on how sweet you like it), and about 1-2 tablespoons of milk (or even a bit of heavy cream for extra richness). A tiny splash of vanilla extract here too, just a whisper, really rounds out the flavor. If you want to get fancy, a little sprinkle of cinnamon on top after glazing is lovely!
Step-by-Step Instructions
Step 1: Preheat & Prep Pan
Alright, first things first! Go ahead and preheat your oven to 350 degrees Fahrenheit (175 degrees Celsius). Now, grab a 9×13 inch baking pan. You can butter it and flour it with a little extra gluten-free flour, but my go-to method, especially for bars, is to line it with parchment paper. Leave some overhang on the sides – this creates little “handles” that make it SO much easier to lift the whole baked slab right out of the pan later. Trust me on this one; it’s a game-changer for cooling and cutting!
Step 2: Mix Dry Ingredients
In a medium-sized bowl, whisk together your gluten-free flour blend, baking soda, cinnamon, nutmeg, ginger, cloves, and salt. Give it a really good whisking, ensuring all those spices are evenly distributed. This step is important because it prevents pockets of spice or baking soda in your finished bars. You want that consistent, warm flavor in every single bite. Make sure there are no clumps!
Step 3: Mix Wet Ingredients
In a larger bowl, combine the granulated sugar, eggs, vegetable oil (or melted butter), and pure pumpkin puree. Whisk these together until they are well combined and the mixture is smooth and homogenous. It should look a lovely, vibrant orange. If you’re using butter, make sure it’s not too hot, or it could scramble the eggs!
Step 4: Combine
Now, pour the dry ingredients into the wet ingredients. Mix them together until *just* combined. Seriously, don’t overmix! Gluten-free flours can sometimes get a bit tough if overworked, and we want these bars to be super tender. A few streaks of flour are perfectly okay; they’ll disappear as it bakes. You’re looking for a thick, smooth batter. It should be pourable but not runny.
Step 5: Prepare Filling
While the batter is resting for a moment, let’s whip up that simple filling. In a small bowl, beat together the softened cream cheese and the ¼ cup of sugar until it’s smooth and creamy. Then, beat in the egg and vanilla extract (and lemon juice, if using) until everything is well incorporated. This mixture should be a lovely pale yellow, thick and glossy.
Step 6: Layer & Swirl
Pour about two-thirds of the pumpkin batter into your prepared baking pan and spread it out evenly. Now, dollop spoonfuls of the cream cheese filling evenly over the top of the pumpkin batter. Take the remaining pumpkin batter and dollop that over the cream cheese layer. Now for the fun part! Take a knife or a skewer and gently swirl the layers together. Don’t overdo it; you want distinct swirls, not a uniform color. A few figure-eights or random strokes are perfect. This creates those beautiful marbled patterns that make these bars look so fancy!
Step 7: Bake
Pop the pan into your preheated oven. Bake for about 30-35 minutes, or until a toothpick inserted into the center comes out clean. The edges should be set, and the top should look mostly dry. Keep an eye on them in the last few minutes, as ovens can vary. If the top starts to look too dark before it’s cooked through, you can always loosely tent it with foil.
Step 8: Cool & Glaze
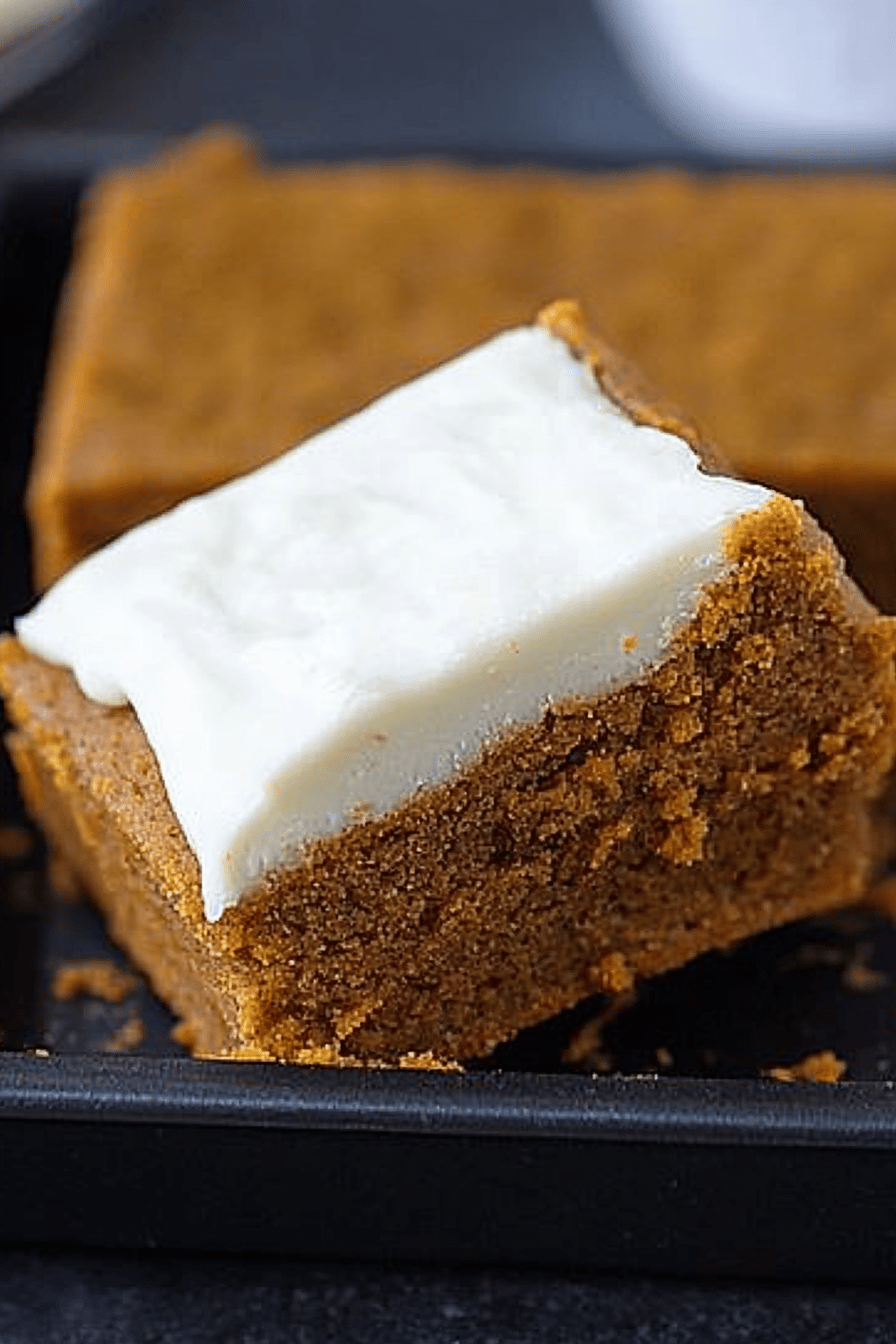
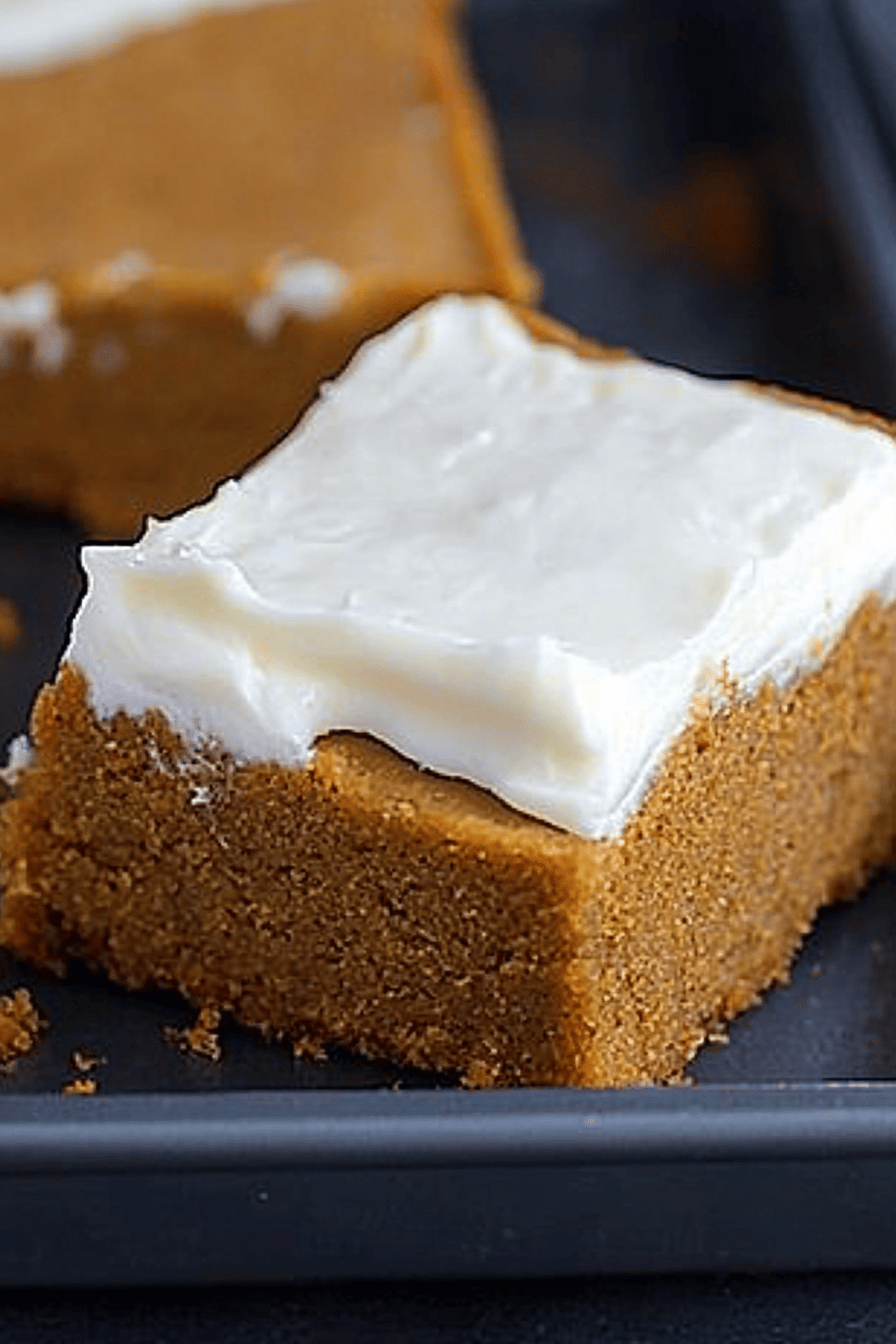
Once they’re baked, carefully remove the pan from the oven and let them cool completely in the pan on a wire rack. This is crucial for them to set properly. Don’t try to rush this part! Once they’re completely cool, it’s time for the glaze. In a small bowl, beat the softened cream cheese for the glaze with the powdered sugar until smooth. Add the milk (or cream) and vanilla, beating until you reach a nice, spreadable consistency. It should be thick enough to coat the bars but not so thick it’s hard to spread. Spread this delicious glaze evenly over the cooled bars. Let the glaze set for about 15-20 minutes before slicing.
Step 9: Slice & Serve
Once the glaze has set, use those parchment paper handles to lift the entire slab out of the pan. Place it on a cutting board. For the cleanest cuts, use a sharp knife. Wipe the knife clean between each cut if necessary. Slice into squares – I usually get about 16-20 bars depending on how large I cut them. Serve them at room temperature, or slightly chilled if you prefer. They are absolutely delicious on their own, but a dollop of whipped cream is never a bad idea!
What to Serve It With
These gluten-free pumpkin bars are wonderfully versatile and can be enjoyed any time of day or for any occasion. For breakfast, they’re a fantastic treat alongside a steaming mug of coffee or a nice chai latte. They’re sweet enough to feel special but have that comforting spice that pairs perfectly with a morning brew. You can even warm them up slightly for an extra cozy start to your day.
When it comes to brunch, these bars add a lovely touch of sweetness and festivity to the table. Serve them alongside other brunch favorites like fruit salad, scrambled eggs, or even mini quiches. A glass of fresh orange juice or a sparkling mimosa makes for a perfect beverage pairing.
As a dessert, these bars truly shine. They’re a crowd-pleaser that can follow a hearty meal. I love serving them with a scoop of vanilla bean Ice Cream or a dollop of lightly sweetened whipped cream. A drizzle of caramel sauce is also divine! They’re an easy alternative to a full dessert, perfect for when you want something sweet but not too heavy.
And for those cozy snack times? These bars are pure comfort. They’re perfect for an afternoon pick-me-up with a glass of cold milk or a warm cup of tea. My kids absolutely adore them as an after-school treat. They’re simple, satisfying, and always hit the spot when a sweet craving strikes. We often have them with a side of fresh apple slices for a bit of crunch.
Top Tips for Perfecting Your Gluten-Free Pumpkin Bars
I’ve learned a few tricks over the years of making these gluten-free pumpkin bars, and I’m happy to share them to help you achieve pumpkin bar perfection every single time. First off, when it comes to the pumpkin puree, make sure you’re using 100% pure pumpkin and not pumpkin pie filling. The filling has added sugar and spices that will throw off the balance of your recipe. Also, drain any excess liquid from the can if it seems particularly watery – patting it dry with a paper towel can help ensure a thicker batter and prevent sogginess.
For the gluten-free flour, I can’t stress enough how important it is to use a good quality blend. Look for one that contains a mix of flours like rice, tapioca, and potato starch, and importantly, xanthan gum. If your blend doesn’t have it, add about ½ teaspoon to the dry ingredients. This gum is what helps give structure and elasticity to gluten-free baked goods, mimicking the role gluten plays. Measure your flour correctly by spooning it into the measuring cup and leveling it off with a straight edge, rather than scooping directly from the bag, which can lead to too much flour.
When you’re mixing the batter, remember my mantra: “just combined.” Overmixing is the enemy of tender baked goods, especially gluten-free ones. Mix only until the dry ingredients are incorporated into the wet. A few little flour streaks are fine; they’ll bake out. For the swirl, don’t go crazy! You want to see distinct ribbons of the cream cheese filling running through the pumpkin base. Too much swirling turns everything into a uniform color, and you lose that visual appeal. A gentle figure-eight motion or a few random passes with a knife or skewer is all you need.
Ingredient swaps can be fun! If you’re out of vegetable oil, melted unsalted butter works well. For a richer flavor, try coconut oil, but make sure it’s melted and cooled slightly. If you want to reduce the sugar in the main batter, you could try using about ¾ cup, but don’t go too low, as sugar plays a role in moisture and texture. For the glaze, if you find it too thick, add milk a teaspoon at a time until it’s perfectly spreadable. If it’s too thin, whisk in a little more powdered sugar. I’ve also experimented with adding a pinch of espresso powder to the glaze for a subtle mocha twist, which is surprisingly delicious!
Baking is always a bit of an art, especially with gluten-free items. Ovens vary wildly, so always trust the toothpick test. If the edges are browning too quickly, you can loosely tent the pan with foil. Ensure your oven rack is in the center position for even heat distribution. And remember, letting them cool *completely* in the pan is non-negotiable before glazing. This allows the bars to fully set, preventing them from falling apart when you cut them.
Storing and Reheating Tips
These gluten-free pumpkin bars are fantastic for making ahead, which is always a win in my book! For storing them at room temperature, once they’ve cooled and the glaze has set (this is key – don’t glaze if you’re storing at room temp for more than a day), you can cover the pan loosely with plastic wrap or transfer them to an airtight container. They’ll stay fresh and delicious for about 2-3 days. The spices and moisture in the bars help preserve them for a little while.
If you want them to last longer, your refrigerator is your best friend. Store the cooled, glazed bars in an airtight container in the fridge for up to a week. They actually get even more moist and the flavors meld beautifully after a day or two. When you want to serve them from the fridge, I recommend letting them sit at room temperature for about 15-20 minutes to take the chill off and bring out their best texture and flavor. They’re still delightful served cold, but I personally prefer them closer to room temp.
Freezing is a great option if you’ve made a big batch or want to have some on hand for future cravings. Once the bars are completely cooled and glazed, you can freeze them whole or slice them into individual portions. Wrap them tightly in plastic wrap, then in a layer of aluminum foil, or place them in a freezer-safe bag. They’ll keep well in the freezer for about 2-3 months. To thaw, simply transfer them from the freezer to the refrigerator overnight. If you’re thawing individual slices, you can often let them come to room temperature on the counter for an hour or so.
Regarding the glaze timing: If you’re planning to freeze the bars, it’s often best to bake and cool them completely, then freeze them *un-glazed*. Once they’ve thawed in the refrigerator, then you can make a fresh batch of glaze and apply it before serving. This keeps the glaze from becoming sticky or separating during the freezing and thawing process. However, if you’re just storing them in the fridge for a few days, applying the glaze before storing is perfectly fine.
Frequently Asked Questions
Final Thoughts
So there you have it – my absolute favorite gluten-free pumpkin bars! I truly hope you give these a try. They’re the kind of recipe that makes you feel accomplished and incredibly satisfied, all without spending hours in the kitchen. The blend of warm spices, the tender texture, and that luscious cream cheese glaze… it’s just pure autumnal bliss. They’re perfect for any occasion, from a casual afternoon treat to a festive holiday dessert. They’re proof that gluten-free baking can be just as delicious, if not more so, than the traditional versions.
If you love these, you might also enjoy my other fall-inspired recipes like my spiced pear muffins or my easy apple crumble. They all share that same cozy, homemade feel that I adore. Don’t hesitate to experiment with your favorite spices or add a handful of chocolate chips to the batter if you’re feeling adventurous! I can’t wait to hear how your gluten-free pumpkin bars turn out. Please leave a comment below to share your experience, any variations you tried, or just to say hello!
gluten-free pumpkin bars
Ingredients
Pumpkin Bars
- 0.5 cup unsalted butter melted
- 1.5 cup granulated sugar
- 2 large eggs
- 1 cup pumpkin puree not pie filling
- 1 teaspoon vanilla extract
- 1.5 cup gluten-free all-purpose flour blend
- 1 teaspoon baking soda
- 0.5 teaspoon salt
- 1 teaspoon ground cinnamon
- 0.25 teaspoon ground nutmeg
- 0.25 teaspoon ground ginger
Cream Cheese Frosting
- 8 ounce cream cheese softened
- 0.5 cup unsalted butter softened
- 2 cup powdered sugar
- 1 teaspoon vanilla extract
Instructions
Preparation Steps
- Preheat oven to 350°F (175°C). Grease and flour a 9x13 inch baking pan.
- In a large bowl, cream together the melted butter and granulated sugar until smooth. Beat in the eggs one at a time, then stir in the pumpkin puree and vanilla extract.
- In a separate bowl, whisk together the gluten-free flour blend, baking soda, salt, cinnamon, nutmeg, and ginger.
- Gradually add the dry ingredients to the wet ingredients, mixing until just combined. Do not overmix.
- Spread the batter evenly into the prepared baking pan.
- Bake for 30-35 minutes, or until a toothpick inserted into the center comes out clean.
- Let the bars cool completely in the pan before frosting.
- While the bars are cooling, prepare the cream cheese frosting. In a medium bowl, beat together the softened cream cheese and softened butter until smooth and creamy.
- Gradually add the powdered sugar, beating until well combined and fluffy. Stir in the vanilla extract.
- Spread the cream cheese frosting evenly over the cooled pumpkin bars.
- Cut into bars and serve.
![Vanilla French Beignets [120 Minutes]](https://www.recipesharinghub.com/wp-content/uploads/2026/01/auto-1f4192040def1962e5266df2da80b42e-768x1152.png)