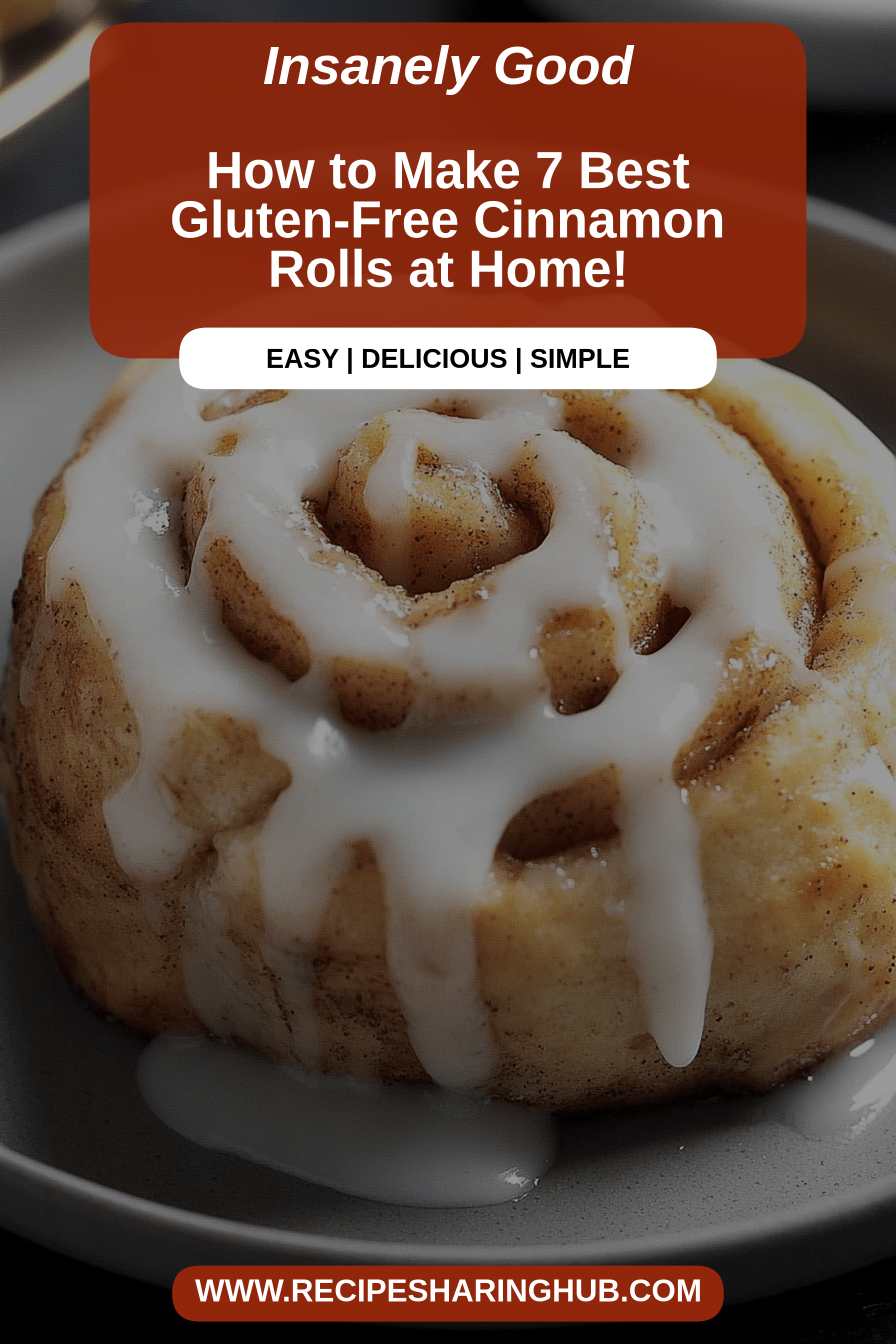
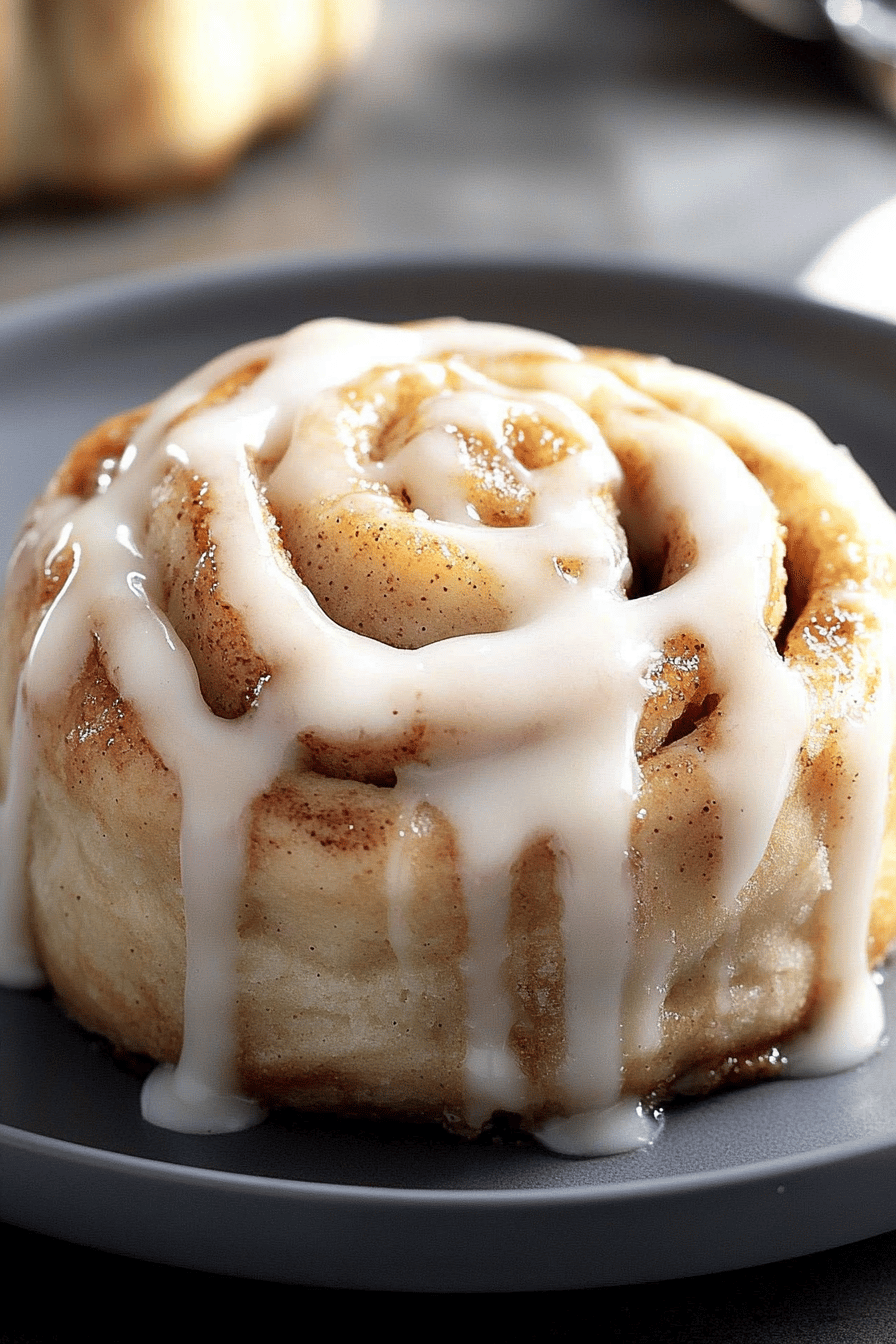
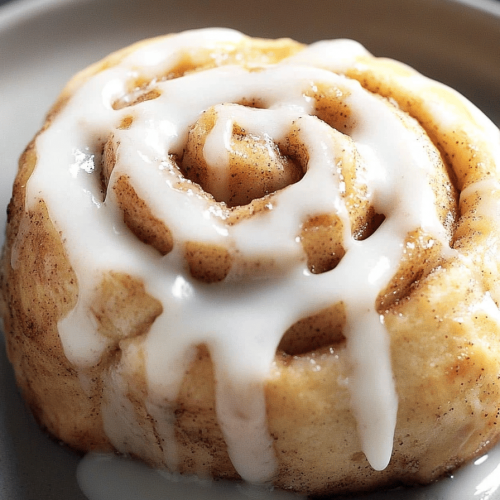
Okay, so picture this: it’s a chilly Saturday morning, the house is still quiet, and you’ve got that craving for something warm, sweet, and utterly comforting. You know, that feeling you get when you think of cinnamon rolls, that soft, gooey goodness that just melts in your mouth? For the longest time, I thought that kind of heaven was off-limits for my gluten-free lifestyle. I’d tried a few store-bought versions, and while they were *okay*, they just didn’t have that homemade magic. They were either too crumbly, too dense, or just… blah. I’d almost resigned myself to a cinnamon-roll-less existence, which, let’s be honest, is a tragic thought! But then, after a *lot* of experimenting (and let me tell you, there were some serious flops along the way!), I finally cracked the code. These gluten-free cinnamon rolls are the real deal. They’re incredibly soft, ridiculously flavorful, and honestly, they taste just like the ones I remember from childhood, if not better. Seriously, the smell alone when these bake is enough to wake up the whole family and have them practically beating down the kitchen door. They’re so good, you won’t even miss the gluten, and I bet even your gluten-loving friends will be asking for the recipe. This is the recipe you’ve been searching for, trust me!
What are gluten free cinnamon rolls?
So, what exactly are we talking about when we say “gluten-free cinnamon rolls”? At its heart, it’s exactly what it sounds like: the classic, beloved Cinnamon Roll, but made without any wheat, barley, or rye. For those of us who have to steer clear of gluten for health reasons, or even those who are just curious, it means we can enjoy that iconic swirled dough, the warm cinnamon-sugar filling, and that dreamy frosting without any of the usual gluten-y consequences. Think of it as a delicious culinary hug for your insides! The magic really lies in the flour blend. Instead of just one type of gluten-free flour, we’re using a mix that mimics the texture and structure of traditional flour, giving us that perfect soft chewiness. It’s essentially the same concept as regular cinnamon rolls—a yeasted dough, a sweet filling, and a generous swirl of glaze—but adapted with very specific ingredients to make it accessible and utterly delightful for everyone. It’s not a compromise; it’s a delicious evolution!
Why you’ll love this recipe?
Oh, where do I even begin with why you’re going to fall head over heels for these gluten-free cinnamon rolls? First off, the FLAVOR. It’s pure comfort in every single bite. The dough itself is tender and slightly sweet, but it’s the filling that really sings. We’re talking a generous swirl of brown sugar and cinnamon that bakes up into this gooey, caramelized layer that just makes your taste buds do a happy dance. It’s warm, it’s spicy, it’s sweet – it’s everything a CINNAMON ROLL should be.
Then there’s the SIMPLICITY. I know baking gluten-free can sometimes sound intimidating, but honestly, this recipe is surprisingly straightforward. I’ve streamlined the process so you don’t need any fancy equipment or obscure ingredients. It’s a recipe you can confidently tackle on a lazy weekend morning, and the results are consistently fantastic. I’ve tested this so many times, and even when I’m a little rushed, it comes together beautifully.
And let’s talk COST-EFFICIENCY. Gluten-free products can sometimes come with a hefty price tag, but by making these from scratch, you’re actually saving a good amount of money compared to buying pre-made gluten-free pastries. The ingredients are mostly pantry staples, which is always a win in my book.
What I love most, though, is the VERSATILITY. These aren’t just for a special occasion. They’re perfect for a cozy breakfast, a delightful brunch centerpiece, or even a sneaky late-night treat when you need something sweet but don’t want to feel weighed down. I’ve found they pair perfectly with a strong cup of coffee or a glass of cold milk. Honestly, they’re just universally good. They’ve become my go-to for holidays, potlucks, and even just a Tuesday morning pick-me-up. They’re truly a lifesaver when you need something a bit special without all the fuss.
How do I make gluten-free cinnamon rolls?
Quick Overview
Making these gluten-free cinnamon rolls is a wonderfully rewarding process! We’ll start by creating a soft, pliable dough, then spread it with a luscious cinnamon-sugar filling, roll it up tightly, slice it into perfect swirls, and let them bake until golden and fluffy. The final touch is a simple, sweet glaze that ties everything together. The key is to use a good quality gluten-free flour blend and not to overwork the dough. It’s a forgiving recipe that delivers incredibly delicious results with minimal stress. Trust me, the aroma alone as they bake will have your kitchen smelling like a bakery!
Ingredients
For the Main Batter:
You’ll need about 3 cups of a good quality gluten-free all-purpose flour blend. I like to use one that contains xanthan gum, as it helps with binding and texture. If yours doesn’t have it, add about 1 teaspoon. We’ll also need 1/4 cup of granulated sugar, 2 1/4 teaspoons of active dry yeast (that’s one standard packet), 1 teaspoon of salt, 1/2 cup of warm milk (around 110°F – not too hot, or it’ll kill the yeast!), 1/4 cup of melted unsalted butter (cooled slightly), and two large eggs, lightly beaten. Making sure your milk is just the right temperature is crucial here; I always test it on my wrist like I’m giving a baby a bottle!
For the Filling:
This is where the magic really happens! You’ll want 1/2 cup of packed light brown sugar, 2 tablespoons of ground cinnamon (don’t be shy!), and 1/4 cup of softened unsalted butter. Sometimes, I like to add a pinch of nutmeg or even some finely chopped pecans to the filling if I’m feeling fancy. Just make sure the butter is soft enough to spread easily, but not so melty that it all runs out when you roll them up.
For the Glaze:
A simple yet perfect glaze is made with 1 1/2 cups of powdered sugar, 2 tablespoons of melted unsalted butter, and about 2-3 tablespoons of milk or heavy cream. You can adjust the milk to get your desired consistency. For a little extra oomph, a splash of vanilla extract or even a tiny pinch of lemon zest works wonders!
Step-by-Step Instructions
Step 1: Preheat & Prep Pan
First things first, preheat your oven to 375°F (190°C). Then, grab a 9×13 inch baking pan and lightly grease it with butter or cooking spray. You can also line it with parchment paper, leaving an overhang on the sides, which makes lifting them out later a breeze. This simple step ensures your beautiful rolls won’t stick.
Step 2: Mix Dry Ingredients
In a large mixing bowl, whisk together your gluten-free flour blend, granulated sugar, yeast, and salt. Give it a good stir to make sure everything is evenly distributed. This ensures the yeast has all the food and structure it needs to work its magic. You want to see a uniform, pale mixture here.
Step 3: Mix Wet Ingredients
In a separate, smaller bowl, combine the warm milk, melted butter, and beaten eggs. Whisk it all together until it’s well blended. Make sure your milk isn’t too hot; you want it warm to activate the yeast, but not so hot that it kills it. I always aim for that perfect lukewarm temperature.
Step 4: Combine
Pour the wet ingredients into the dry ingredients. Mix with a wooden spoon or a spatula until a soft, shaggy dough forms. It will be stickier than traditional wheat dough, and that’s totally normal for gluten-free baking! Don’t overmix; just bring it together until there are no dry spots. If it feels excessively wet, you can add a tablespoon more of gluten-free flour blend, but be sparing.
Step 5: Prepare Filling
In a small bowl, mix together the packed brown sugar and cinnamon. This is your glorious filling! Set aside for a moment. Make sure your butter for spreading is softened to room temperature, not melted.
Step 6: Layer & Swirl
Turn the dough out onto a lightly floured surface (use gluten-free flour, of course!). Gently press or roll it out into a rectangle, about 12×8 inches. Spread the softened butter evenly over the dough, leaving about a 1/2-inch border along one of the long edges. Sprinkle the cinnamon-sugar mixture evenly over the buttered surface. Starting from the long edge opposite the border, tightly roll up the dough, like a jelly roll. Pinch the seam to seal it. Using a sharp knife or dental floss (dental floss gives the cleanest cuts, I swear!), slice the roll into 12 equal pieces. Place the cinnamon rolls cut-side up in your prepared baking pan, leaving a little space between them as they’ll puff up.
Step 7: Bake
Cover the pan loosely with plastic wrap or a clean kitchen towel and let them rise in a warm place for about 20-30 minutes, or until they look slightly puffed. Once risen, place the pan in your preheated oven and bake for 20-25 minutes, or until they are golden brown and cooked through. The edges should be set, and the centers should be tender. They’ll smell absolutely divine!
Step 8: Cool & Glaze
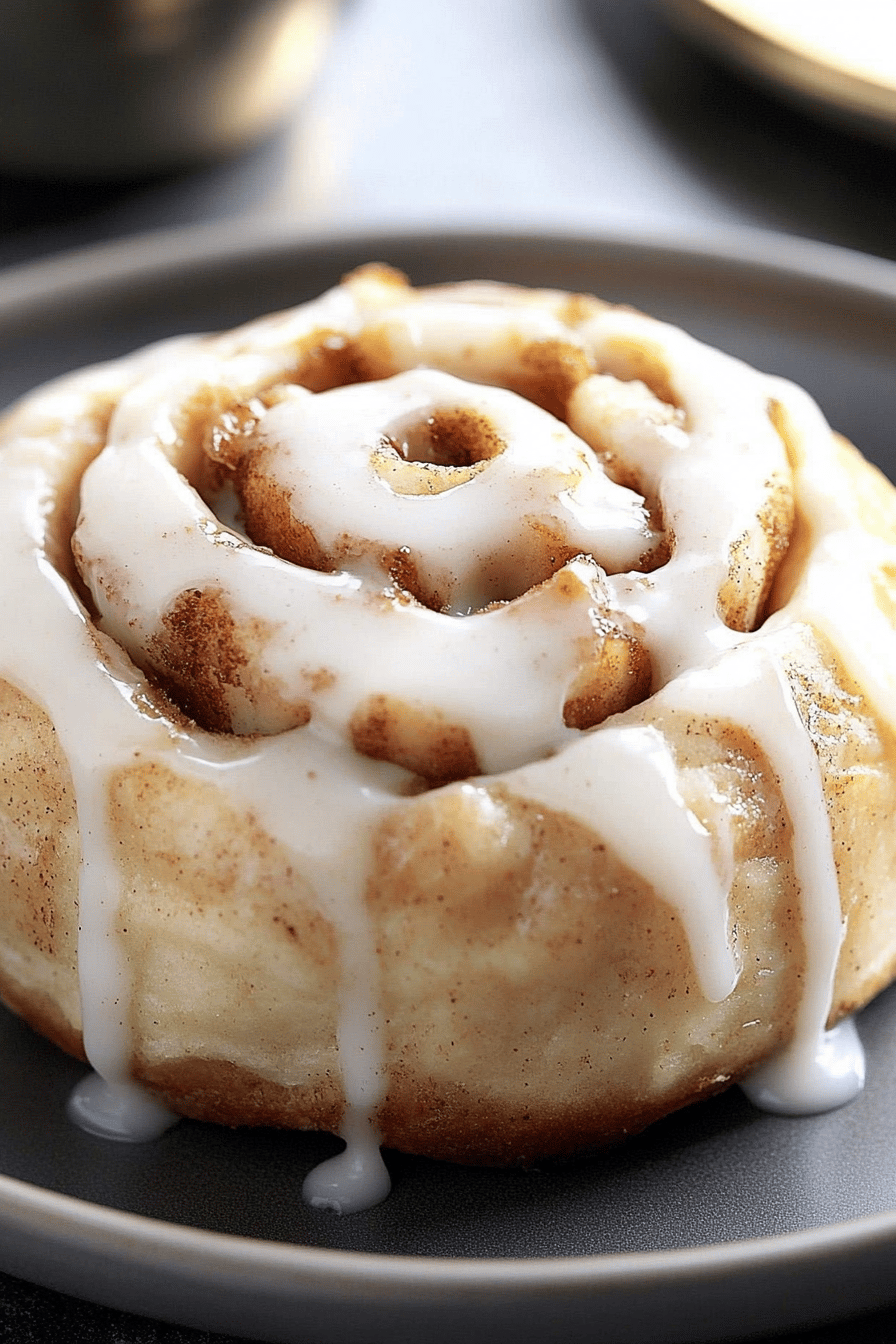
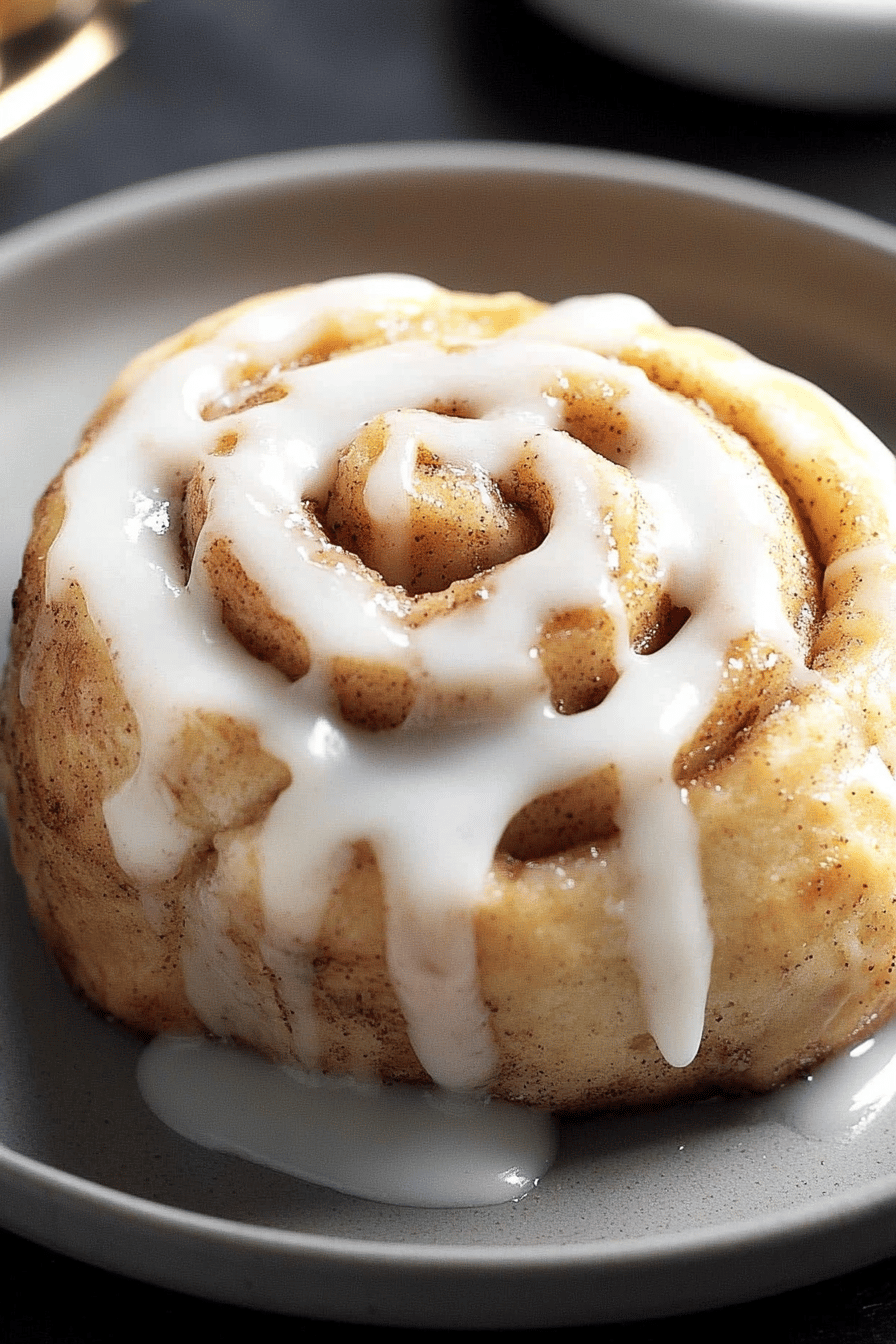
Let the cinnamon rolls cool in the pan for about 10-15 minutes. While they’re cooling, whisk together the powdered sugar, melted butter, and milk or cream for the glaze until smooth. You want it pourable but not too thin. Drizzle the glaze generously over the warm cinnamon rolls. The warmth helps the glaze melt slightly and seep into the cracks, making them even more irresistible.
Step 9: Slice & Serve
Once the glaze has set slightly, carefully remove the cinnamon rolls from the pan (or serve them right from it!). You can slice them into individual portions if needed. Serve them warm and enjoy the pure bliss. My family usually devours these within minutes!
What to Serve It With
These gluten-free cinnamon rolls are pretty much a star all on their own, but pairing them with the right accompaniments can elevate them even further! For a cozy and simple BREAKFAST, you can’t beat a steaming mug of your favorite coffee. A splash of cream or almond milk in your coffee, alongside one of these warm rolls, is pure bliss. I often just serve them plain, letting that sweet cinnamon goodness shine.
When it comes to BRUNCH, these rolls are a showstopper. I like to arrange them on a pretty platter and serve them alongside fresh fruit like berries or sliced oranges. They also pair wonderfully with a side of scrambled eggs or a light quiche. For beverages, a mimosa or a sparkling cider feels celebratory and complements the sweetness of the rolls beautifully.
As a DESSERT, these are incredibly satisfying. After a hearty meal, a warm cinnamon roll with a dollop of whipped cream or even a small scoop of vanilla bean ice cream is pure indulgence. The contrast of warm roll and cold cream is just divine. A drizzle of extra glaze or a dusting of powdered sugar takes it to the next level.
And for those COZY SNACKS, because let’s be honest, we all need them sometimes, simply grab a roll and a glass of cold milk. It’s that perfect sweet treat that hits the spot without feeling too heavy. My kids always ask for seconds of milk after these, so be prepared!
My personal family tradition is to have these on Christmas morning. The smell fills the house, and it just sets such a warm, festive tone for the day. We usually have them with coffee and maybe some scrambled eggs. It’s simple, but it’s incredibly special to us. I’ve also found they are surprisingly good leftovers, which brings me to my next point!
Top Tips for Perfecting Your Gluten-Free Cinnamon Rolls
I’ve made these gluten-free cinnamon rolls more times than I can count, and through all those batches, I’ve picked up a few tricks that I think really make a difference. For starters, when it comes to your gluten-free flour blend, don’t be afraid to experiment a little if you have a favorite. However, I strongly recommend a blend that contains a mix of rice flours, tapioca starch, and potato starch. These work together to give you that light, tender crumb. If your blend doesn’t have xanthan gum, adding about 1 teaspoon is really crucial for binding and preventing a crumbly texture.
For the dough, remember that gluten-free dough is naturally stickier and behaves differently than traditional dough. Don’t be tempted to add too much extra flour when kneading or rolling; this will make your rolls tough. Instead, use a bit of gluten-free flour on your hands and work surface, and embrace the slight stickiness. I find using a bench scraper can be super helpful for managing the dough. Also, ensure your wet ingredients, especially the milk, are at the right temperature – too hot kills the yeast, too cold won’t activate it properly. Aim for that gentle warmth, around 105-115°F.
When it comes to the filling, make sure your butter is truly softened to room temperature, not melted. This allows you to spread it evenly without it soaking into the dough too much. If your brown sugar is clumpy, give it a quick pulse in the food processor to break it up. And for the cinnamon-sugar mixture, I like to mix it thoroughly so every bite has that perfect cinnamon-to-sugar ratio. Don’t skimp on the cinnamon; it’s the star of the show!
For the swirling, rolling the dough tightly is key for those beautiful spirals. If your dough feels a bit too soft to roll neatly, pop it in the fridge for about 10-15 minutes to firm up slightly. When slicing, a serrated knife works well, but I swear by using unflavored dental floss for the cleanest cuts. Just slide it under the roll, cross the ends, and pull them up and across to slice. It prevents squishing the beautiful layers you just created.
Baking is also an area where a few adjustments can help. Make sure your oven is accurately preheated. If you notice your rolls are browning too quickly on top before the centers are cooked, you can loosely tent the pan with aluminum foil for the last 5-10 minutes of baking. Also, ovens can vary, so keep an eye on them towards the end. The rolls are done when they are golden brown around the edges and feel set in the middle. A quick way to check is to gently press the top; it should spring back slightly. For the glaze, start with the recommended amount of liquid and add more a teaspoon at a time until you reach your desired consistency. You want it thick enough to coat but thin enough to drizzle. If you accidentally make it too thin, just whisk in a little more powdered sugar.
Storing and Reheating Tips
One of the best things about these gluten-free cinnamon rolls is that they actually keep pretty well! If you have any leftovers (which is rare in my house!), you can store them at ROOM TEMPERATURE in an airtight container for up to 2 days. They’re still delicious at room temp, especially if you enjoy them slightly chewy. Just make sure they’re completely cooled before sealing them up to prevent any condensation from making them soggy.
For longer storage, REFRIGERATOR storage is your best bet. Store them in an airtight container in the fridge for up to 5 days. They’ll firm up a bit in the fridge, so you’ll definitely want to reheat them to enjoy them at their best. When reheating, I usually pop one or two in the microwave for about 15-20 seconds, just until warmed through. You can also warm them in a toaster oven or a conventional oven at a low temperature (around 300°F) for a few minutes.
FREEZER INSTRUCTIONS are fantastic for having these on hand whenever a craving strikes. Once the cinnamon rolls are completely cooled, wrap them individually and tightly in plastic wrap, then place them in a freezer-safe bag or airtight container. They’ll keep well in the freezer for up to 2-3 months. To thaw, simply remove them from the freezer the night before and let them thaw in the refrigerator. Then, gently reheat them as mentioned above. You can also reheat them directly from frozen in a low oven for a bit longer.
GLAZE TIMING ADVICE is important! If you know you’ll be storing leftovers, I highly recommend glazing them *just before* serving, especially if you’re refrigerating or freezing. Applying the glaze too early to rolls that will be stored can sometimes make the glaze a bit gummy or affect the texture of the roll underneath. It’s always best to reheat the plain rolls and then add a fresh drizzle of glaze for the best result.
Frequently Asked Questions
Final Thoughts
So there you have it – my absolute favorite recipe for gluten-free cinnamon rolls! I truly hope you give these a try. They’re more than just a recipe to me; they’re a reminder that you don’t have to miss out on life’s simple pleasures just because you have dietary restrictions. These rolls have brought so much joy to my family and friends, and I’m genuinely excited for you to experience that same magic in your own kitchen. The aroma filling your home as they bake, the first soft, warm bite… it’s just pure happiness.
If you enjoyed these cinnamon rolls, I think you might also love my recipe for fluffy gluten-free scones or my decadent gluten-free chocolate brownies. They’re all made with that same love and attention to detail to ensure amazing flavor and texture.
I can’t wait to hear how yours turn out! Please leave a comment below and share your experience, or better yet, upload a photo of your glorious gluten-free cinnamon rolls! Did you add any special twists? I’m always looking for new ideas. Happy baking, everyone!
gluten-free cinnamon rolls
Ingredients
Dough Ingredients
- 1.5 cup warm milk
- 2.25 teaspoon active dry yeast
- 0.5 cup granulated sugar
- 4 cup gluten-free all-purpose flour blend (with xanthan gum)
- 0.5 teaspoon salt
- 4 tablespoon unsalted butter, softened
- 1 large egg
Filling Ingredients
- 0.5 cup packed light brown sugar
- 1.5 tablespoon ground cinnamon
- 0.25 cup unsalted butter, melted
Glaze Ingredients
- 1 cup powdered sugar
- 2 tablespoon milk or cream
- 0.5 teaspoon vanilla extract
Instructions
Preparation Steps
- In a small bowl, combine warm milk and yeast. Let it sit for 5-10 minutes until frothy. In a large bowl, whisk together gluten-free flour blend and salt. Add granulated sugar to the yeast mixture and stir.
- Add the wet ingredients to the dry ingredients. Add softened butter and the egg. Mix until a soft dough forms. Knead on a lightly floured surface for about 5-7 minutes until smooth and elastic.
- Place the dough in a greased bowl, cover with plastic wrap, and let rise in a warm place for 1 hour, or until doubled in size.
- Punch down the dough and roll it into a 12x9-inch rectangle on a lightly floured surface. In a small bowl, mix together brown sugar and cinnamon.
- Spread the melted butter evenly over the dough, leaving a small border. Sprinkle the cinnamon-sugar mixture over the butter.
- Roll up the dough tightly from the long side. Cut the roll into 12 equal slices.
- Place the cinnamon rolls in a greased 9x13 inch baking dish. Cover and let rise for another 30 minutes.
- Preheat oven to 375°F (190°C). Bake for 20-25 minutes, or until golden brown and cooked through.
- While the rolls are baking, prepare the glaze. In a small bowl, whisk together powdered sugar, milk, and vanilla extract until smooth.
- Drizzle the glaze over the warm cinnamon rolls before serving.