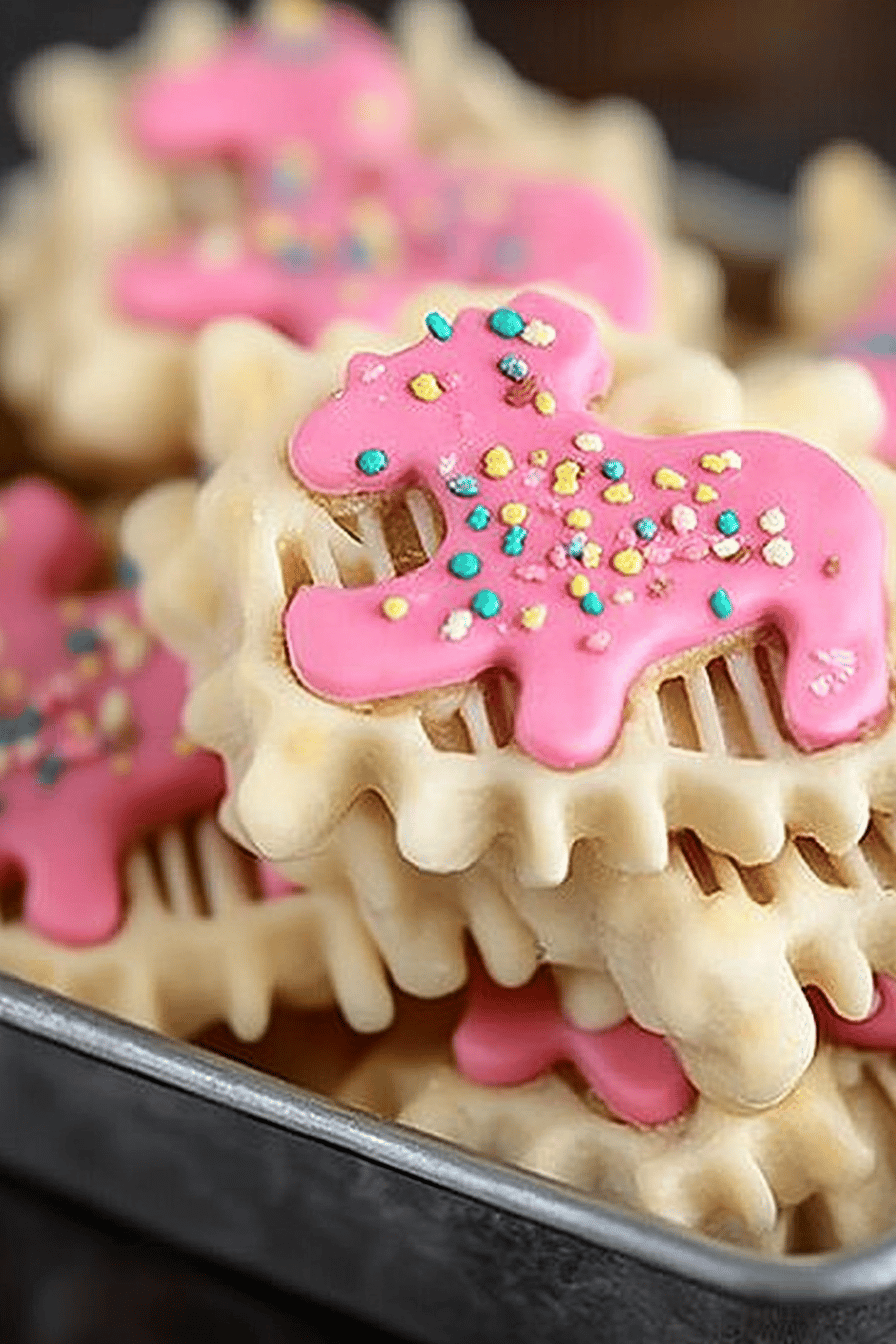
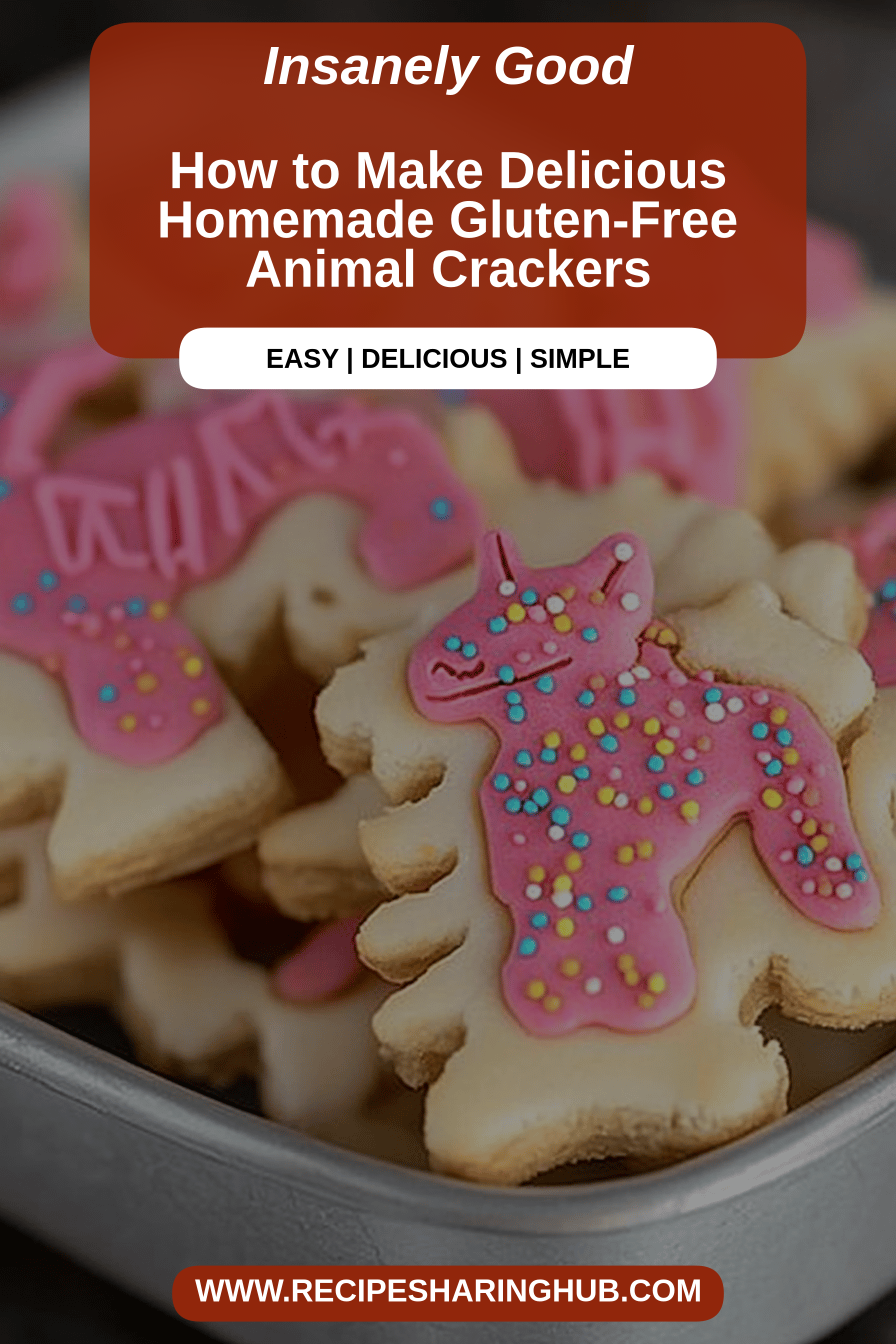
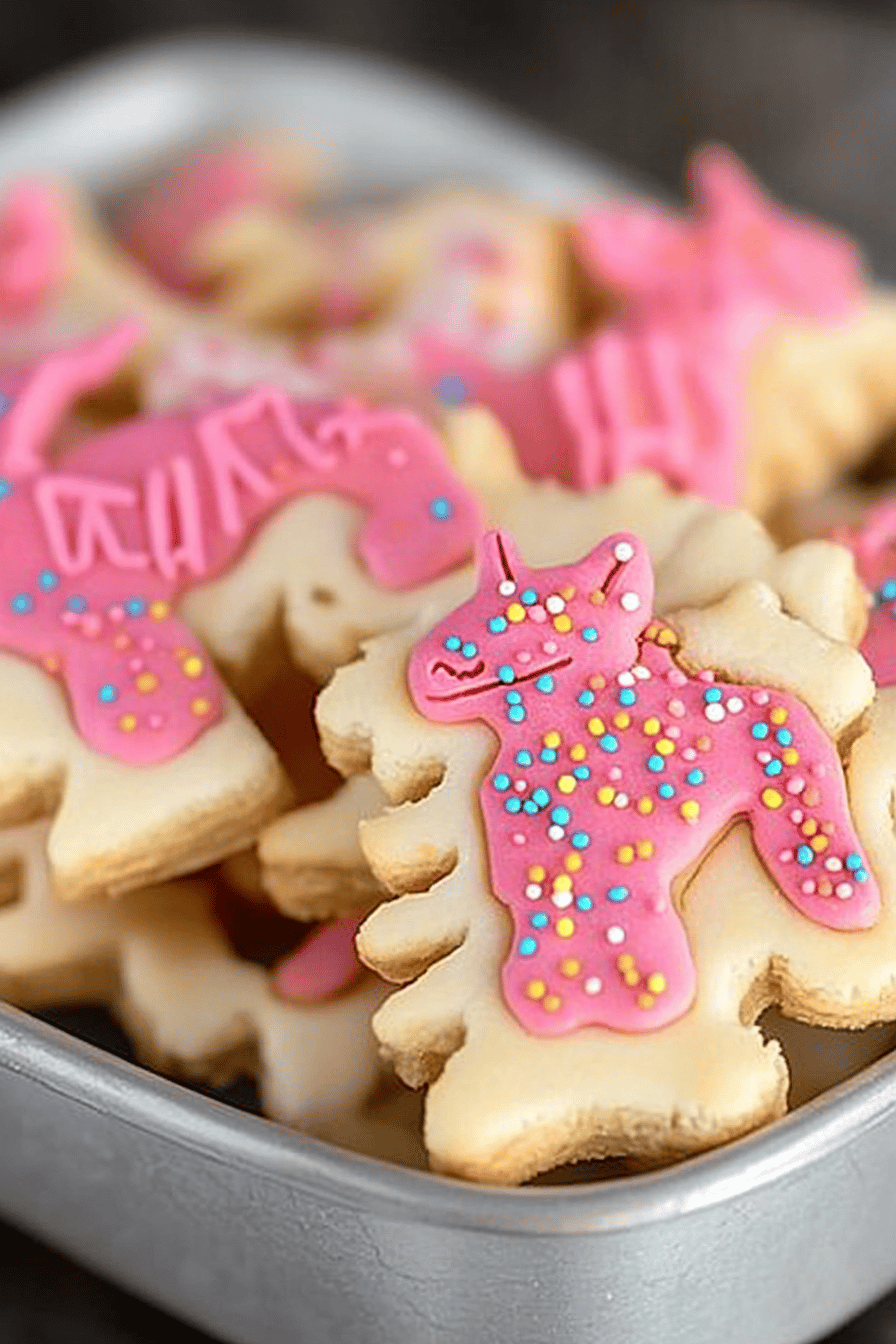
Oh, you guys! If there’s one treat that instantly transports me back to my childhood, it’s animal crackers. Remember those little boxes? The elephant, the lion, the oh-so-cute monkey? I used to ration them out like gold. But as an adult, especially navigating the gluten-free world, those store-bought versions often leave something to be desired – a bit dry, a bit… well, not quite right. That’s why I set out on a mission to create my own, and let me tell you, these Gluten-Free Animal Crackers are pure magic. They’re not just a good gluten-free alternative; they’re genuinely fantastic, full stop. They have that perfect crisp, a hint of sweetness, and the fun shapes that make them irresistible for both kids and adults. If you’ve ever missed that nostalgic crunch, get ready, because we’re about to make that happen, the totally gluten-free way!
What are gluten-free animal crackers?
So, what exactly are we talking about here? Think of these Gluten-Free Animal Crackers as your new favorite crunchy, lightly sweet snack, but with a major upgrade: no gluten! Traditionally, animal crackers are simple, crisp cookies, often shaped like animals, meant for snacking. My version takes that beloved concept and makes it accessible for anyone avoiding gluten, without sacrificing any of the charm or flavor. We’re using a special blend of gluten-free flours that give these crackers the most wonderfully satisfying snap, just like the ones you remember. They’re not overly sweet, so they’re perfect for little hands (or big hands!) to munch on any time of day. They’re essentially a nostalgic hug in cracker form, made with ingredients you can feel good about.
Why you’ll love this recipe?
Honestly, there are so many reasons why this recipe has become a staple in my kitchen. First off, the **flavor** is spot on. They’re subtly sweet, with a lovely vanilla note that just makes you want to keep reaching for more. They’re not cloying at all, which is something I really appreciate. Then there’s the **simplicity**. I know baking gluten-free can sometimes feel intimidating, but this recipe is surprisingly straightforward. We’re not dealing with a million steps or obscure ingredients. It’s pretty much a mix-and-bake situation, and the results are so worth it. Plus, they’re incredibly **cost-effective** compared to most specialty gluten-free snacks you find in stores. You probably already have most of the ingredients in your pantry! What I truly love most about these Gluten-Free Animal Crackers, though, is their **versatility**. They’re fantastic on their own, of course, but they’re also brilliant crumbled over yogurt, dipped in a warm beverage, or even used as a base for Mini Cheesecakes (stay tuned for that post!). My kids ask for these constantly, and honestly, so do I. They’re the perfect little pick-me-up when you need something satisfying without being heavy.
How do you make gluten-free crackers?
Quick Overview
The whole process is really quite simple. We’ll whisk together our dry gluten-free flours, then mix in the wet ingredients to form a dough. After a quick chill to make it easier to handle, we’ll roll it out, cut our shapes, and bake them until they’re perfectly crisp. The result is a batch of homemade Gluten-Free Animal Crackers that taste like pure joy. It’s a project that’s totally manageable even on a slightly busy afternoon, and the smell that fills your kitchen while they bake? That’s just a bonus!
Ingredients
For the Main Batter:
1 ½ cups Gluten-Free All-Purpose Flour Blend: Make sure it contains xanthan gum. If yours doesn’t, you’ll want to add about ½ teaspoon. I find a blend that’s mostly rice flour and tapioca starch works best for this crisp texture. Some people have success with dedicated gluten-free oat flour blends too!
½ cup Almond Flour: This adds a lovely richness and helps with that delicate crumb. Plus, it’s just a bit more nutrition!
½ teaspoon Baking Soda: Our leavening agent to give them just a touch of lift without making them puffy.
¼ teaspoon Salt: Essential for bringing out all the flavors.
½ cup Unsalted Butter, softened: Make sure it’s truly softened, not melted. This is key for a good Cookie Dough texture.
⅔ cup Granulated Sugar: For sweetness. You can adjust this slightly if you prefer them less sweet, but I find this is the perfect balance.
1 Large Egg: At room temperature, it incorporates more easily.
1 teaspoon Vanilla Extract: Pure vanilla extract is always best for flavor.
For Optional Sprinkles/Decorations:
Sprinkles: Use gluten-free sprinkles, of course! There are so many fun options out there now.
Edible Food Coloring: If you want to tint the dough before baking or create colorful glazes.
Step-by-Step Instructions
Step 1: Preheat & Prep Pan
Get your oven preheated to 350°F (175°C). Line a couple of baking sheets with parchment paper. This is my non-negotiable step for *any* cookie recipe; it prevents sticking and makes cleanup a breeze. Trust me, life is too short to scrub burnt-on cookie bits!
Step 2: Mix Dry Ingredients
In a medium bowl, whisk together your gluten-free all-purpose flour blend, almond flour, baking soda, and salt. Whisking really well ensures everything is evenly distributed, which means no surprises later on. You want it to look like a uniform, pale flour mixture.
Step 3: Mix Wet Ingredients
In a large bowl, cream together the softened butter and granulated sugar using an electric mixer until light and fluffy. This usually takes about 2-3 minutes. Then, beat in the egg until well combined, followed by the vanilla extract. Scrape down the sides of the bowl as needed to make sure everything is getting incorporated.
Step 4: Combine
Gradually add the dry ingredients to the wet ingredients, mixing on low speed until just combined. Be careful not to overmix here! Gluten-free flours can sometimes get gummy if overworked, and we want these crackers to be crisp, not tough. The dough will be soft, almost like a thick cookie dough.
Step 5: Chill the Dough
This is a crucial step! Wrap the dough in plastic wrap and flatten it into a disc. Chill it in the refrigerator for at least 30 minutes, or up to an hour. This firming-up process makes the dough much easier to roll out and cut without getting sticky and messy. I’ve tried skipping this step, and let’s just say it didn’t end well – dough everywhere!
Step 6: Roll and Cut
Once chilled, lightly flour a clean surface with a bit of gluten-free flour. Roll out the dough to about ¼-inch thickness. If it’s sticking, add a little more flour or place another sheet of parchment on top to roll. Now for the fun part! Use your favorite animal cookie cutters to cut out shapes. Re-roll scraps as needed, but try to handle them as little as possible to keep them tender. Carefully transfer the cut-out crackers to your prepared baking sheets, leaving a little space between them.
Step 7: Bake
Bake for 10-14 minutes, or until the edges are lightly golden brown and the centers are set. The baking time can vary depending on your oven and the size of your cutters, so keep an eye on them. You want them crisp, not burnt!
Step 8: Cool
Let the animal crackers cool on the baking sheets for a few minutes before carefully transferring them to a wire rack to cool completely. This is super important for getting that final crisp texture. If you try to move them too soon, they might break.
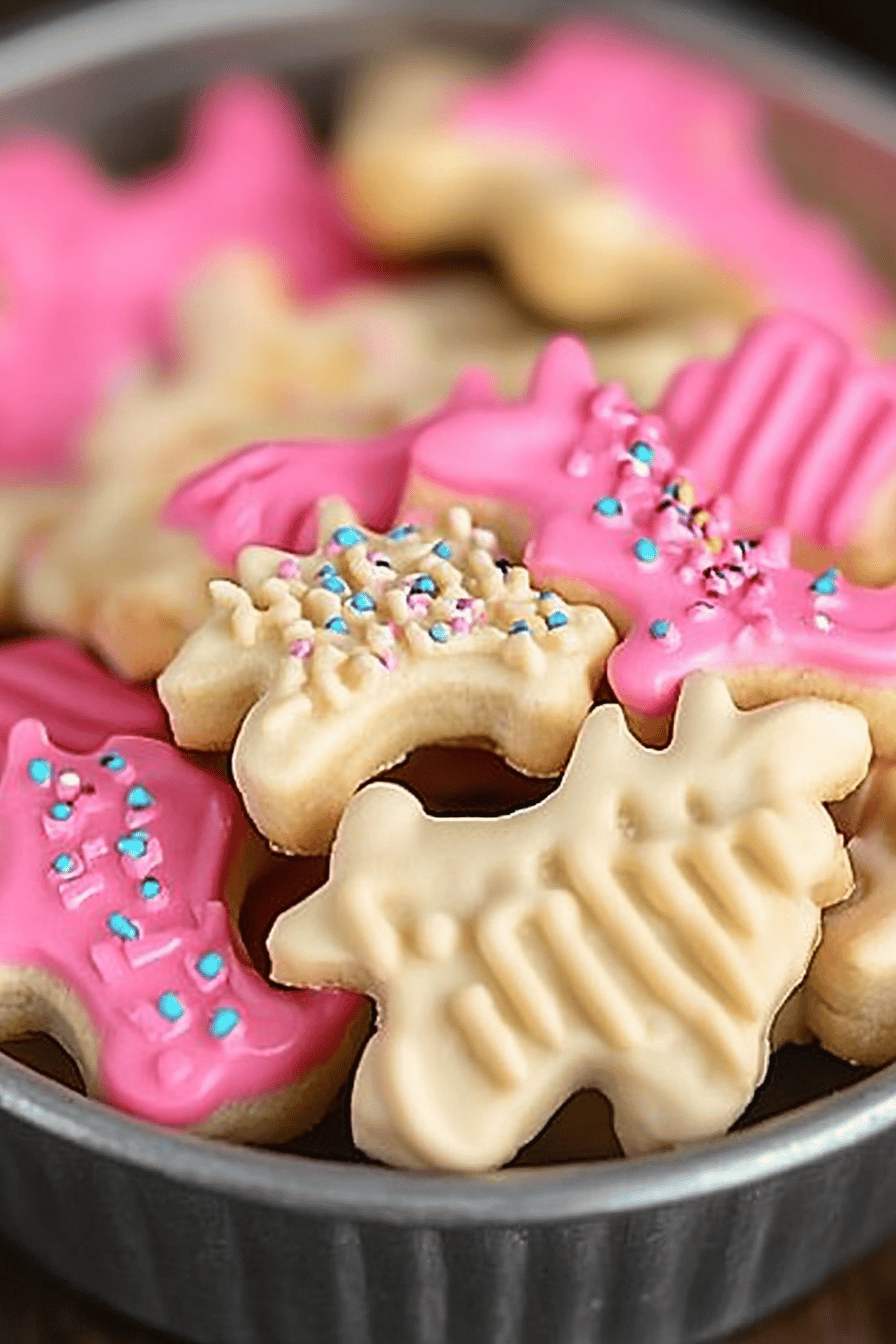
Step 9: Decorate (Optional)
Once they’re completely cool, you can get creative! You can sprinkle them with gluten-free sprinkles or even make a simple powdered sugar glaze (powdered sugar mixed with a tiny bit of milk or water) to drizzle over them. This step is totally optional but adds an extra layer of fun, especially for kids.
What to Serve It With
These Gluten-Free Animal Crackers are incredibly versatile, making them a go-to for so many moments. For **breakfast**, they’re a delightful, less-sweet alternative to toast or cereal. I love having a few with my morning coffee, especially if I’m running late. They pair beautifully with a creamy yogurt bowl, adding a lovely crunch. For **brunch**, they can be part of a beautiful pastry platter, offering a fun, kid-friendly (and adult-friendly!) option. Imagine them nestled amongst fruit salads and mini muffins – so charming! As a **dessert**, they’re surprisingly satisfying. They’re not rich or heavy, but they hit that sweet spot perfectly. They’re wonderful served alongside a scoop of Ice Cream or a mug of hot chocolate. But my absolute favorite time to enjoy them is for **cozy snacks**. They’re perfect for that mid-afternoon slump or when you’re craving something sweet but don’t want to commit to a whole slice of cake. My family loves them dipped in milk, or just straight from the jar. I’ve even seen my kids use them as little edible building blocks for their snack creations!
Top Tips for Perfecting Your Gluten-Free Animal Crackers
After making these countless times, I’ve picked up a few tricks that I think really elevate them. For the **gluten-free flour blend**, consistency is key. I highly recommend using a blend you trust and that works well for cookies. If you’re using a blend that doesn’t include xanthan gum, be sure to add it in – it’s essential for binding and texture in gluten-free baking. When it comes to **mixing the dough**, remember that overmixing is the enemy of crisp cookies, gluten-free or not. Mix until *just* combined, and don’t be afraid to switch to a spatula for the final few stirs. For **rolling the dough**, if it’s sticking to your surface or rolling pin, don’t panic! A little extra gluten-free flour or placing a sheet of parchment paper on top can work wonders. Aim for an even thickness, about ¼-inch, for consistent baking. When it comes to **cutting shapes**, have fun with it! If you don’t have cookie cutters, you can even use a knife to cut simple squares or rectangles. For **baking**, oven temperature is crucial. My oven runs a little hot, so sometimes I dial it back by 5-10 degrees. The edges should be lightly golden, but the centers should look set, not doughy. They’ll crisp up more as they cool. If your crackers are coming out too soft, try baking them for another minute or two. For **glaze variations**, keep it simple! A basic powdered sugar glaze (powdered sugar and a touch of liquid) is perfect. You can also add a tiny drop of food coloring for fun. If you want a thinner glaze, just add a bit more liquid; for a thicker one, add more powdered sugar. I’ve even experimented with a bit of lemon zest in the glaze for a citrusy twist, which was lovely!
Storing and Reheating Tips
These Gluten-Free Animal Crackers are wonderfully shelf-stable, which is a big win! At **room temperature**, they’ll stay perfectly crisp for about 5-7 days when stored in an airtight container. I find that a cookie tin or a good quality plastic container works best. If you live in a very humid climate, they might soften slightly over time, but they’re usually still pretty good. For **refrigerator storage**, it’s generally not necessary unless your kitchen is exceptionally warm or you want to extend their life a bit longer. If you do refrigerate them, make sure they are in a well-sealed container. As for **freezer instructions**, these crackers freeze beautifully! I usually place them in a single layer on a baking sheet to freeze solid for about an hour, then transfer them to a freezer-safe bag or container. They’ll keep well for up to 2-3 months. To enjoy them from frozen, simply let them thaw at room temperature for about 30 minutes. For the **glaze**, it’s best to apply it just before serving or storing at room temperature. If you glaze them and then store them for a long time, the glaze can sometimes get a bit sticky or melt. So, my advice is to glaze right before you’re ready to eat or share them.
Frequently Asked Questions
Final Thoughts
There you have it – your very own batch of homemade Gluten-Free Animal Crackers! I genuinely hope you and your loved ones enjoy these as much as my family does. They’re proof that you don’t need gluten to recreate those beloved nostalgic treats. The satisfaction of pulling these cute, crispy little animals out of the oven is just wonderful. They’re perfect for lunchboxes, afternoon snacks, or even just because you deserve a little something special. If you give this recipe a try, please let me know how it turns out in the comments below! I’d love to hear about your favorite animal shapes or any fun decorations you come up with. And if you loved these, you might also enjoy my gluten-free shortbread cookies or my recipe for Easy Gluten-Free Sugar Cookies – they’re also big hits in my house! Happy baking, everyone!
Gluten-Free Animal Crackers
Ingredients
Main Ingredients
- 1.5 cup Gluten-free all-purpose flour blend
- 0.5 cup Almond flour
- 0.5 cup Powdered sugar
- 0.25 teaspoon Salt
- 0.5 cup Unsalted butter, softened
- 1 large Egg
- 1 teaspoon Vanilla extract
- 2 tablespoons Milk (dairy or non-dairy)
Instructions
Preparation Steps
- In a large bowl, whisk together the gluten-free flour blend, almond flour, powdered sugar, and salt.
- In a separate bowl, cream together the softened butter and egg until light and fluffy. Stir in the vanilla extract.
- Gradually add the dry ingredients to the wet ingredients, mixing until just combined. Stir in the milk to form a dough.
- Divide the dough in half, flatten each half into a disc, wrap in plastic wrap, and refrigerate for at least 30 minutes.
- Preheat your oven to 350°F (175°C). Line baking sheets with parchment paper.
- On a lightly floured surface (using gluten-free flour), roll out one disc of dough to about 0.25-inch thickness.
- Use animal-shaped cookie cutters to cut out the crackers. Carefully transfer the crackers to the prepared baking sheets.
- Bake for 10-12 minutes, or until the edges are lightly golden brown. Watch them closely as they can burn quickly.
- Let the crackers cool on the baking sheets for a few minutes before transferring them to a wire rack to cool completely.