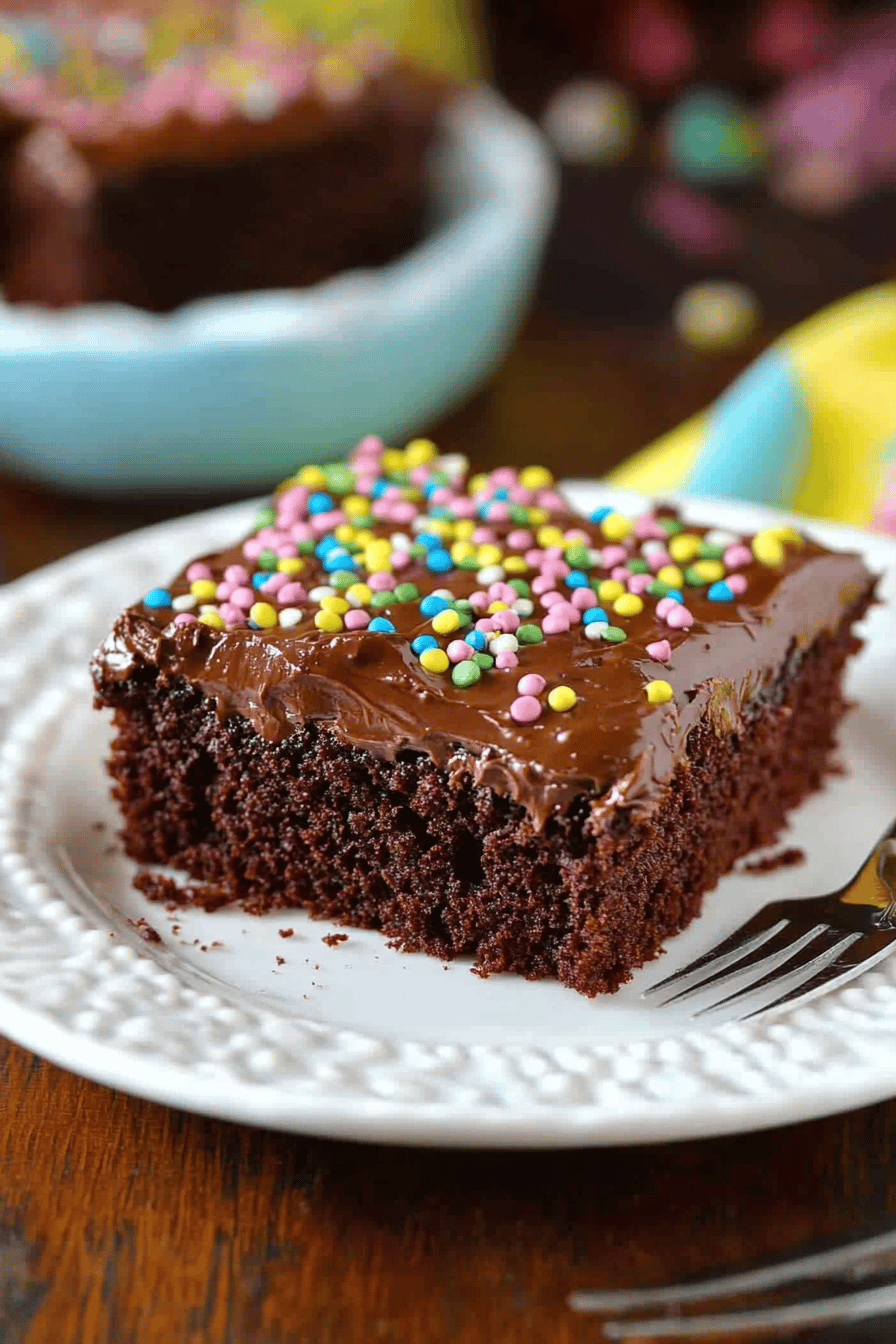
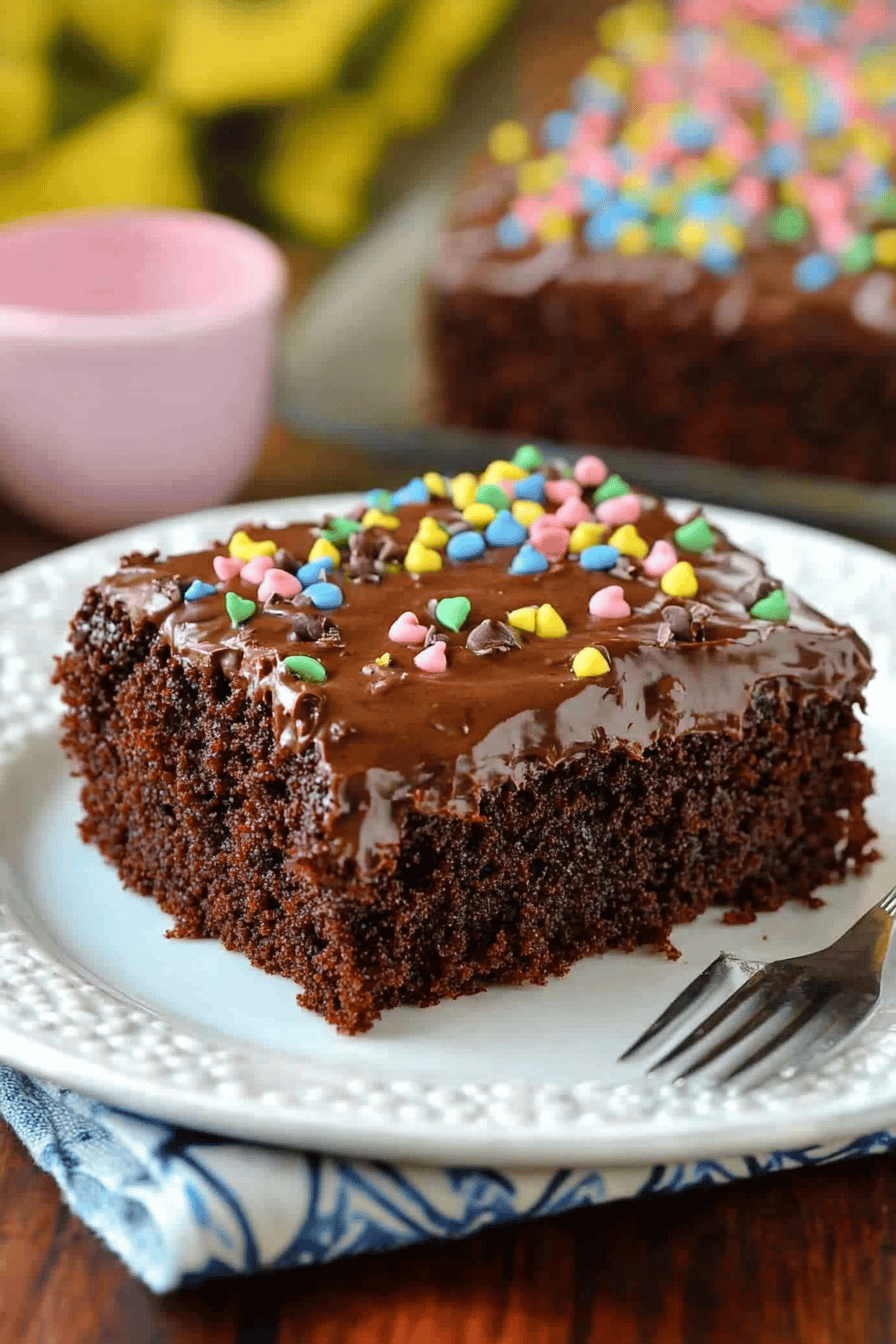
Chocolate Buttermilk Sheet Cake
There’s something incredibly comforting about a homemade cake baked with love and the finest ingredients. This chocolate buttermilk sheet cake is a testament to the kind of indulgence that warms the heart and satisfies the soul. With rich cocoa and tangy buttermilk, this cake is sure to be a favorite for any occasion.
My grandmother used to make this delightful cake every Sunday when we gathered for family dinners. The tempting aroma of chocolate would fill the air as soon as she opened the oven door. We’d sit around the table, eager for a slice, often negotiating for a second helping. Even now, baking this cake brings back those sweet memories, reminding me of her love and the joy of family gatherings.
Why You’ll Love This Recipe
This recipe is not just any chocolate cake; it’s an incredibly moist and tender delight, thanks to the buttermilk. You’ll appreciate its simplicity, requiring no complicated techniques or hard-to-find ingredients. Perfect for both novice and experienced bakers, it can effortlessly cater to a crowd, making it ideal for parties and celebrations. Moreover, the added buttermilk introduces a subtle tang that beautifully balances the rich chocolatey flavor.
Ingredients Notes
The key ingredients for this cake include quality cocoa powder, fresh buttermilk, and room-temperature eggs. For the best taste, choose unsweetened cocoa powder of high quality, as it acts as the cake’s flavor backbone. If you’re out of buttermilk, you can easily make a substitute by mixing milk with a tablespoon of lemon juice or vinegar. Ensure eggs are at room temperature to mix evenly, thereby helping achieve a light and airy texture.
Recipe Steps
Step 1
Preheat your oven to 350°F (175°C) and grease a 9×13 inch baking pan. This ensures even baking and prevents sticking.
Step 2
In a large bowl, mix together the dry ingredients: flour, cocoa powder, baking soda, and salt. This helps distribute the baking soda evenly throughout the mixture.
Step 3
In a separate bowl, whisk together the eggs, sugar, and vanilla extract until creamy. Slowly add the buttermilk and melted butter, stirring until fully incorporated.
Step 4
Gradually add the wet ingredients to the dry mixture, stirring gently until just combined. It’s important not to overmix to maintain a tender crumb.
Step 5
Pour the batter into the prepared baking pan, smoothing the top. Bake in the preheated oven for 30-35 minutes, or until a toothpick inserted in the center comes out clean.
Storage Options
For best results, store any leftover slices in an airtight container at room temperature for up to three days. For longer storage, you can freeze the cake: wrap individual slices in plastic wrap and place them in a sealed freezer bag. To reheat, thaw at room temperature or use a microwave for a quick warm-up.
Variations & Substitutions
Got a sweet tooth but need a gluten-free option? Simply swap out the all-purpose flour for your preferred gluten-free mix. If you’re looking to jazz up the flavor, consider adding a teaspoon of instant espresso powder to enhance the chocolate richness, or fold in some chocolate chips for an extra burst of gooey chocolate goodness.
Serving Suggestions
This versatile cake can be served with a scoop of vanilla ice cream or a dollop of fresh whipped cream for added indulgence. It’s perfect for birthdays, family gatherings, or even as a casual treat on a cozy afternoon. Try pairing it with a steaming cup of coffee for a delightful dessert experience.
Frequently Asked Questions
Can I make this cake in advance?
Yes, this cake can be baked a day ahead. Wrap it tightly in plastic wrap to keep it fresh, and store it at room temperature. Frosting can be added just before serving if desired.
What type of frosting goes well with this cake?
A chocolate ganache or a classic buttercream frosting complements this cake beautifully. CREAM CHEESE frosting is another excellent choice that pairs well with the rich chocolate taste and adds a tangy contrast.
Is it possible to use a different pan size?
Certainly! Although the baking time may vary, you can use two 9-inch round pans for a layer cake or even cupcake tins for individual servings. Just keep an eye on the oven and adjust baking times accordingly.