You know those days, right? The ones where the craving for something sweet hits you like a ton of bricks, but the thought of pulling out all the stops – measuring flour, sifting cocoa, creaming butter and sugar – feels utterly exhausting. On those nights, my absolute go-to, the recipe I’ve probably made more times than I can count, are these cake mix cookies. Seriously, they’re pure magic. Forget those finicky Chewy Chocolate Chip cookie recipes that sometimes end up flat or cakey depending on the humidity. These cake mix cookies are the reliable, always-delicious heroes of my kitchen. They’re so simple, my kids can practically make them solo, and the best part? They taste ridiculously good, like you spent hours in the kitchen crafting them. If you’re looking for a fuss-free, foolproof way to satisfy that sweet tooth, you’ve found your new best friend.
What is cake mix cookies?
So, what exactly are these magical little treats? Simply put, cake mix cookies are exactly what they sound like: cookies made using a boxed cake mix as the base. It might sound a little unconventional if you’re a purist baker, but trust me, it’s a game-changer. Instead of starting from scratch with flour, leavening, and sugar, you’re using a pre-made blend that’s already perfectly balanced for a tender crumb. Think of it as a shortcut that doesn’t compromise on flavor or texture. It’s essentially taking the structure and flavor profile of your favorite cake and transforming it into a delightful, bite-sized cookie. This concept is so brilliant because it makes baking accessible to absolutely everyone, regardless of skill level or how much time you have. It’s the ultimate cheat code for delicious, homemade cookies!
Why you’ll love this recipe?
Oh, where do I even begin with why this recipe is an absolute winner? First off, the flavor is just incredible. Depending on the cake mix you choose – vanilla, chocolate, Red Velvet, lemon – you get a distinct, vibrant taste that’s so satisfying. I often find myself reaching for a yellow or vanilla cake mix because it’s such a neutral canvas, and then I can add whatever mix-ins I’m feeling. The texture is also spot-on: perfectly soft and chewy in the center with just the slightest crisp around the edges. What I love most about this is the sheer simplicity. You only need a few pantry staples to transform that cake mix into cookies. It’s a lifesaver on busy weeknights when the kids are suddenly starving, or when unexpected guests pop by and you want to whip up something homemade in a flash. Plus, it’s incredibly budget-friendly compared to buying fancy bakery cookies or all the individual ingredients for traditional cookies. And the versatility! You can add chocolate chips, sprinkles, nuts, or even swirls of jam. It’s the kind of recipe that adapts to your mood and what you have on hand. Honestly, it’s the easiest way to get that “wow, you made these yourself?” reaction without all the fuss.
How do I make a cake mix cookie?
Quick Overview
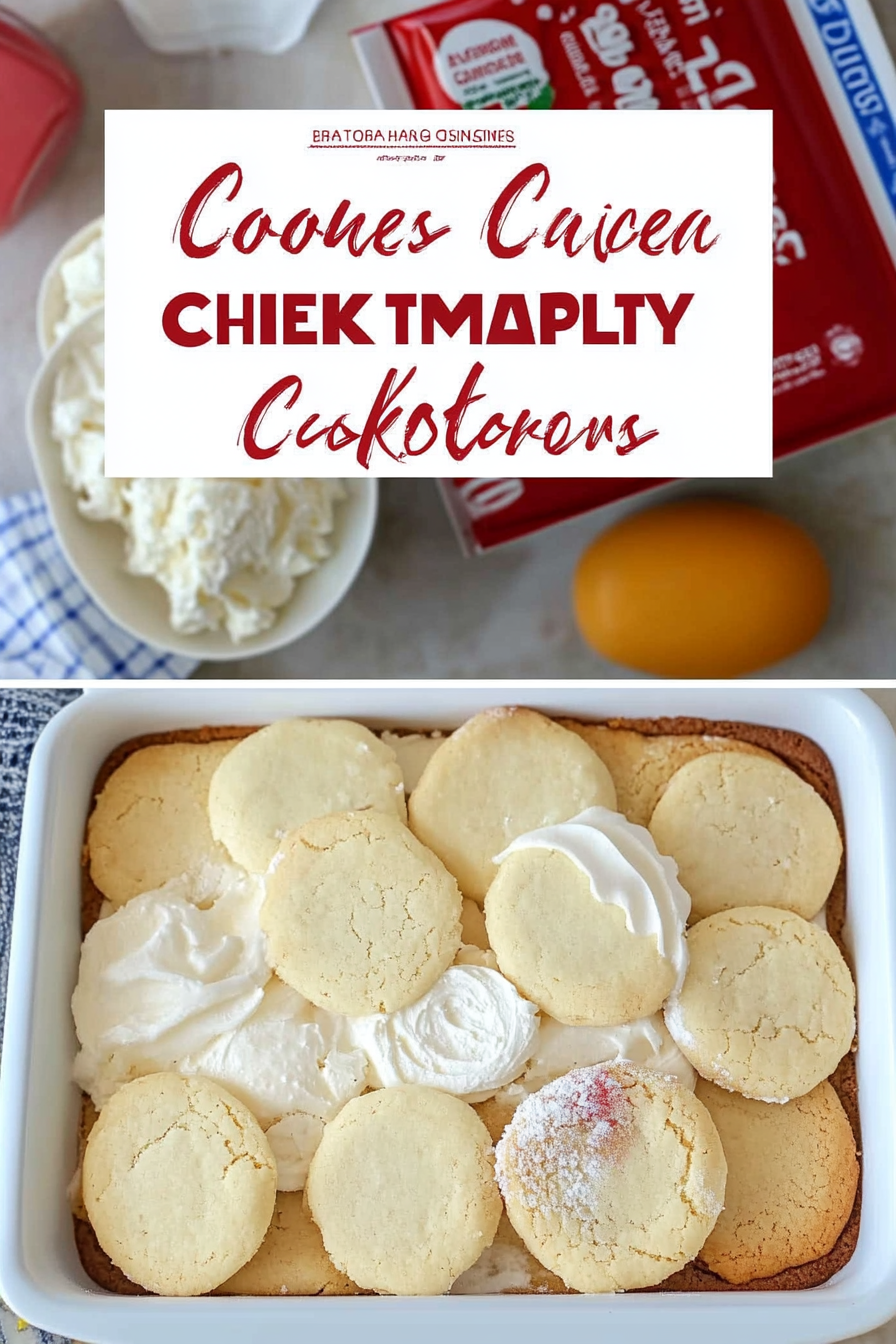
The whole process for these cake mix cookies is ridiculously straightforward. You’ll basically combine your chosen cake mix with a few wet ingredients like eggs, oil, and sometimes a touch of flour for chewiness. Then, you’ll mix in your favorite add-ins, scoop them onto a baking sheet, and bake them until they’re golden and delightful. That’s it! It’s so quick that you can have warm cookies ready in under 30 minutes from start to finish. The beauty of this method is its forgiving nature; it’s very hard to mess up, making it the perfect recipe for beginner bakers or anyone who just wants delicious results without the stress.
Ingredients
For the Main Batter:
1 box (15.25 oz or about 432g) cake mix (any flavor you love! Yellow, vanilla, chocolate, or Red Velvet are classics)
2 large eggs. Make sure they’re room temperature – it helps everything emulsify better.
1/2 cup vegetable oil (or melted coconut oil for a subtle flavor twist). Some people swear by butter, but oil often gives a chewier result here, which I personally love.
1 teaspoon vanilla extract. Even if your cake mix has vanilla, a little extra boost never hurts!
For Add-ins (Optional but Highly Recommended!):
1 cup chocolate chips (semi-sweet, milk, or dark – your call!)
1/2 cup sprinkles (for a fun, festive touch, especially if using a vanilla or yellow cake mix)
1/2 cup chopped nuts (walnuts or pecans are lovely)
Anything else your heart desires! M&Ms, toffee bits, dried fruit – get creative!
For the Glaze (Optional, but Oh-So-Good!):
1 cup powdered sugar
2-3 tablespoons milk (or water for a less sweet glaze). You can also use fruit juice for a flavored glaze!
1/2 teaspoon vanilla extract
Step-by-Step Instructions
Step 1: Preheat & Prep Pan
First things first, let’s get that oven preheated to 350°F (175°C). While it’s heating up, grab a couple of baking sheets and line them with parchment paper or silicone baking mats. This is a small step, but it makes cleanup a breeze and ensures your cookies won’t stick. I always like to have everything ready to go before I start mixing, so I don’t feel rushed.
Step 2: Mix Dry Ingredients
Open up your box of cake mix and pour it into a large mixing bowl. If you’re adding any dry mix-ins like sprinkles or chopped nuts directly into the batter without coating them in flour, now’s the time to add them. Give it a quick whisk with a fork or a rubber spatula just to break up any big clumps. This step might seem minor, but it ensures your cake mix is evenly distributed for a consistent cookie texture.
Step 3: Mix Wet Ingredients
In a separate, smaller bowl (or even a large measuring cup), whisk together the eggs, vegetable oil, and vanilla extract until they’re well combined and slightly frothy. I find using a whisk here really helps to break down the egg yolks and emulsify the oil and egg nicely. Make sure your oil isn’t hot if you melted it; you don’t want to cook those eggs!
Step 4: Combine
Now for the magic! Pour the wet ingredients into the bowl with the cake mix. Using a sturdy spoon or a rubber spatula, start mixing everything together. It will look a little crumbly at first, but keep mixing until it comes together into a thick, cohesive dough. Be careful not to overmix! Overmixing can lead to tough cookies, and we want tender, chewy goodness. Mix just until no dry streaks of cake mix remain. If you’re adding mix-ins like chocolate chips, stir them in now until they’re evenly distributed throughout the dough.
Step 5: Prepare Filling (If Applicable – for more advanced swirls/centers)
This step is for when you want to get fancy, like a CREAM CHEESE swirl or a jam center. If you’re just making plain cookies, skip this! For a simple cream cheese filling, beat 4 oz of softened cream cheese with 1/4 cup powdered sugar and a splash of vanilla until smooth. For jam, just have your favorite flavor ready. This isn’t part of the basic cake mix cookie recipe, but it’s a fun way to elevate them!
Step 6: Layer & Swirl (If Applicable)
If you’re adding a filling, here’s where you incorporate it. For a swirl effect, drop spoonfuls of the Cookie Dough onto your prepared baking sheets, leaving about 2 inches between them. Then, dollop spoonfuls of your filling (like cream cheese mixture or jam) on top of the dough balls. Use a toothpick or a skewer to gently swirl the filling into the dough, creating beautiful patterns. Don’t over-swirl, or you’ll lose definition. For simple cookies, just roll the dough into balls.
Step 7: Bake
Place your baking sheets in the preheated oven. Bake for 9-12 minutes, or until the edges are lightly golden brown and the centers look set but still slightly soft. The exact time will depend on your oven and the size of your cookies. I usually check mine around the 9-minute mark. They’ll continue to cook a bit on the hot baking sheet after you take them out, so it’s better to slightly underbake than overbake for that perfect chewy texture.
Step 8: Cool & Glaze
Once baked, let the cookies cool on the baking sheets for about 5 minutes. This allows them to firm up enough to be moved without falling apart. Then, carefully transfer them to a wire rack to cool completely. If you’re glazing, whisk together the powdered sugar, milk (or water/juice), and vanilla extract in a small bowl until smooth and pourable. You want a consistency that will drizzle nicely but not be too runny. Once the cookies are completely cool, drizzle the glaze over them using a spoon or a piping bag. Let the glaze set before serving.
Step 9: Slice & Serve
These cake mix cookies are divine served warm, especially with that gooey glaze. But they’re also fantastic at room temperature. If you’ve made a larger batch, they’re great for packing in lunchboxes or having with an afternoon cup of tea. For a truly decadent experience, serve them with a scoop of vanilla ice cream! They store beautifully, so you can enjoy them over the next few days.
What to Serve It With
These cake mix cookies are incredibly versatile, fitting in perfectly for almost any occasion. For a cozy breakfast, they’re delightful alongside a hot mug of coffee or a glass of cold milk. They have that comforting, homemade feel that makes mornings feel a little special. At brunch, they add a sweet touch to a spread of savory dishes. I love arranging them on a tiered stand with fresh fruit and yogurt parfaits. As a simple yet elegant dessert, they’re perfect after dinner, maybe with a drizzle of extra chocolate sauce or a dollop of whipped cream. And for those cozy snack moments? They are the absolute best. Paired with a warm cup of tea on a rainy afternoon, or just enjoyed straight from the cooling rack when you need a quick treat, they never disappoint. My family also loves them as a “surprise” in their lunchboxes – always a hit!
Top Tips for Perfecting Your Cake Mix Cookies
Over the years of making these cake mix cookies, I’ve picked up a few tricks that I think really elevate them from “good” to “absolutely phenomenal.” One of the biggest things is not to overmix the dough once the wet and dry ingredients are combined. Overmixing develops the gluten too much, which can lead to tough, dense cookies instead of the soft, chewy ones we’re after. Mix just until everything is incorporated, and then stop! Another tip is to use good quality add-ins. If you’re adding chocolate chips, use chocolate you actually love to eat on its own. The same goes for nuts or sprinkles. For a chewier cookie, I often add an extra egg yolk or a tablespoon of extra oil; it makes the dough richer and keeps them incredibly moist. If you find your cookies are spreading too much, you can try chilling the dough for about 15-30 minutes before scooping. This is especially helpful if your kitchen is warm. Don’t be afraid to experiment with different cake mix flavors and add-ins; that’s part of the fun! I once made lemon cake mix cookies with white chocolate chips and blueberry jam swirls, and they were divine. And for the glaze, it’s all about consistency. If it’s too thick, add milk a teaspoon at a time. If it’s too thin, add more powdered sugar. Getting that perfect drizzly consistency makes all the difference visually and taste-wise!
Storing and Reheating Tips
The best part about these cake mix cookies, besides how easy they are, is how well they store! At room temperature, they’ll stay fresh in an airtight container for about 3-4 days. I usually just pop them into a cookie tin or a sturdy plastic container. They maintain their softness really well. If you plan on keeping them for longer, the refrigerator is your friend. Store them in an airtight container in the fridge for up to a week. They might firm up a bit in the fridge, but they’re still delicious, especially if you let them sit out for a few minutes before eating. For longer storage, these cookies freeze beautifully! Wrap them tightly in plastic wrap, then place them in a freezer-safe bag or container for up to 2-3 months. To reheat, you can simply let them thaw at room temperature, or for a warm, gooey treat, pop them in a low oven (around 300°F or 150°C) for a few minutes until warmed through. If you’ve added a glaze, I usually recommend adding it *after* reheating if you’re warming them up, or just know that the glaze might get a little messy if they’re reheated. For best results, if you know you’ll be storing them, consider holding off on the glaze until just before serving.
Frequently Asked Questions
Final Thoughts
So there you have it – my foolproof, ridiculously easy, and absolutely delicious cake mix cookies! I truly believe everyone needs a recipe like this in their back pocket. It’s the kind of cookie that brings a smile to faces without stressing you out. Whether you’re a seasoned baker or just starting out, these cookies are guaranteed to be a hit. They’re perfect for last-minute treats, school bake sales, or just a simple indulgence with your afternoon coffee. I love hearing about how you guys put your own spin on recipes, so if you try these cake mix cookies, please let me know in the comments below! I can’t wait to hear how yours turn out, and I’m always curious to know what amazing add-ins you decide to use. Happy baking!
Cake Mix Cookies
Ingredients
Main Ingredients
- 1 box cake mix any flavor
- 2 large eggs
- 0.5 cup vegetable oil
- 1 teaspoon vanilla extract
Instructions
Preparation Steps
- Preheat oven to 350°F (175°C). Line baking sheets with parchment paper.
- In a large bowl, combine the cake mix, eggs, vegetable oil, and vanilla extract. Mix until well combined.
- Drop rounded tablespoons of dough onto the prepared baking sheets.
- Bake for 10-12 minutes, or until the edges are lightly golden brown.
- Let the cookies cool on the baking sheets for a few minutes before transferring them to a wire rack to cool completely.
Notes
Nutrition

Ava Brooks is the home cook behind RecipeSharingHub, sharing dependable, step‑by‑step recipes for busy weeknights and easy weekend bakes. When not testing dishes, Ava snaps kitchen photos and answers reader questions in the comments. Discover the latest recipes or join the newsletter for new ideas each week.