Oh, these Pecan Turtle Bars! Seriously, if you’re looking for that perfect sweet treat that hits all the right notes – chewy, caramelly, chocolatey, and nutty – then you absolutely *have* to try this recipe. I remember the first time I made these; it was for a neighborhood potluck, and I swear, the entire pan was gone within an hour. People were practically fighting over the last few pieces! It’s funny, because when I tell people I’m making Pecan Turtle Bars, they sometimes imagine a complicated process, like trying to make actual turtle candies from scratch. But this recipe? It’s honestly a lifesaver for busy nights or when you need a crowd-pleaser without spending all day in the kitchen. It’s got that irresistible caramel-pecan-chocolate combination that just makes you weak in the knees, kind of like my Grandma’s famous fudgy brownies, but with a whole new level of delightful texture.
What are pecan turtle bars?
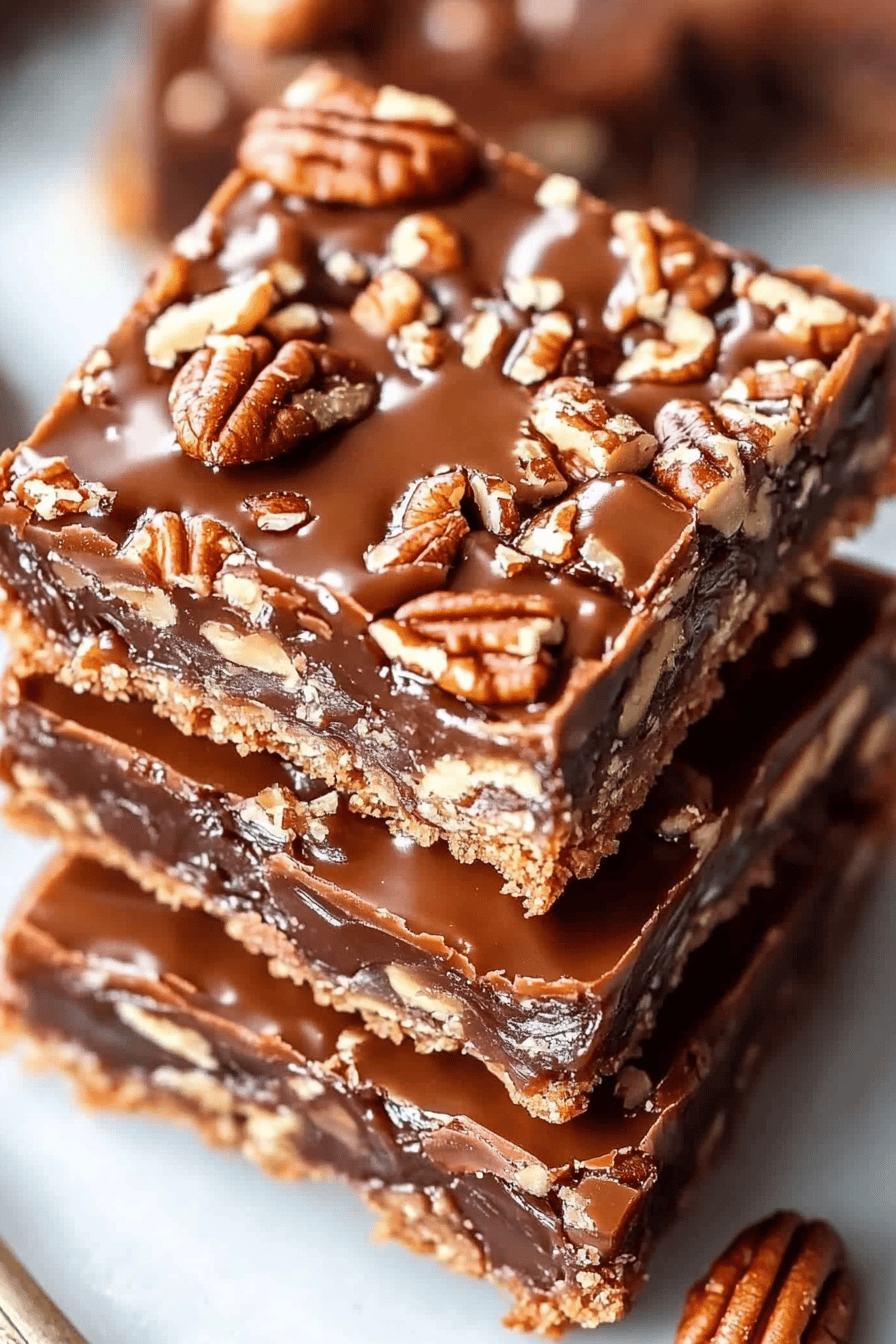
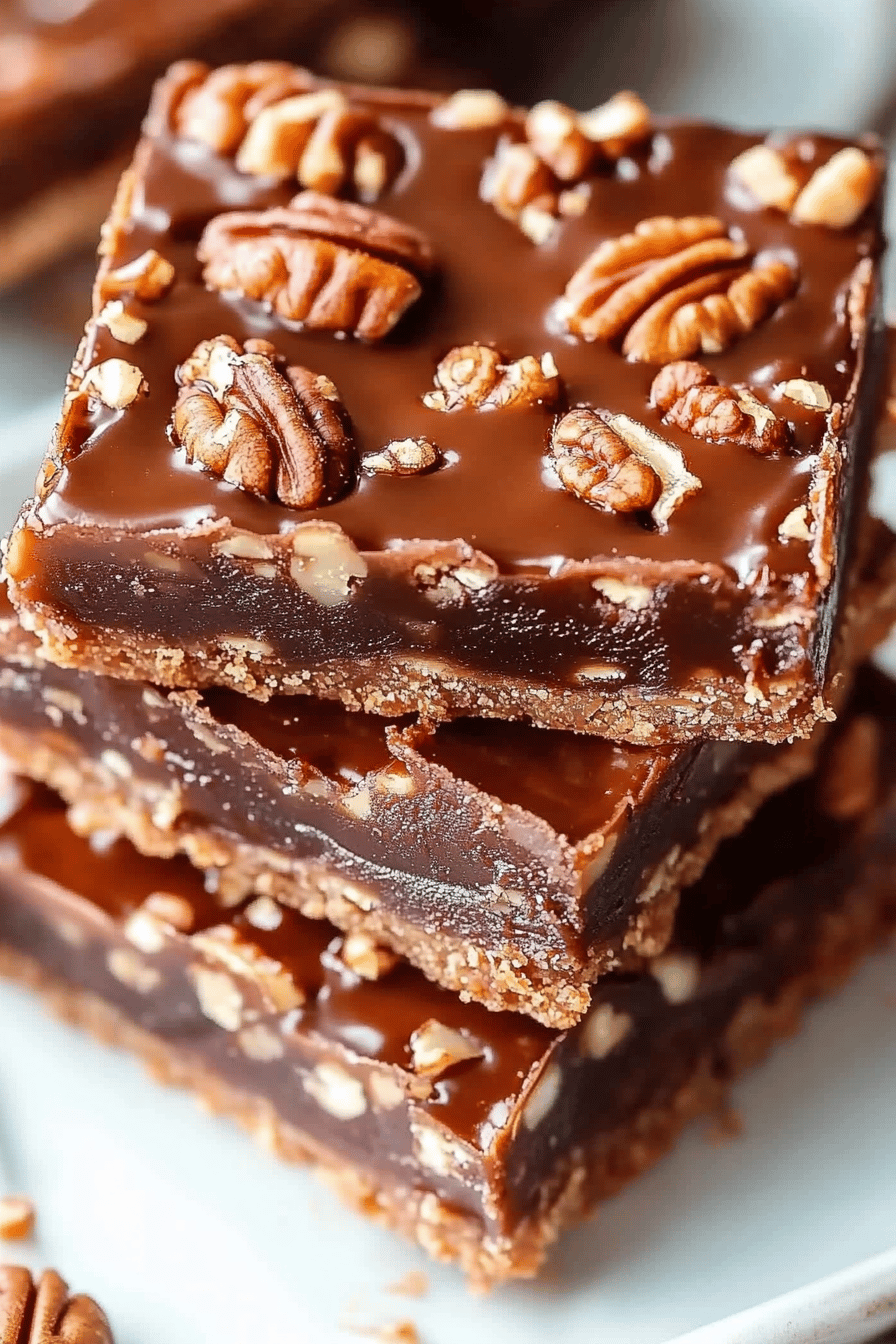
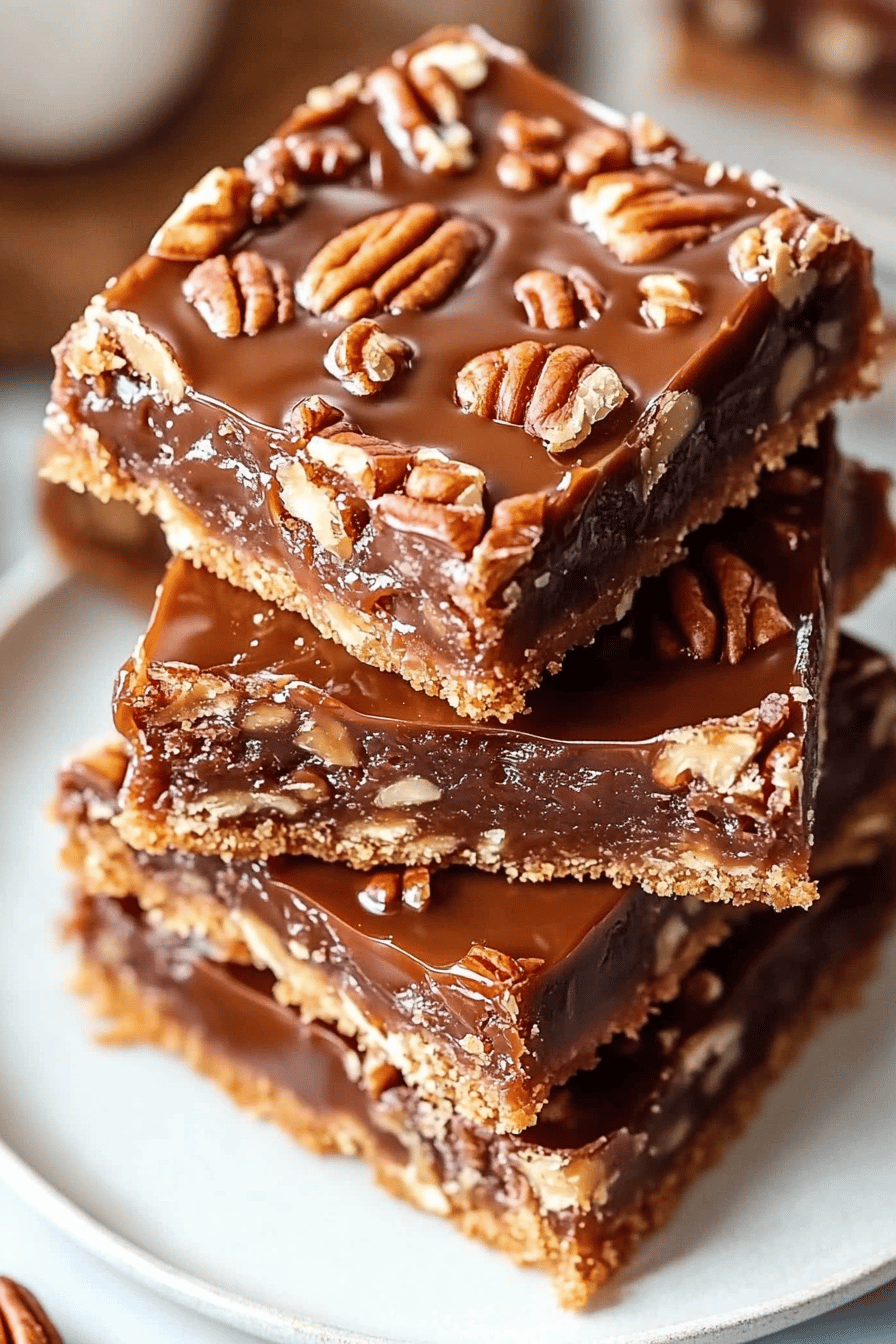
So, what exactly are Pecan Turtle Bars? Think of them as a wonderfully deconstructed, incredibly easy-to-eat version of the classic turtle candy. You know, the one with the pecan “legs,” the caramel “body,” and the chocolate “head”? These bars capture all those amazing flavors and textures but in a convenient, shareable format. They’re essentially a buttery, shortbread-like base, topped with a gooey, rich caramel mixture loaded with crunchy pecans, and then finished off with a drizzle of decadent chocolate. It’s not a fussy dessert at all. It’s essentially a glorious, portable package of pure comfort and indulgence, designed for maximum flavor impact with minimum fuss. They are the ultimate way to get that irresistible turtle candy flavor without any of the shaping stress!
Why you’ll love this recipe?
There are so many reasons why this Pecan Turtle Bars recipe has become an absolute staple in my kitchen, and I just know you’re going to adore it too. First off, the flavor is just out of this world. You get that rich, buttery shortbread base that’s slightly crisp on the edges and wonderfully tender. Then comes the middle layer – oh my goodness, this is where the magic happens! It’s a luscious, chewy caramel that’s studded with toasted pecans. The pecans add such a fantastic crunch and a nutty depth that perfectly balances the sweetness of the caramel. And finally, that drizzle of melted chocolate over the top? It just brings everything together in a symphony of deliciousness. It’s that perfect bite of sweet, salty, chewy, crunchy, and chocolatey all at once.
Beyond the incredible taste, the simplicity of this recipe is a huge selling point for me. Honestly, if you can stir ingredients together and press them into a pan, you can make these Pecan Turtle Bars. There’s no fancy equipment needed, and the steps are straightforward and forgiving. I’ve made these on evenings when I’ve only had about 30 minutes to spare before guests arrived, and they’ve always turned out beautifully. They’re also surprisingly budget-friendly, especially if you catch pecans on sale. You’re using pretty common pantry staples for the base and a few key ingredients for that amazing caramel. And the versatility! While they’re a killer dessert, I’ve also packed these for school lunches (they hold up surprisingly well!) or just enjoyed a small square with my afternoon coffee. What I love most about this recipe is that it feels sophisticated and decadent, but it’s genuinely one of the easiest bars I’ve ever made. It’s that perfect balance of impressive results and effortless execution.
How do I make pecan turtle bars?
Quick Overview
This recipe is wonderfully straightforward. We start by making a simple, buttery shortbread-like base that gets partially baked. Then, we whip up a quick, gooey caramel filling packed with pecans, spread it over the par-baked base, and bake it all again until golden and bubbly. The final touch is a decadent chocolate drizzle. The beauty of this method is that the shortbread base provides a sturdy yet tender foundation, while the caramel gets that perfect chewy consistency without being too hard or too runny. It’s designed for deliciousness and ease.
Ingredients
For the Main Batter:
You’ll need all-purpose flour – about 1 ½ cups will do. Make sure it’s not packed too tightly into your measuring cup! I like to spoon it in and level it off. Then, we’ve got granulated sugar, ½ cup, for that touch of sweetness. Unsalted butter is crucial here; you’ll need 1 cup (that’s two sticks), softened to room temperature. Softened is key so it creams beautifully with the sugar. A pinch of salt, about ½ teaspoon, really brings out all the flavors. And for that hint of warmth and depth, ½ teaspoon of vanilla extract. If you can find pure vanilla extract, it really makes a difference!
For the Filling:
This is where the turtle magic happens! You’ll need about 1 cup of chopped pecans. I always toast mine lightly in a dry skillet for a few minutes until they’re fragrant; it really amps up their flavor. For the gooey caramel, you’ll need 1 cup of packed light brown sugar, a ¼ cup of unsalted butter, and about 2 tablespoons of evaporated milk or heavy cream. The milk helps make it wonderfully smooth and bind everything together. A teaspoon of vanilla extract here too adds another layer of flavor. And if you like a little saltiness to balance the sweet, a pinch of sea salt is fantastic.
For the Glaze:
For that classic turtle look and taste, we need some chocolate. About ½ cup of semi-sweet chocolate chips or chopped semi-sweet chocolate works perfectly. If you prefer dark chocolate, feel free to use that! You can also add a tiny bit of coconut oil or vegetable oil (about ½ teaspoon) to the chocolate chips when melting. This helps make the chocolate drizzle smooth and easy to work with, and it gives it a nice shine once set.
Step-by-Step Instructions
Step 1: Preheat & Prep Pan
First things first, let’s get the oven preheated to 350°F (175°C). While the oven heats up, you’ll want to prepare your baking pan. I always use an 8×8 inch square baking pan for these bars. It gives you a nice, thick bar. To make sure your bars come out cleanly without sticking, generously grease the pan with butter or non-stick cooking spray. For an extra layer of insurance and super easy cleanup, I highly recommend lining the pan with parchment paper, leaving an overhang on the sides. This way, you can just lift the whole slab of bars right out once they’re cooled!
Step 2: Mix Dry Ingredients
In a medium bowl, whisk together your flour, granulated sugar, and that pinch of salt. You just want to make sure everything is well combined and there are no clumps of sugar or salt. This ensures an even distribution of flavor throughout the base. It doesn’t need to be super vigorous; just a good, gentle whisk will do the trick.
Step 3: Mix Wet Ingredients
Now, in a separate bowl (or the bowl of a stand mixer if you’re using one), cream together the softened unsalted butter and ½ cup of granulated sugar until light and fluffy. This usually takes a few minutes. Then, beat in the vanilla extract. This step is important for developing the texture of the shortbread base. You want it to be tender and slightly crumbly, almost like a shortbread cookie.
Step 4: Combine
Add the dry ingredients to the wet ingredients. Mix on low speed or by hand just until combined. Don’t overmix this dough! Overmixing can lead to tough bars. You want it to just come together into a cohesive, crumbly dough. It will still look a little rough, and that’s perfectly fine. Once combined, press this dough evenly into the bottom of your prepared baking pan. Make sure it’s a nice, even layer from edge to edge. This forms the delicious foundation for our bars.
Step 5: Prepare Filling
While the base is pressing into the pan, let’s get that glorious caramel filling ready. In a medium saucepan over medium heat, melt the ¼ cup of butter. Once melted, stir in the packed light brown sugar, evaporated milk (or cream), and vanilla extract. Bring this mixture to a gentle boil, stirring constantly. Let it boil for about 2 minutes, continuing to stir. This is what helps it thicken up into that perfect chewy caramel consistency. After 2 minutes, remove it from the heat and stir in your toasted chopped pecans and that pinch of salt if you’re using it. Give it a good stir to distribute the pecans evenly.
Step 6: Layer & Swirl
Now, carefully pour the hot caramel-pecan mixture over the pressed shortbread base in the pan. Spread it out as evenly as possible using a spatula. It will be thick and gooey, so take your time. You want to cover the entire surface of the base. You can use an offset spatula or the back of a spoon to gently smooth it out. Make sure to get as close to the edges as you can.
Step 7: Bake
Pop the pan back into the preheated oven. Bake for about 20-25 minutes, or until the edges of the shortbread base are golden brown and the caramel filling is bubbly around the edges. Keep an eye on it; ovens can vary! You don’t want the caramel to burn, but you do want it to get nice and set. The aroma that fills your kitchen at this stage is just divine!
Step 8: Cool & Glaze
Once baked, carefully remove the pan from the oven and place it on a wire rack to cool completely. This is really important. Trying to cut into warm bars will result in a melty mess. Let them cool for at least 2-3 hours, or until they are completely set and cool to the touch. While the bars are cooling, prepare your chocolate glaze. In a microwave-safe bowl, combine the semi-sweet chocolate chips and the ½ teaspoon of oil (if using). Microwave in 30-second intervals, stirring between each, until the chocolate is melted and smooth. Once the bars are completely cooled, drizzle the melted chocolate over the top in a zig-zag pattern. You can use a spoon or a piping bag for this. Let the chocolate set completely, which will take another hour or so, or you can speed it up by popping it back into the fridge for about 15-20 minutes.
Step 9: Slice & Serve
Once the chocolate is set, you can lift the entire slab of bars out of the pan using the parchment paper overhang. Place it on a cutting board. Now for the best part! Use a sharp knife to cut the bars into your desired size. I usually cut mine into squares, about 2×2 inches. For cleaner cuts, wipe your knife with a damp cloth between each slice. Serve them up and watch them disappear!
What to Serve It With
These Pecan Turtle Bars are so wonderfully versatile, they’re perfect for just about any occasion! For a special breakfast or even just a weekend treat, I love serving a warm square with a hot cup of coffee. The bitterness of the coffee cuts through the sweetness of the bar beautifully, and it feels like such a luxurious start to the day. My kids actually love having these as a special breakfast surprise sometimes, and who can blame them?
If you’re planning a brunch spread, these bars are a fantastic addition. They look so elegant sliced neatly on a tiered dessert stand. You could pair them with some fresh fruit salad to offer a lighter contrast, or alongside other pastries like scones or mini quiches. For beverages, a nice mimosa or a light sparkling juice would be delightful.
As an after-dinner dessert, they are simply divine. I sometimes serve them slightly warmed with a scoop of good quality vanilla bean ice cream. The contrast between the warm, gooey bar and the cold ice cream is absolutely heavenly. A little sprinkle of extra chopped pecans on top of the ice cream adds a nice touch. Or, if you’re going for something a bit lighter, just a dusting of powdered sugar can look lovely.
And for those cozy, relaxed moments, these bars are the ultimate comfort food snack. Grab a square (or two!) with a tall glass of cold milk, or curl up on the couch with a mug of hot chocolate. They’re perfect for movie nights or just a little pick-me-up when you need something sweet to brighten your day. My family traditions often involve these bars during holiday movie marathons; they’re always the first treat to go!
Top Tips for Perfecting Your Pecan Turtle Bars
I’ve made these Pecan Turtle Bars countless times, and over the years, I’ve picked up a few little tricks that I think really help make them even better. Let’s dive into some of my favorite tips to help you achieve Pecan Turtle Bar perfection!
Zucchini Prep: Wait, zucchini? Oh no, that’s for another recipe! My apologies, sometimes my brain jumps ahead! For these Pecan Turtle Bars, there’s no zucchini involved, thank goodness! My mind is focused solely on that glorious caramel and pecan goodness.
Mixing Advice: When you’re combining the wet and dry ingredients for the shortbread base, the absolute most important thing is *not to overmix*. I cannot stress this enough! Overmixing develops the gluten in the flour, which will make your bars tough and less tender. Mix just until the ingredients are combined and a crumbly dough forms. It should still look a little shaggy. For the caramel, make sure you’re stirring constantly when it’s on the stove. This prevents it from scorching on the bottom and ensures it cooks evenly. Also, be patient when it’s boiling for those 2 minutes – that’s what creates the perfect chewy texture. If it seems too thin, don’t panic, it will thicken as it cools.
Swirl Customization: While these bars are fantastic with just a chocolate drizzle, you can get a little creative! If you have some white chocolate chips, you can melt those down separately and do a contrasting drizzle. Or, you can use a toothpick to gently swirl the melted chocolate into the caramel *before* it cools and sets. Just be careful not to dig too deep into the base. I sometimes like to sprinkle a few extra whole or chopped pecans on top of the chocolate drizzle while it’s still wet for a more rustic, layered look.
Ingredient Swaps: For the pecans, if you’re not a fan, or if you have allergies, you can absolutely substitute other nuts like walnuts or even almonds. Just make sure they’re toasted for the best flavor! For the chocolate glaze, if you don’t have semi-sweet chips, milk chocolate or dark chocolate chips work wonderfully. You could even use a bit of chopped baking chocolate. If you’re dairy-free, you can find dairy-free chocolate chips and use a dairy-free butter substitute for the base and caramel. I’ve tested this with coconut oil for the glaze, and it works beautifully. For the evaporated milk in the caramel, heavy cream will work in a pinch, but it might make the caramel a tiny bit softer. Whole milk is a little too thin and might not set up as well.
Baking Tips: Always use an oven thermometer if you have one! Oven temperatures can be notoriously inaccurate, and getting the temperature just right is crucial for perfectly baked bars. Baking them in the center rack of your oven is usually best for even heat distribution. If you notice the edges of your shortbread base browning too quickly before the caramel is set, you can loosely tent the pan with foil for the last few minutes of baking. And that cooling period? It’s non-negotiable! I know it’s hard to wait, but letting them cool completely ensures they set up properly so you can get clean slices and that delightful chewy texture.
Glaze Variations: The chocolate drizzle is classic, but feel free to get creative! You can skip the chocolate altogether if you prefer. A simple dusting of powdered sugar after cooling is elegant and delicious. Or, you could melt some caramel candies with a little cream and drizzle that over the top for an extra caramel punch. Some people even like to add a sprinkle of flaky sea salt over the chocolate once it’s drizzled for that extra pop of flavor. Whatever you choose, make sure the bars are fully cooled before adding any toppings for the best results.
Storing and Reheating Tips
Storing these Pecan Turtle Bars is pretty straightforward, and they stay delicious for quite a while, which is always a bonus! When they’re freshly baked and cooled, I like to store them in an airtight container at room temperature. They’ll keep well this way for about 3-4 days, and honestly, they’re usually gone by then anyway!
If you find you have more than you can eat in a few days, or if you live in a particularly warm climate where room temperature storage might be risky, popping them into the refrigerator is a great option. Store them in an airtight container, and they should stay fresh and delicious for up to a week. The texture might become a little firmer in the fridge, but it’s still wonderfully chewy and flavorful. Just let them sit out for about 15-20 minutes before serving to take the chill off.
For longer storage, these bars freeze beautifully! I usually cut them into individual squares or portion sizes and wrap them tightly first in plastic wrap, then place them in a freezer-safe bag or airtight container. They can be stored in the freezer for up to 2-3 months. When you’re ready to enjoy them, just transfer them from the freezer to the refrigerator to thaw overnight, or leave them on the counter for a couple of hours. They’ll thaw out perfectly, still tasting just as delicious as when they were freshly baked!
Regarding the glaze, it’s best to apply it once the bars have cooled completely. If you’re planning on refrigerating or freezing them, apply the chocolate glaze *after* the bars have cooled. The chocolate will set up nicely in the fridge or freezer. If you’re freezing them, make sure the chocolate is fully set before wrapping them up to prevent any smudging or sticking.
Frequently Asked Questions
Final Thoughts
So there you have it – my absolute favorite Pecan Turtle Bars recipe! I truly hope you give these a try. They are more than just a dessert; they’re a little slice of happiness that’s perfect for sharing with loved ones, or for those moments when you just need a sweet, comforting treat. The combination of that tender, buttery base, the rich, chewy caramel, the satisfying crunch of toasted pecans, and that final touch of chocolate is just pure bliss. It’s a recipe that’s consistently delivers smiles and is always a huge hit whenever I bring them anywhere.
If you loved these Pecan Turtle Bars and are looking for more simple yet incredibly satisfying recipes, you might also enjoy my Fudgy Brownies or my Salted Caramel Chocolate Chip Cookies – they have a similar vibe of decadent, crowd-pleasing goodness! I can’t wait to hear how your Pecan Turtle Bars turn out! If you make them, please leave a comment below with your thoughts, or share a photo on social media and tag me – I’d absolutely love to see your creations! Happy baking!
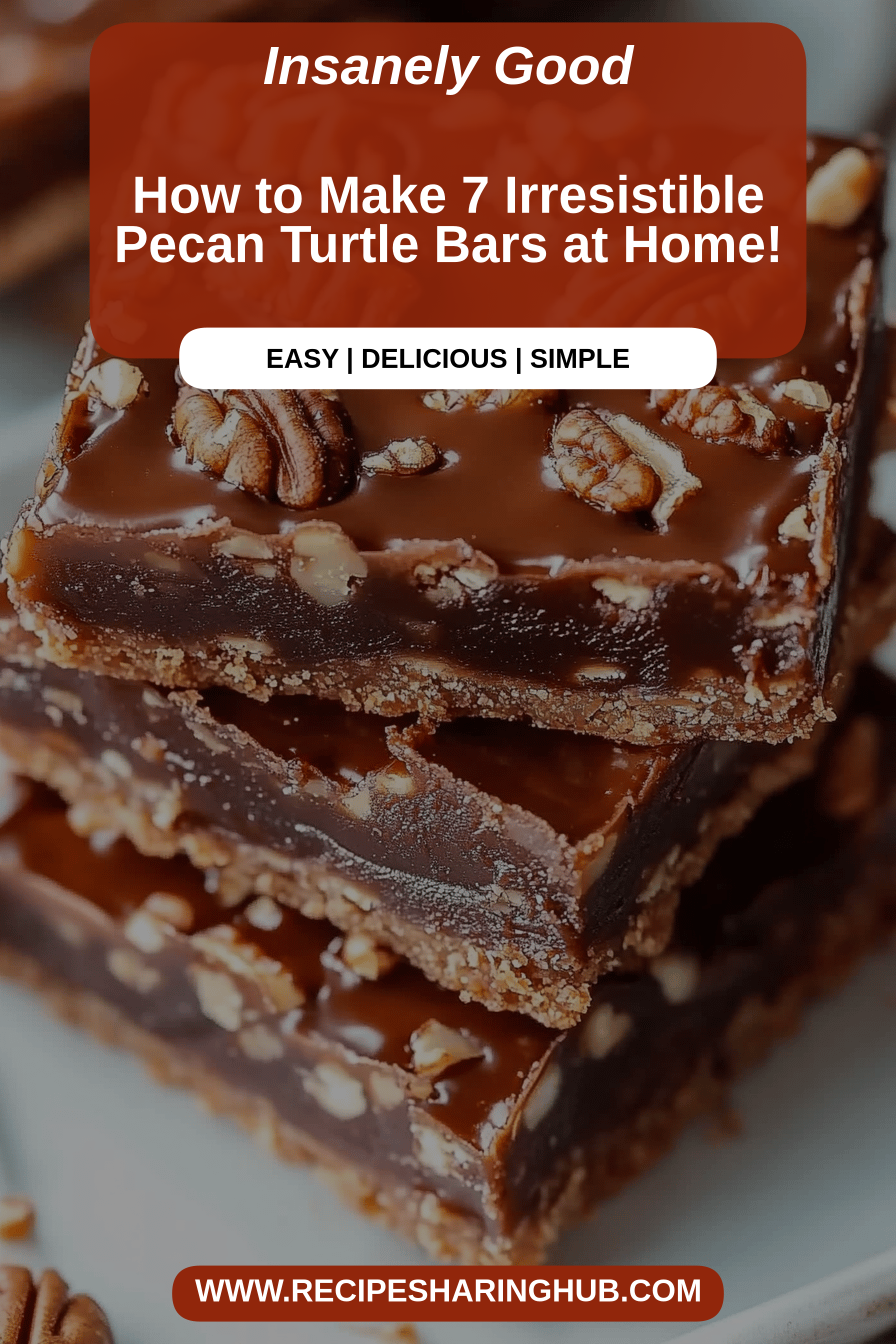
Pecan Turtle Bars
Ingredients
Shortbread Crust
- 0.75 cup unsalted butter melted
- 1.5 cup all-purpose flour
- 0.5 cup granulated sugar
Caramel Pecan Topping
- 1 cup packed brown sugar
- 0.5 cup unsalted butter cut into pieces
- 0.25 cup corn syrup
- 1 teaspoon vanilla extract
- 1.5 cup pecans chopped
Chocolate Drizzle
- 1 cup semi-sweet chocolate chips
- 1 tablespoon vegetable oil
Instructions
Preparation Steps
- Preheat oven to 350°F (175°C). Grease and flour a 9x13 inch baking pan.
- In a medium bowl, combine the melted butter, flour, and granulated sugar for the crust. Mix until well combined and it forms a crumbly dough. Press evenly into the bottom of the prepared baking pan.
- Bake the crust for 10-12 minutes, or until lightly golden brown.
- While the crust is baking, prepare the caramel pecan topping. In a saucepan over medium heat, combine brown sugar, butter, and corn syrup. Stir constantly until the butter is melted and the mixture is smooth. Bring to a boil, then reduce heat and simmer for 2-3 minutes, stirring occasionally.
- Remove from heat and stir in the vanilla extract and chopped pecans. Pour the caramel pecan mixture evenly over the hot baked crust.
- Return the pan to the oven and bake for another 15-18 minutes, or until the caramel is bubbly and golden brown.
- Let the bars cool completely in the pan on a wire rack.
- Once cooled, prepare the chocolate drizzle. In a microwave-safe bowl, combine chocolate chips and vegetable oil. Microwave in 30-second intervals, stirring between each, until melted and smooth.
- Drizzle the melted chocolate over the cooled bars in a decorative pattern.
- Allow the chocolate to set completely before cutting into bars.